Implementing Secure Amazon App Deployment: A Comprehensive Guide using Terraform and Jenkins CI/CD


Welcome to this comprehensive guide on deploying Amazon applications with a strong emphasis on security through a DevSecOps approach. In today's dynamic digital landscape, deploying applications demands not only speed but also robust security measures. DevSecOps amalgamates development, security, and operations into a cohesive process, ensuring that security is integrated into every stage of development and deployment. In this guide, we will delve into leveraging Terraform, Jenkins CI/CD, SonarQube, and Trivy to establish a secure and efficient pipeline for deploying applications on Amazon Web Services (AWS). Whether you're a seasoned developer seeking to enhance your DevSecOps expertise or a newcomer exploring the intersection of software development and security, this guide is tailored to provide valuable insights. Let's embark on this journey and explore the steps to fortify your Amazon app deployments while ensuring seamless and secure operations.
1. Introduction:
Define the importance of security in application deployment and the role of DevSecOps.
Explain the objectives of the guide and what readers can expect to learn.
2. Setting Up AWS Environment:
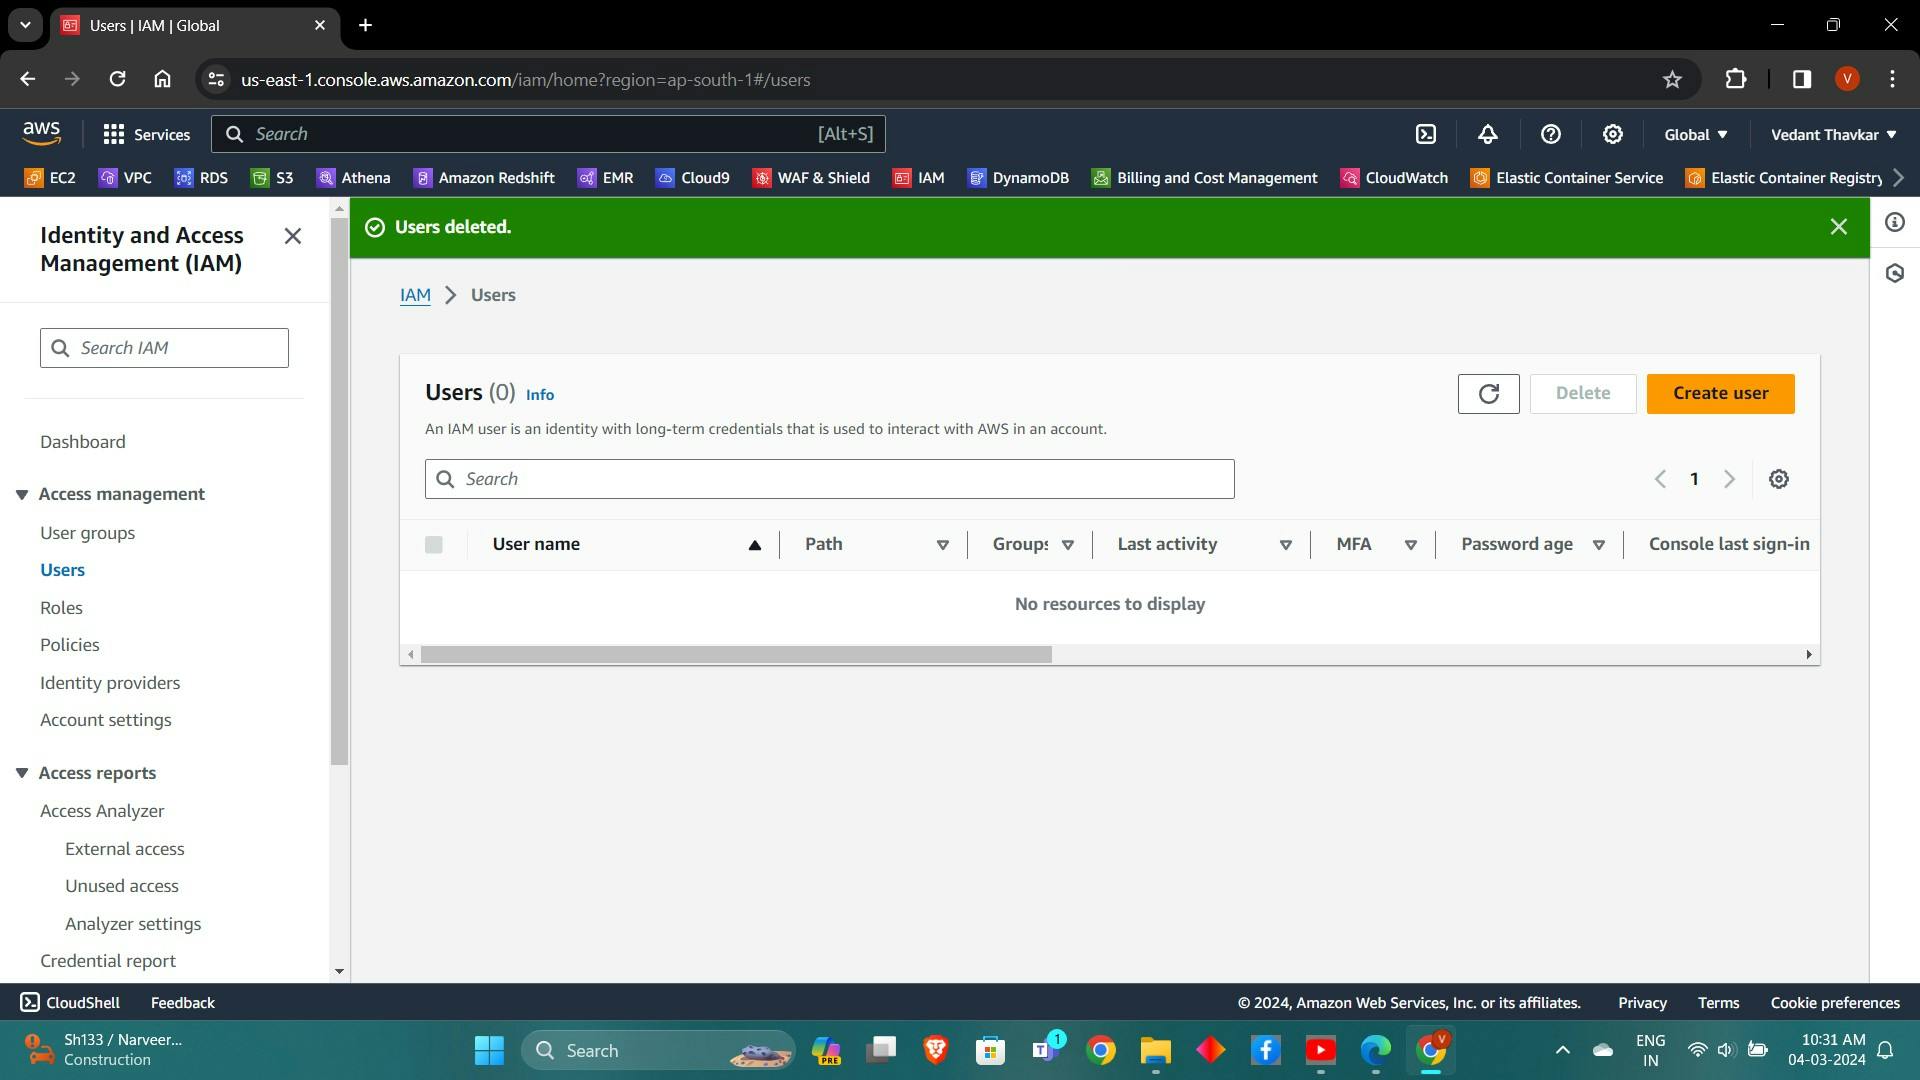
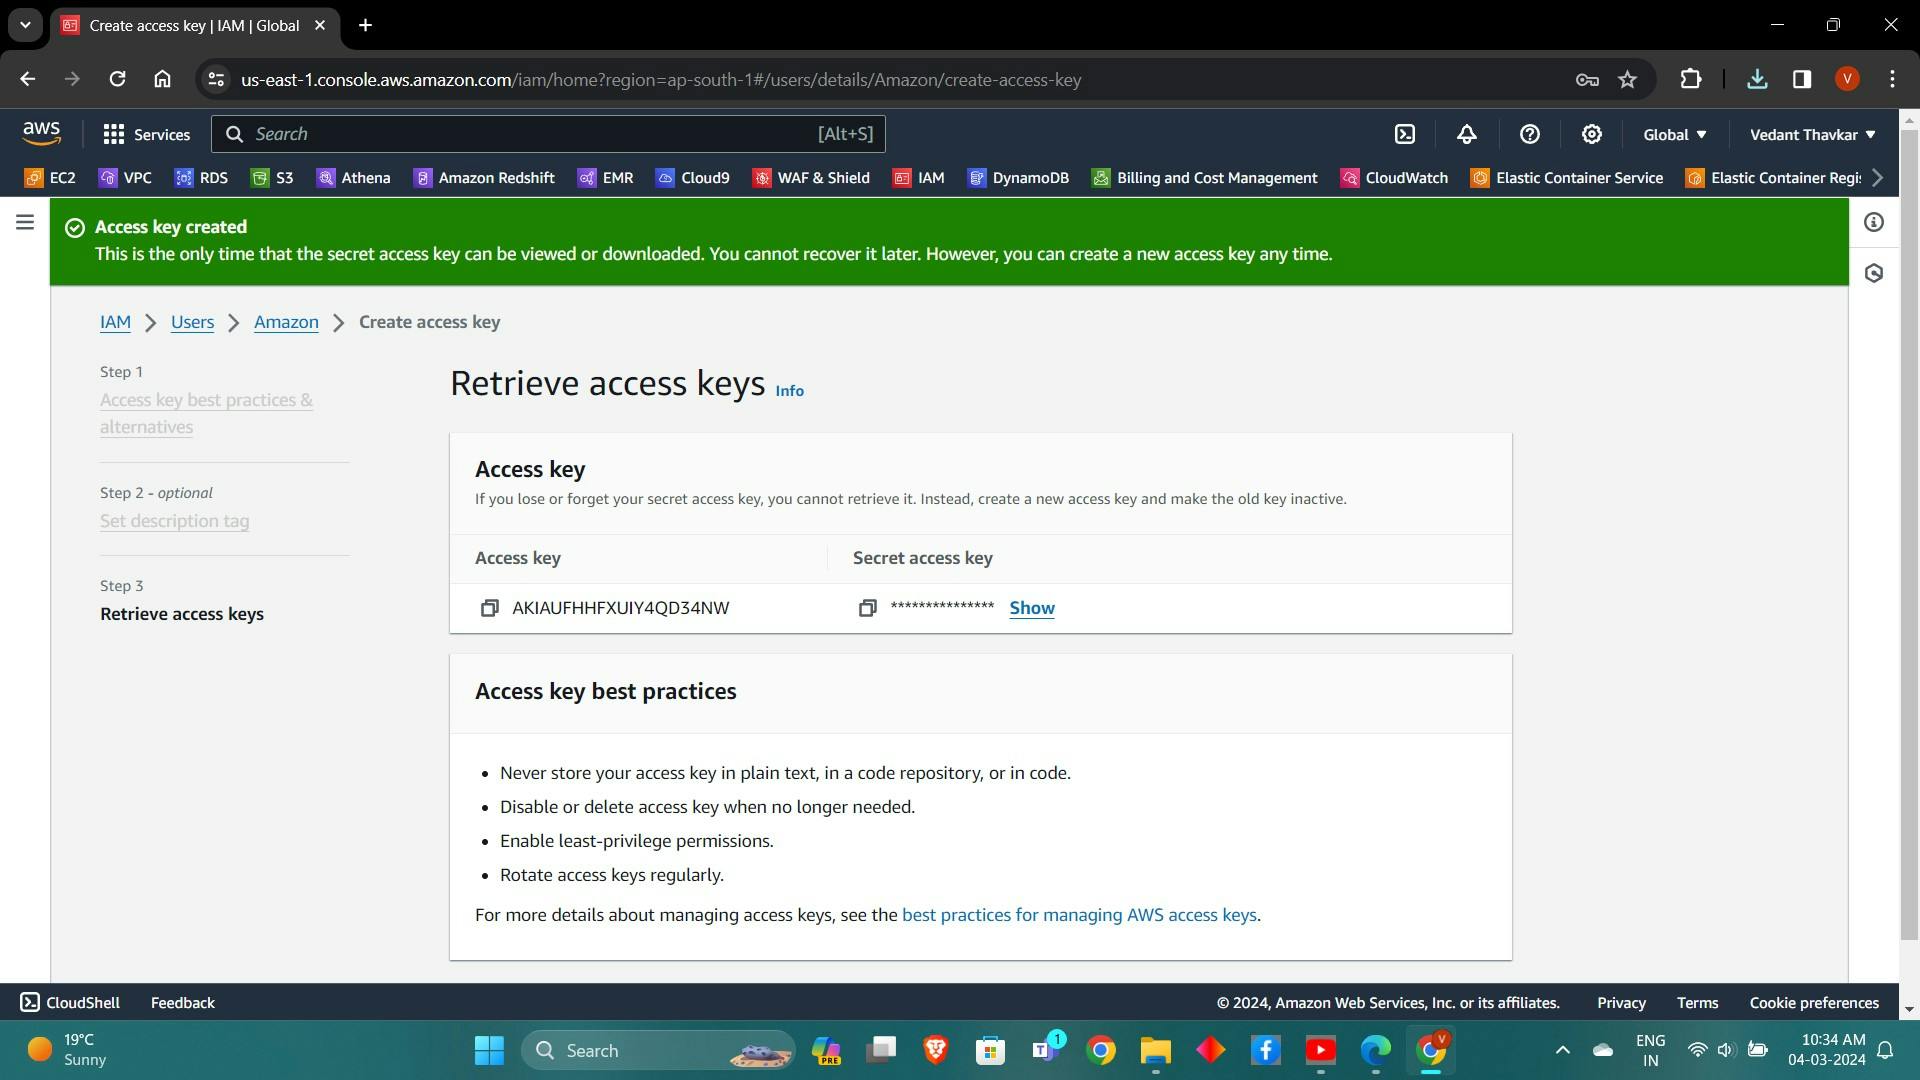
Create an IAM User:
Log in to the AWS Management Console.
Navigate to the IAM service.
Click on "Users" in the left sidebar.
Click on "Add user".
Enter a username and select "Programmatic access" as the access type.
Attach the necessary policies (e.g., AdministratorAccess).
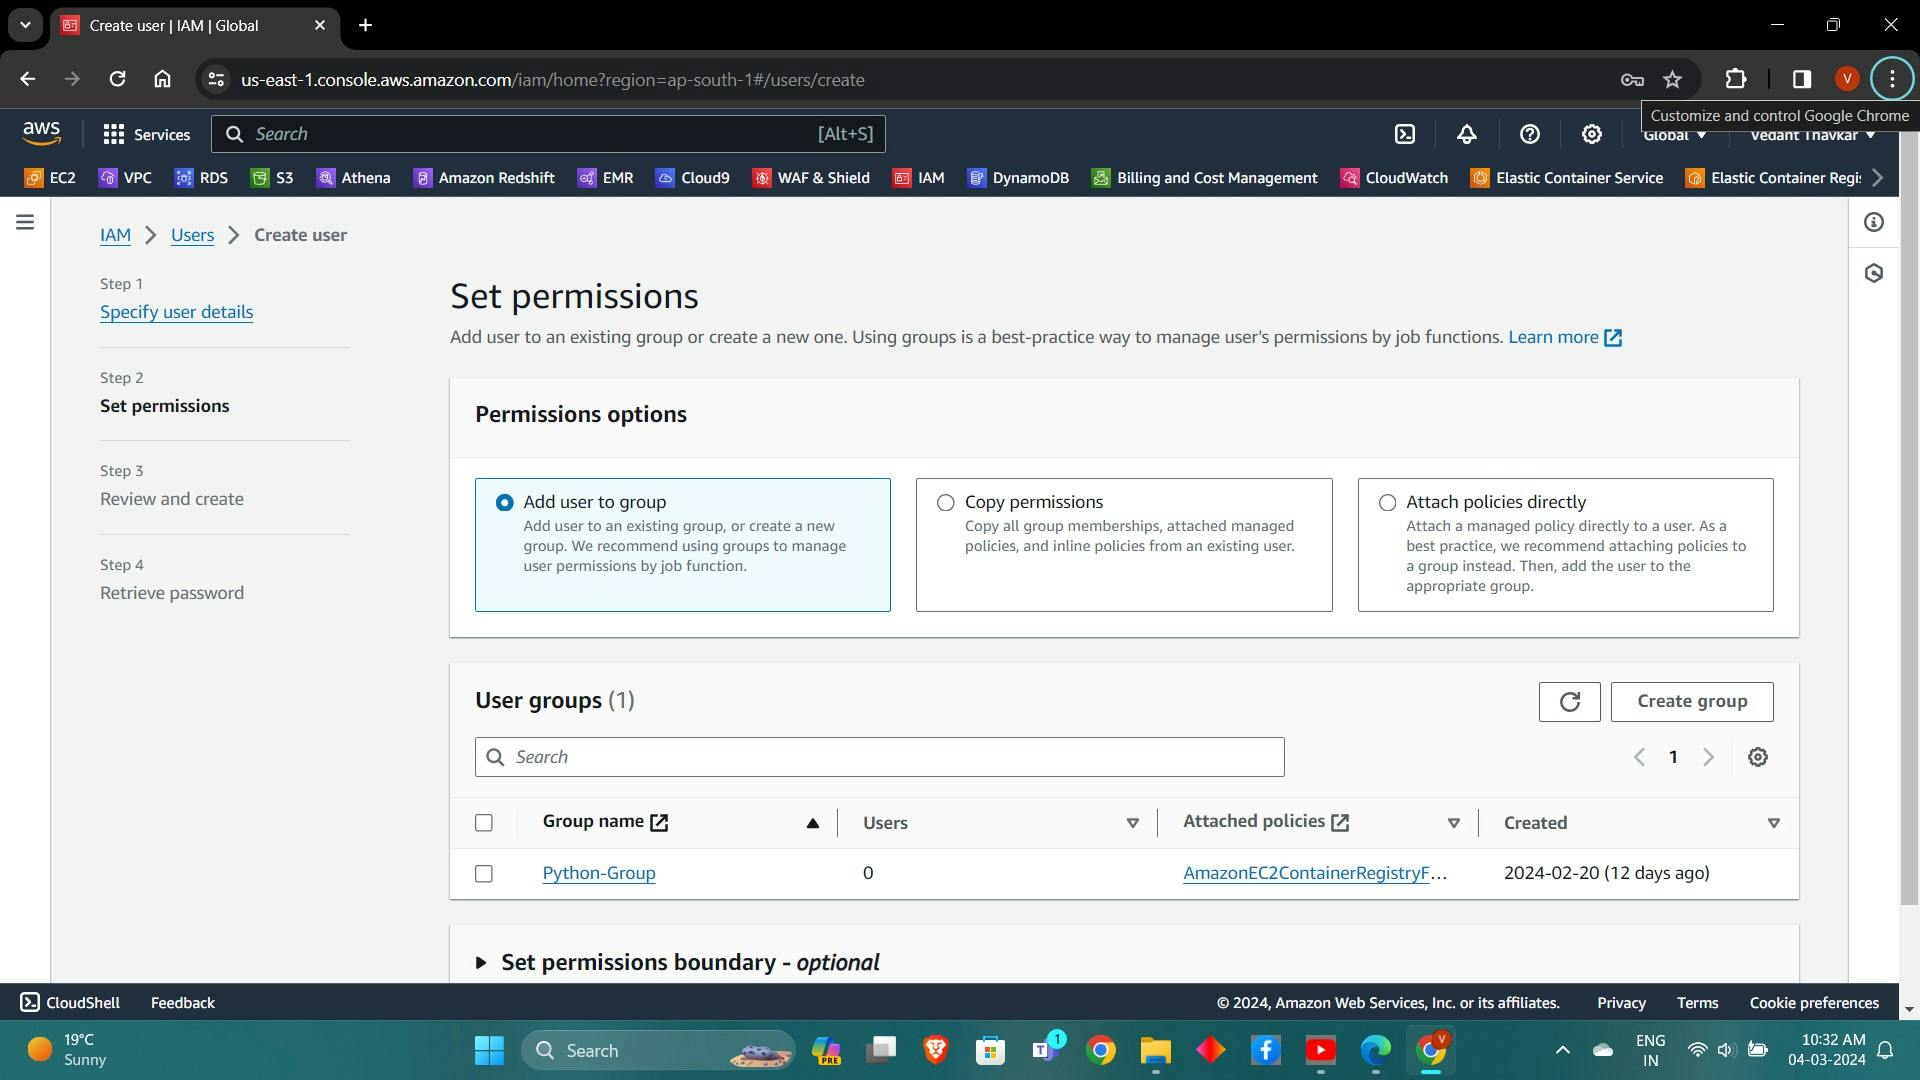
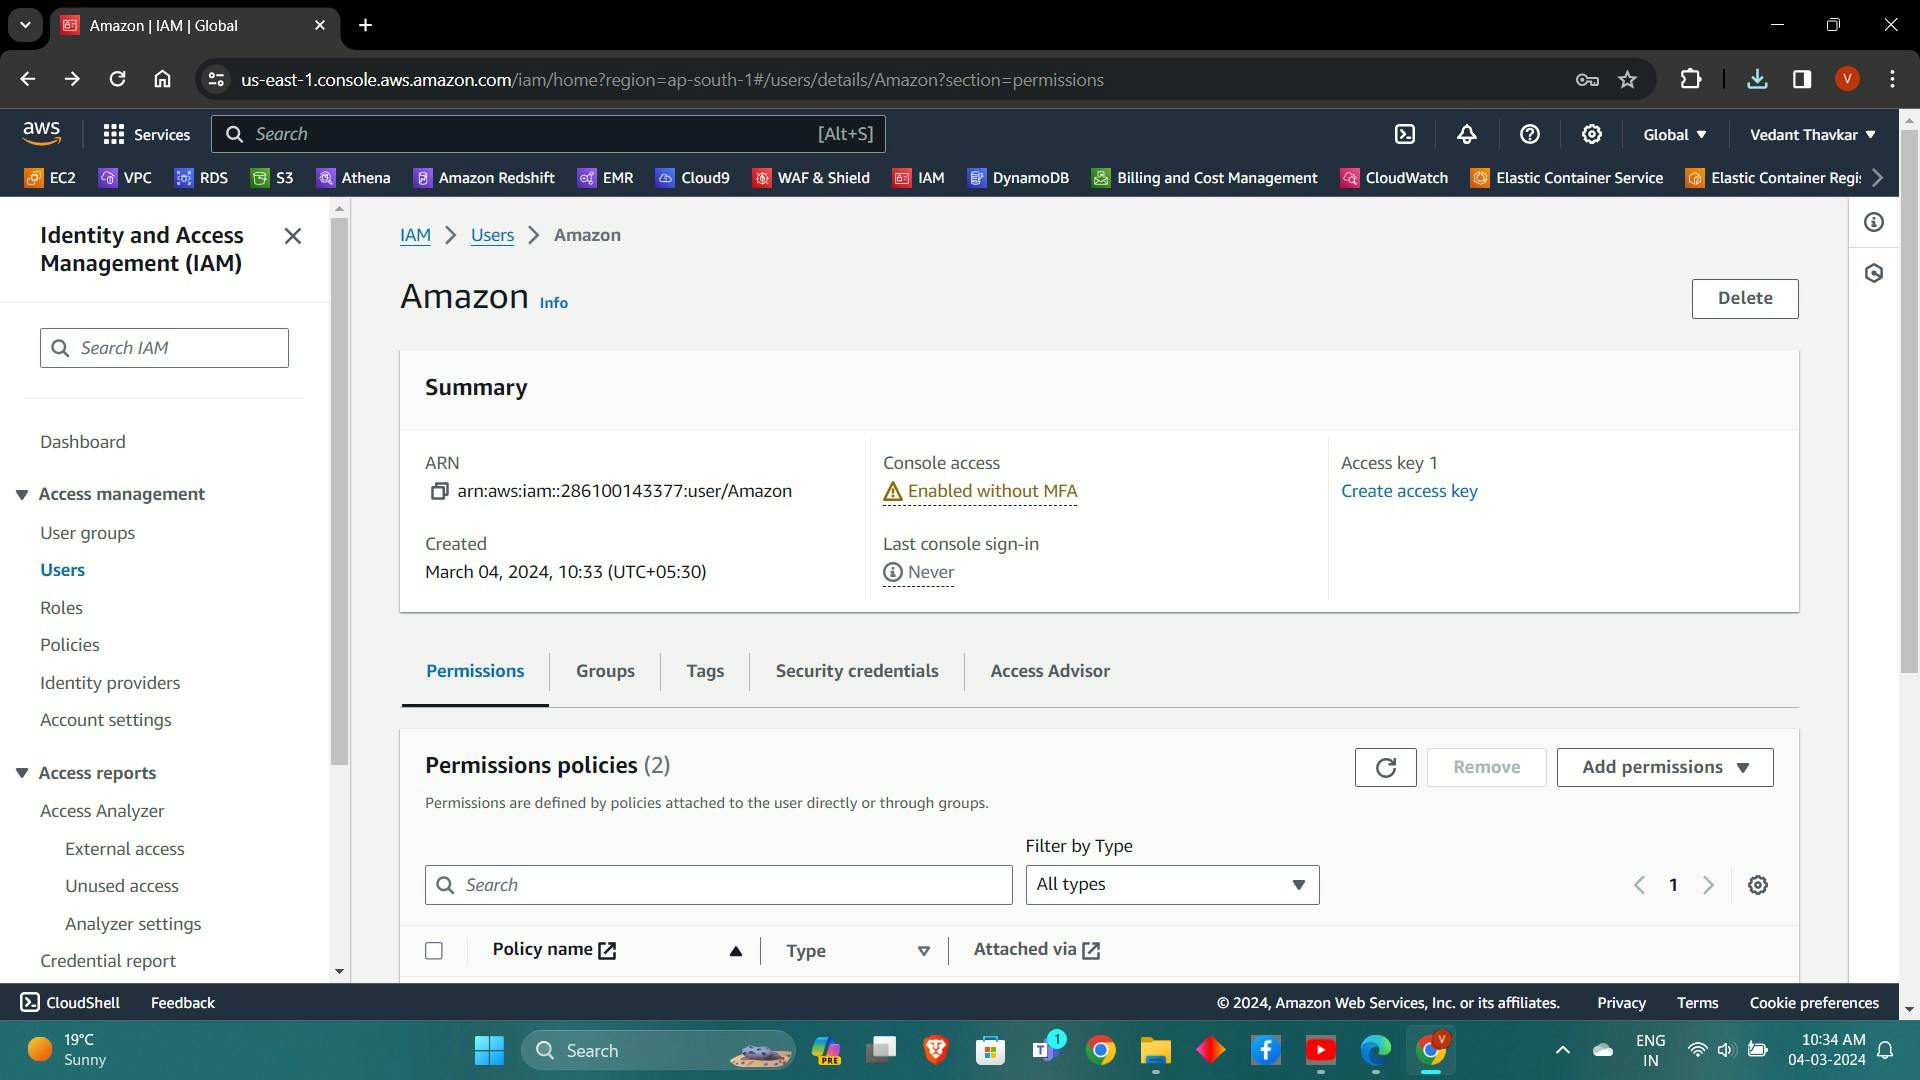
Review and create the user. Take note of the Access Key ID and Secret Access Key.
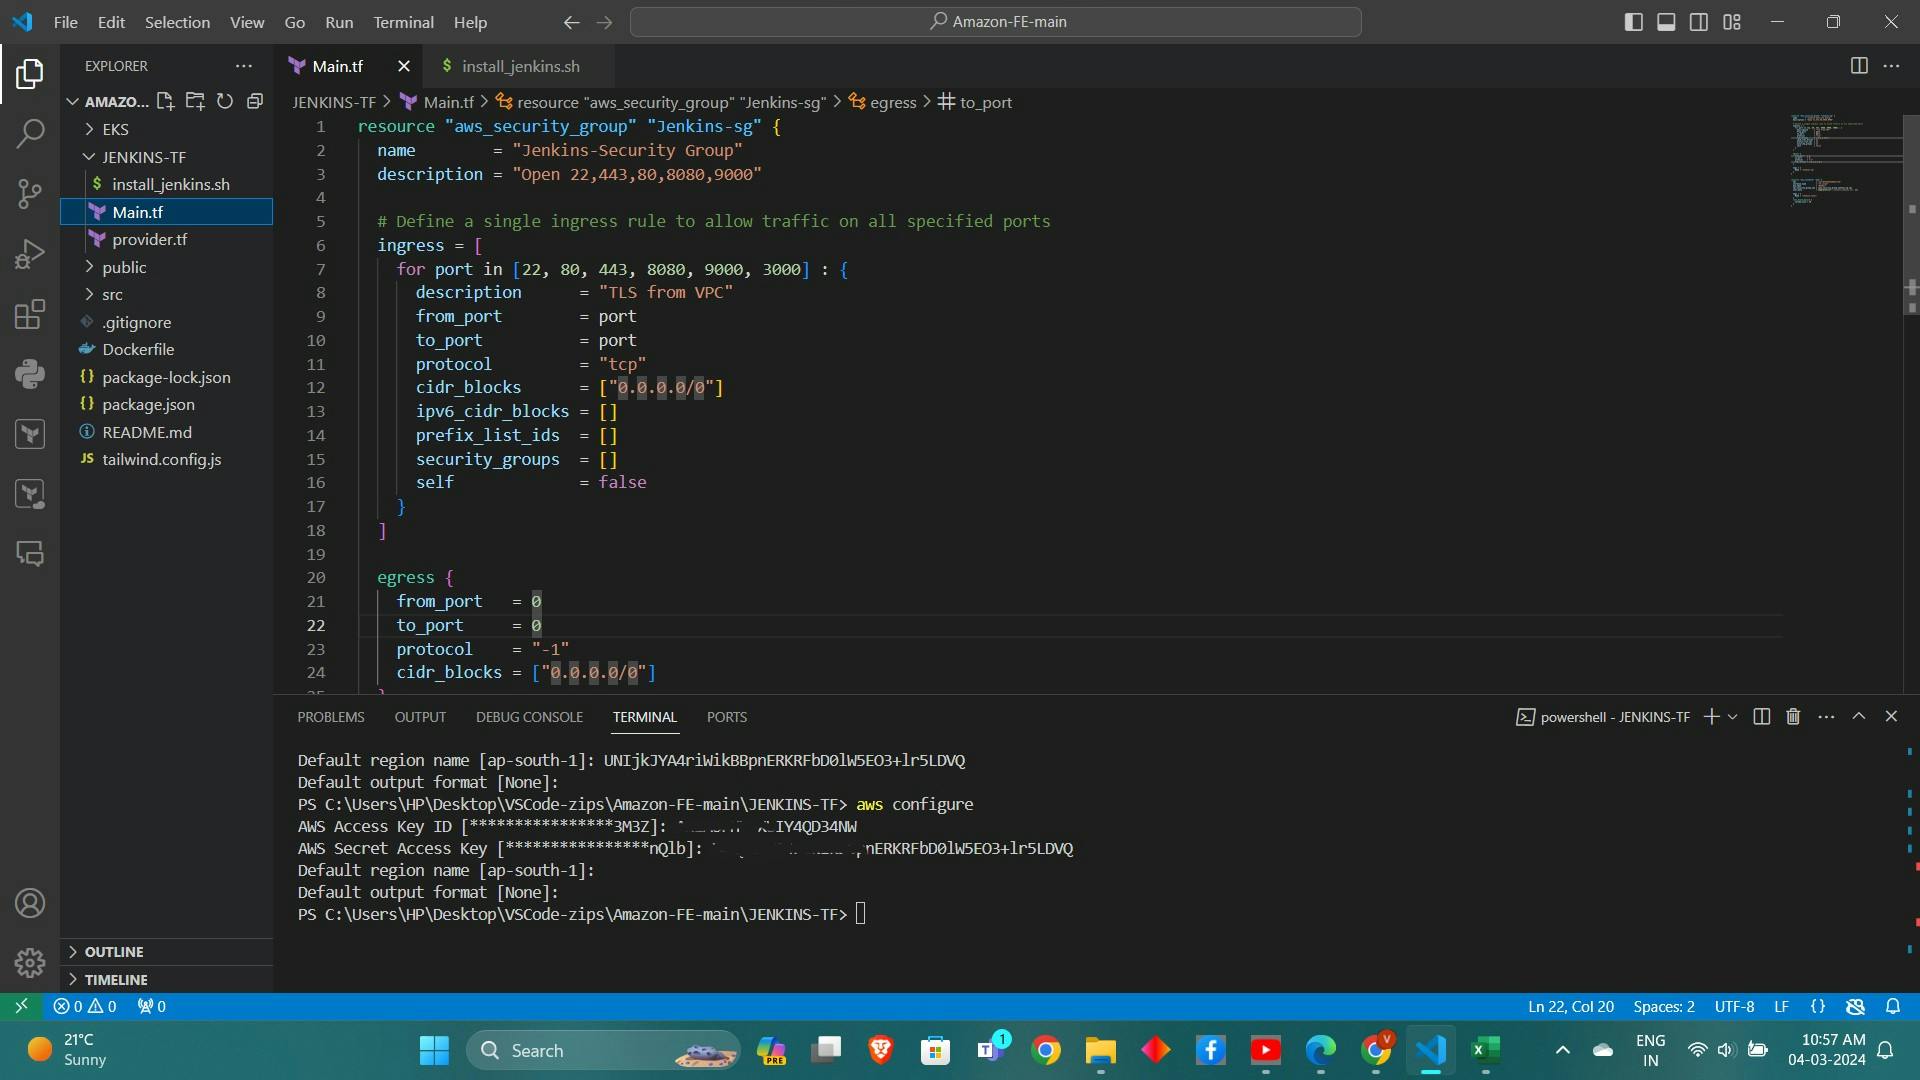
Configure AWS CLI:
Install the AWS CLI on your local machine if not already installed.
Open a VScode or command prompt.
Run the command
aws configure.Enter the Access Key ID and Secret Access Key when prompted.
Provide the default region and output format as required.
3. Provisioning Infrastructure with Terraform:
Define Infrastructure Components:
Create a new directory for your Terraform project.
Create a
main.tffile within the directory.resource "aws_instance" "web" { ami = "ami-0f5ee92e2d63afc18" #change ami id for different region instance_type = "t2.large" key_name = "haaland"#change you key name vpc_security_group_ids = [aws_security_group.Jenkins-sg.id] user_data = templatefile("./install.sh", {}) tags = { Name = "Jenkins-sonarqube" } root_block_device { volume_size = 30 } } resource "aws_security_group" "Jenkins-sg" { name = "Jenkins-sg" description = "Allow TLS inbound traffic" ingress = [ for port in [22, 80, 443, 8080, 9000, 3000] : { description = "inbound rules" from_port = port to_port = port protocol = "tcp" cidr_blocks = ["0.0.0.0/0"] ipv6_cidr_blocks = [] prefix_list_ids = [] security_groups = [] self = false } ] egress { from_port = 0 to_port = 0 protocol = "-1" cidr_blocks = ["0.0.0.0/0"] } tags = { Name = "jenkins-sg" } }Define the AWS provider and resources such as EC2 instances and security groups in the
main.tffile.terraform { required_providers { aws = { source = "hashicorp/aws" version = "~> 5.0" } } } # Configure the AWS Provider provider "aws" { region = "ap-south-1" #change your region }
Configuring Security Groups and Instance Settings:
Specify the security group settings in your Terraform script, including inbound and outbound rules.
Define the instance type, key pair, and any other necessary settings for the EC2 instance.
4. Installing Jenkins, SonarQube, and Trivy:
Automating Installation Using Shell Scripts:
Write shell scripts (
install.sh) to automate the installation of Jenkins, SonarQube, and Trivy.Use package managers like
apt-getto install required dependencies.Start the services after installation using
systemctl.This will install Jenkins and Docker and Sonarqube and trivy
 #!/bin/bash
 sudo apt update -y
 wget -O - https://packages.adoptium.net/artifactory/api/gpg/key/public | tee /etc/apt/keyrings/adoptium.asc
 echo "deb [signed-by=/etc/apt/keyrings/adoptium.asc] https://packages.adoptium.net/artifactory/deb $(awk -F= '/^VERSION_CODENAME/{print$2}' /etc/os-release) main" | tee /etc/apt/sources.list.d/adoptium.list
 sudo apt update -y
 sudo apt install temurin-17-jdk -y
 /usr/bin/java --version
 curl -fsSL https://pkg.jenkins.io/debian-stable/jenkins.io-2023.key | sudo tee /usr/share/keyrings/jenkins-keyring.asc > /dev/null
 echo deb [signed-by=/usr/share/keyrings/jenkins-keyring.asc] https://pkg.jenkins.io/debian-stable binary/ | sudo tee /etc/apt/sources.list.d/jenkins.list > /dev/null
 sudo apt-get update -y
 sudo apt-get install jenkins -y
 sudo systemctl start jenkins
 sudo systemctl status jenkins

 #install docker
 sudo apt-get update
 sudo apt-get install docker.io -y
 sudo usermod -aG docker ubuntu
 newgrp docker
 sudo chmod 777 /var/run/docker.sock
 docker run -d --name sonar -p 9000:9000 sonarqube:lts-community

 #install trivy
 sudo apt-get install wget apt-transport-https gnupg lsb-release -y
 wget -qO - https://aquasecurity.github.io/trivy-repo/deb/public.key | gpg --dearmor | sudo tee /usr/share/keyrings/trivy.gpg > /dev/null
 echo "deb [signed-by=/usr/share/keyrings/trivy.gpg] https://aquasecurity.github.io/trivy-repo/deb $(lsb_release -sc) main" | sudo tee -a /etc/apt/sources.list.d/trivy.list
 sudo apt-get update
 sudo apt-get install trivy -y
Terraform commands to provision
 terraform init
 terraform validate
 terraform plan
 terraform apply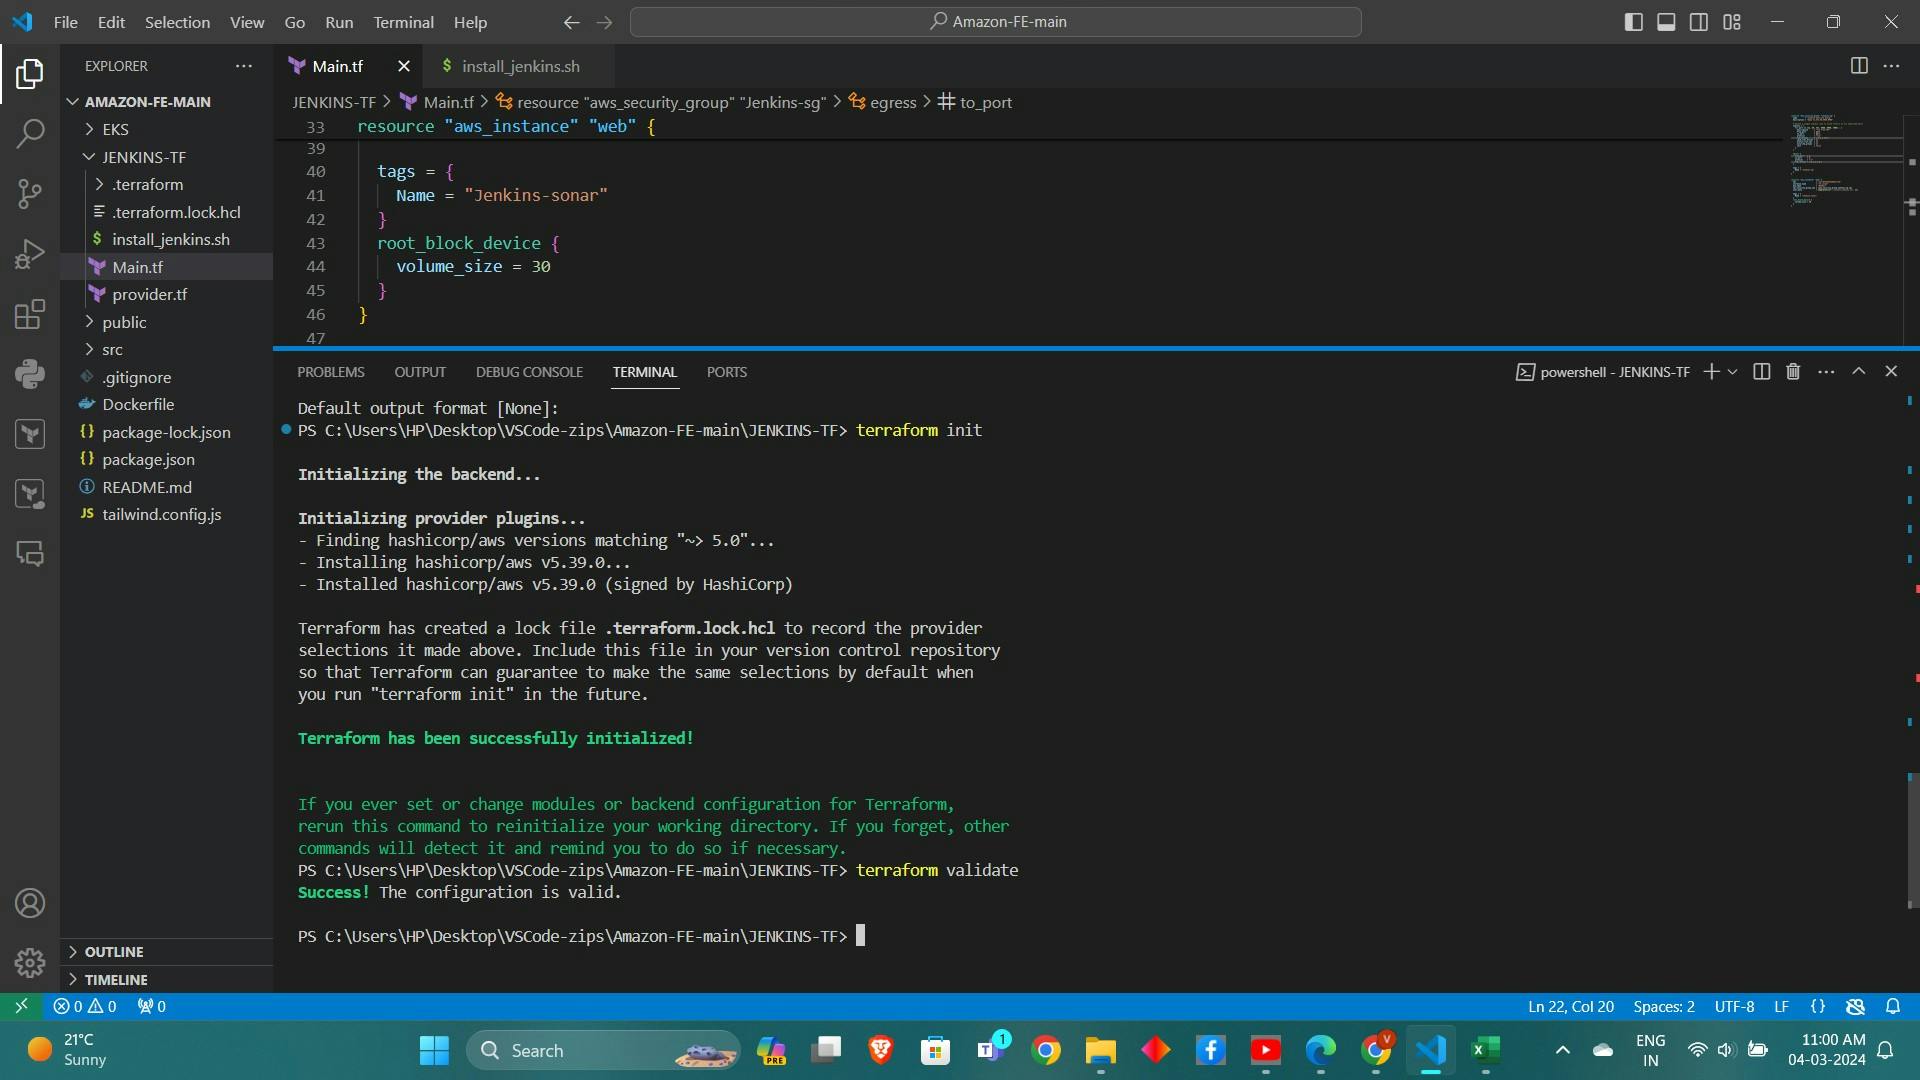
Setting Up for CI/CD and Security Scanning:
Configure Jenkins to run as a service and start it.
<instance-ip:8080> #jenkins
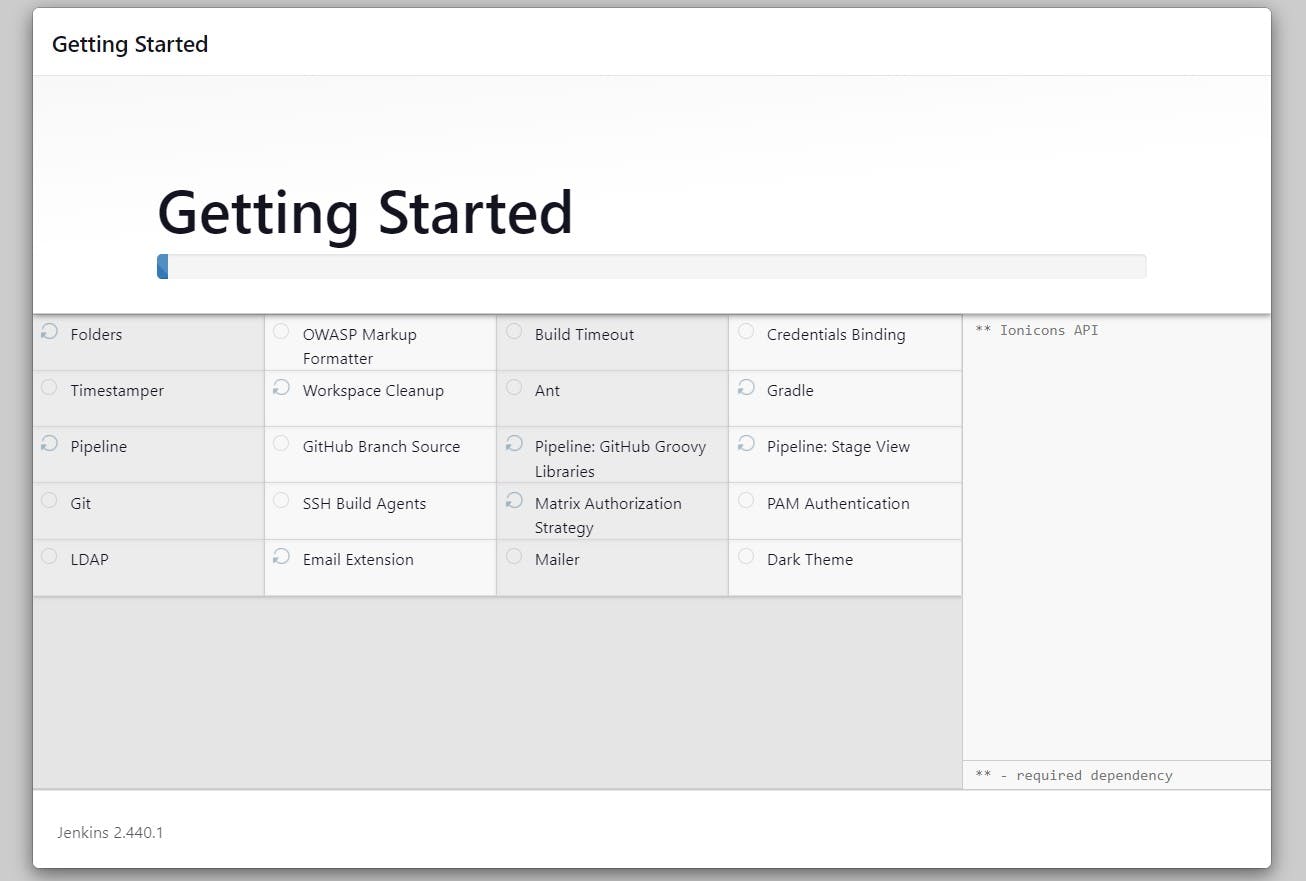
sudo cat /var/lib/jenkins/secrets/initialAdminPasswordUnlock Jenkins using an administrative password and install the suggested plugins.
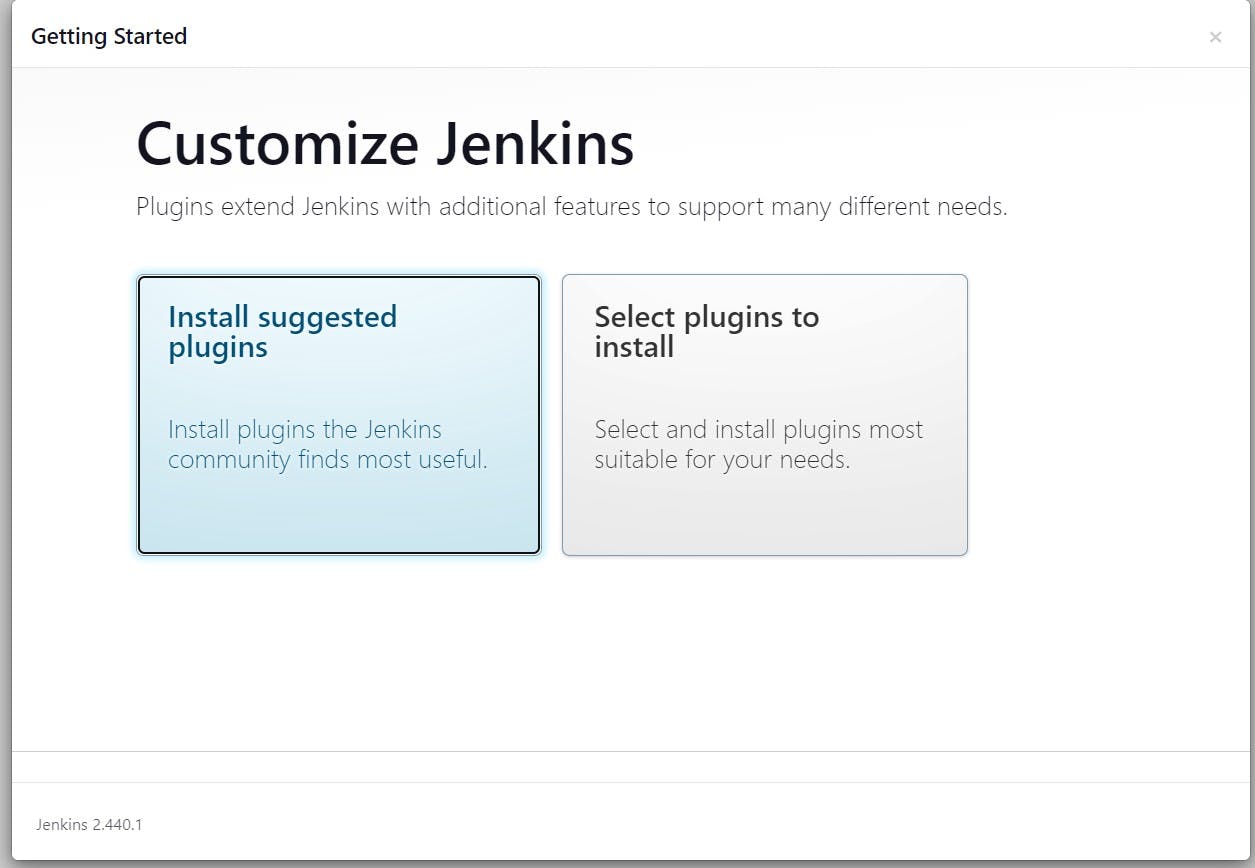
Jenkins will now get installed and install all the libraries.
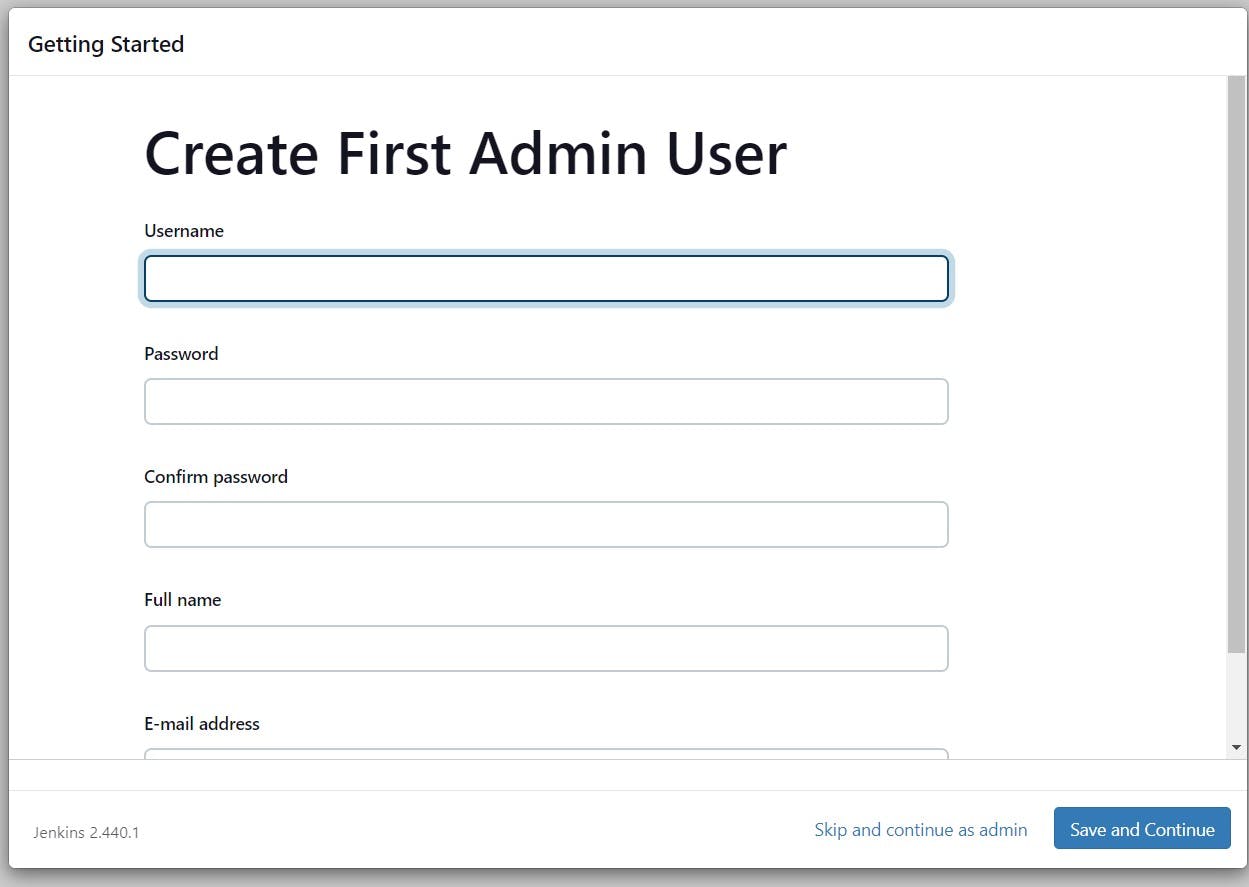
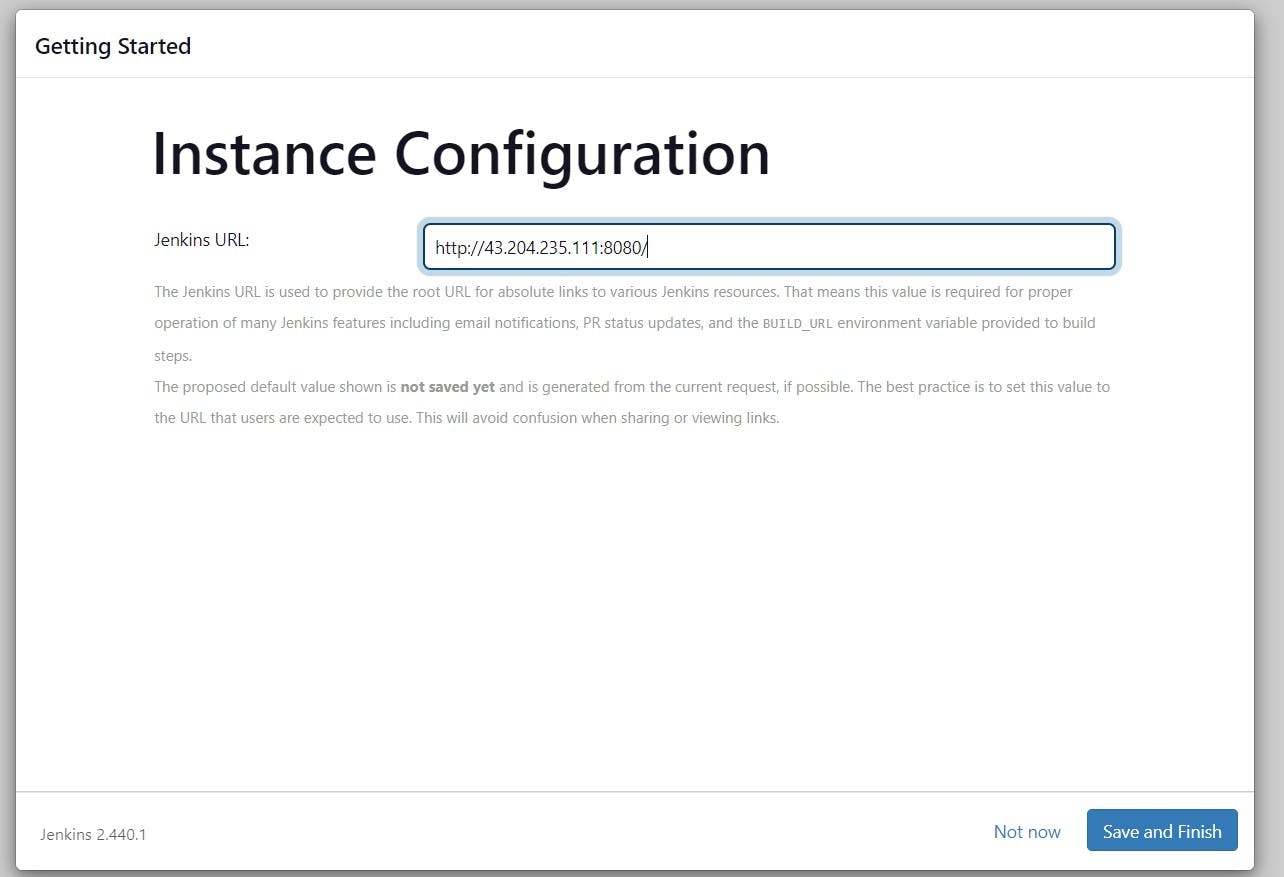
Create a user click on save and continue.

Access SonarQube and Trivy services to ensure they are running correctly.
<instance-public-ip:9000>Now our sonarqube is up and running
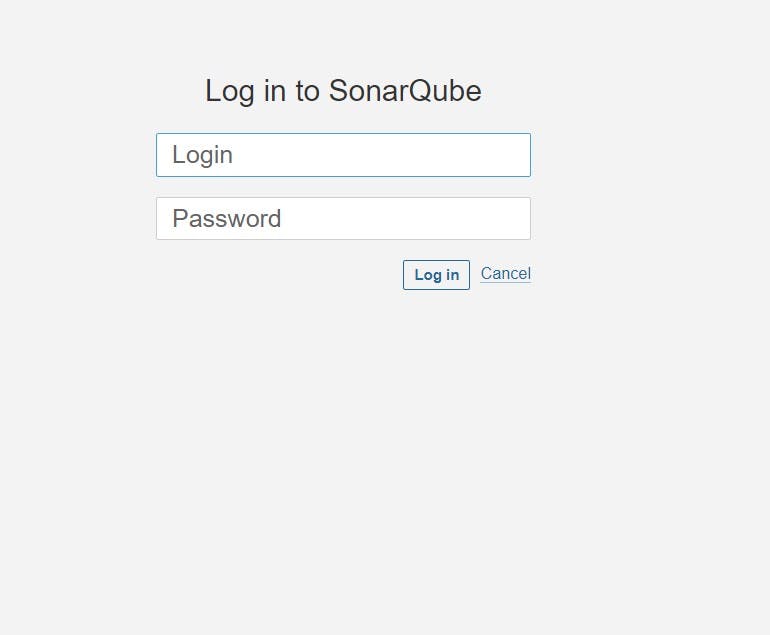
Enter username and password, click on login and change password
 username admin
 password admin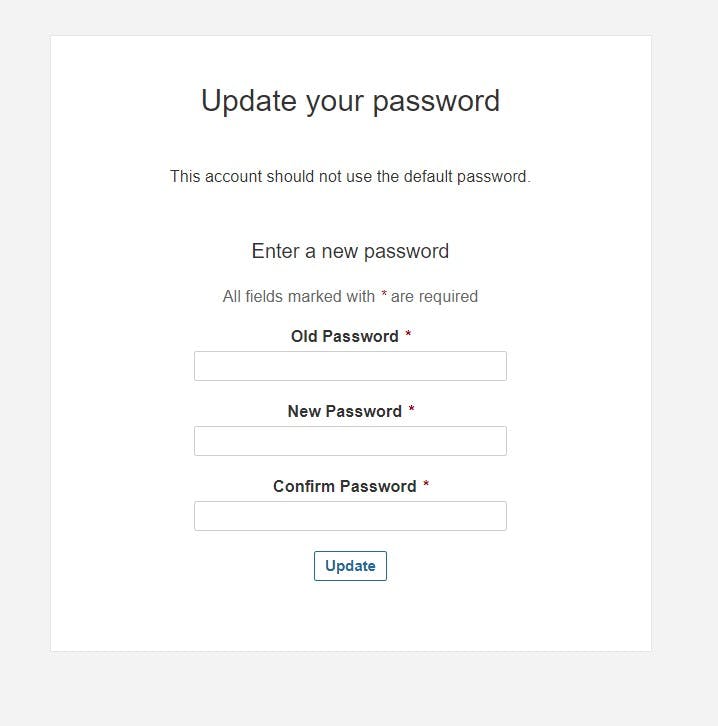
Update New password, This is Sonar Dashboard.
5. Integrating Tools with Jenkins:
Installing Required Plugins:
Open the Jenkins dashboard.
Navigate to "Manage Jenkins" > "Manage Plugins".
Install plugins for JDK, NodeJs, and SonarQube scanner from the available plugins list.
Install below plugins
1 → Eclipse Temurin Installer (Install without restart)
2 → SonarQube Scanner (Install without restart)
3 → NodeJs Plugin (Install Without restart)

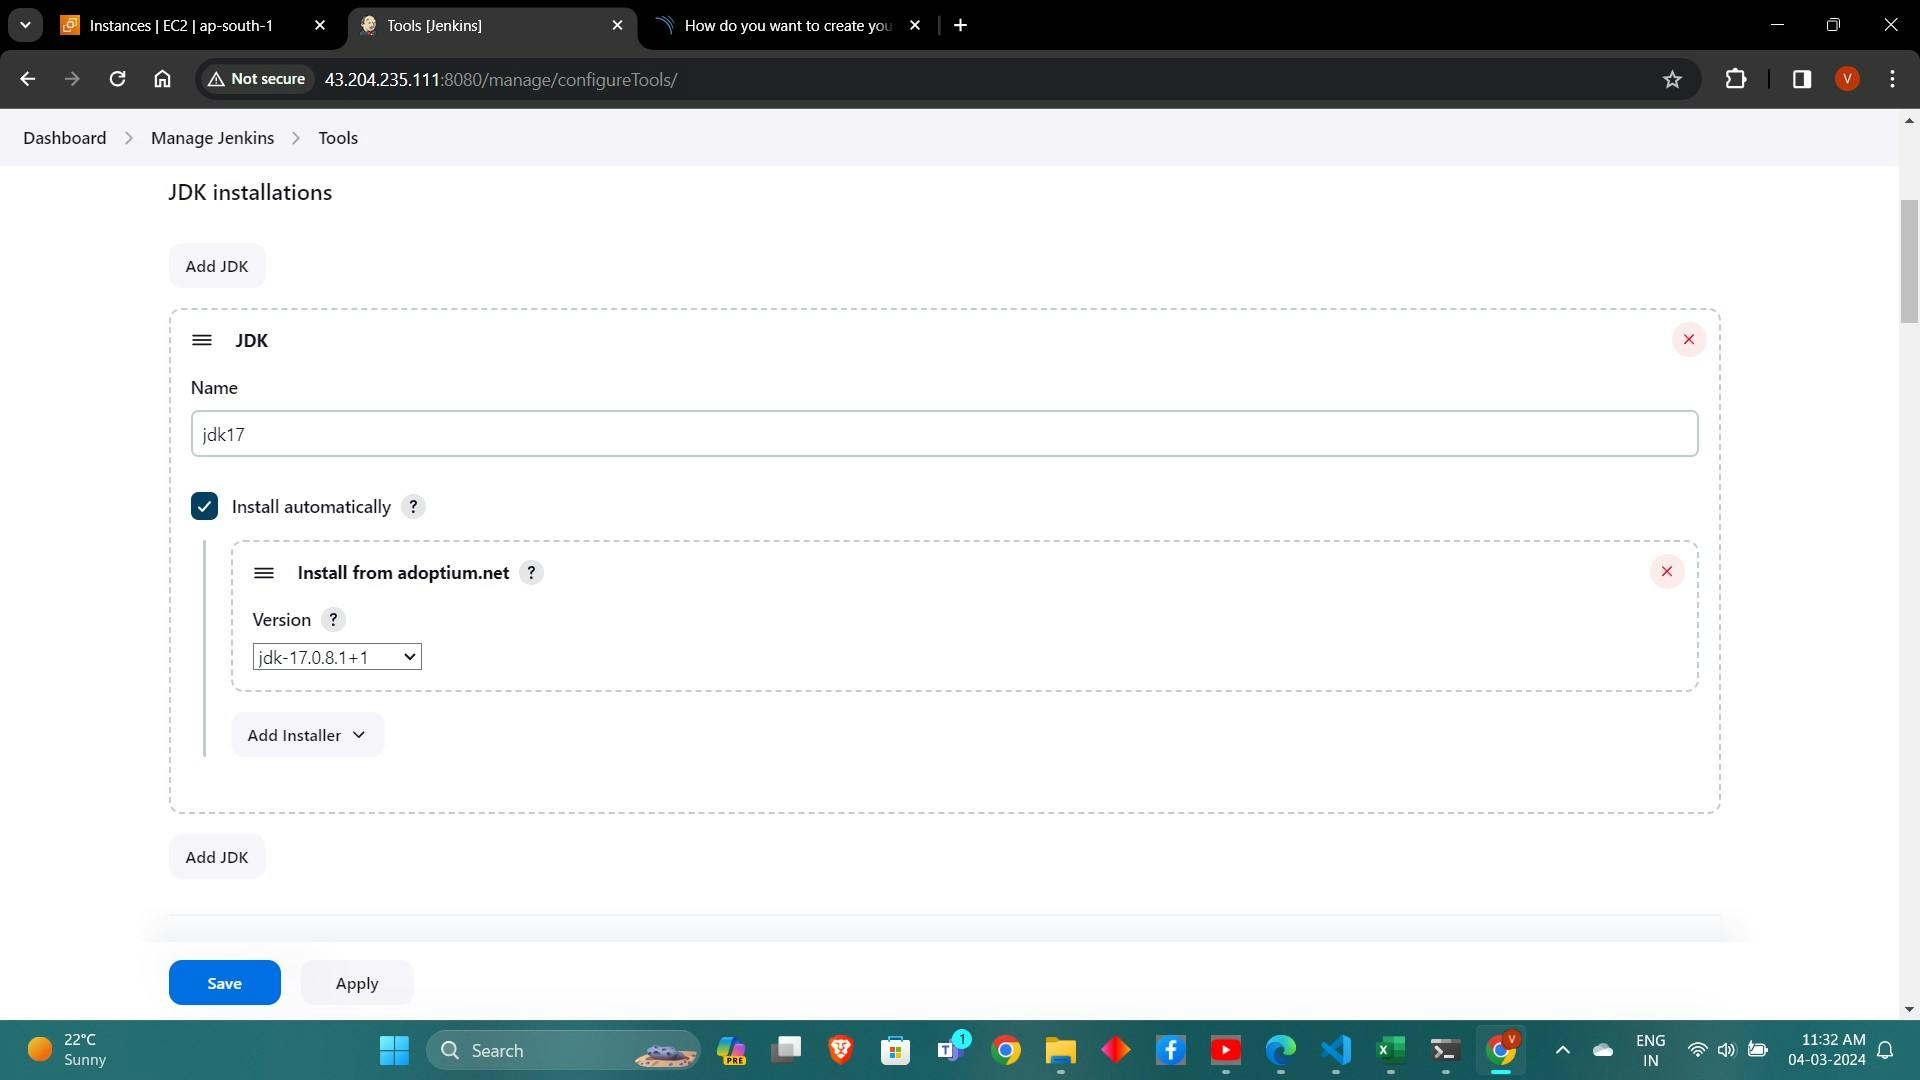
Configuring Tools in Jenkins:
Configure JDK and NodeJs installations in Jenkins under "Global Tool Configuration".
6. Configuring SonarQube and Quality Gates:
Setting Up SonarQube Server:
Access the SonarQube server in a web browser.
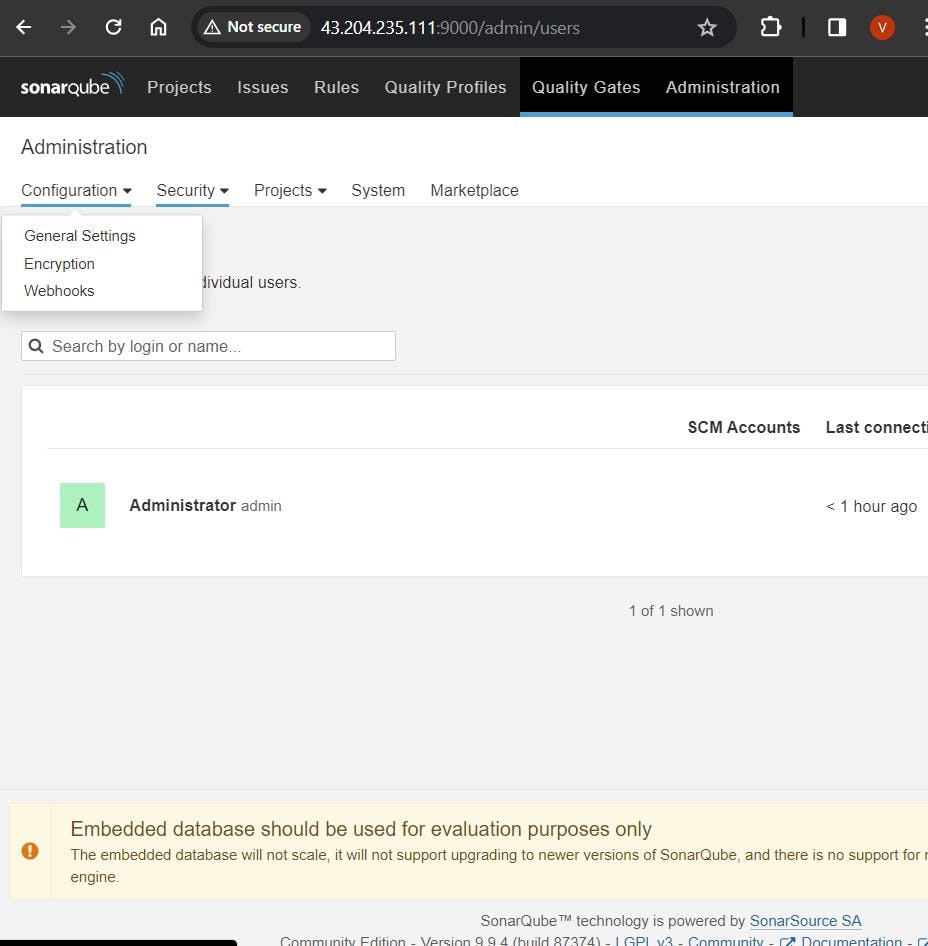
Log in as an administrator.
Navigate to "Administration" > "Security" > "Users" to generate an access token.
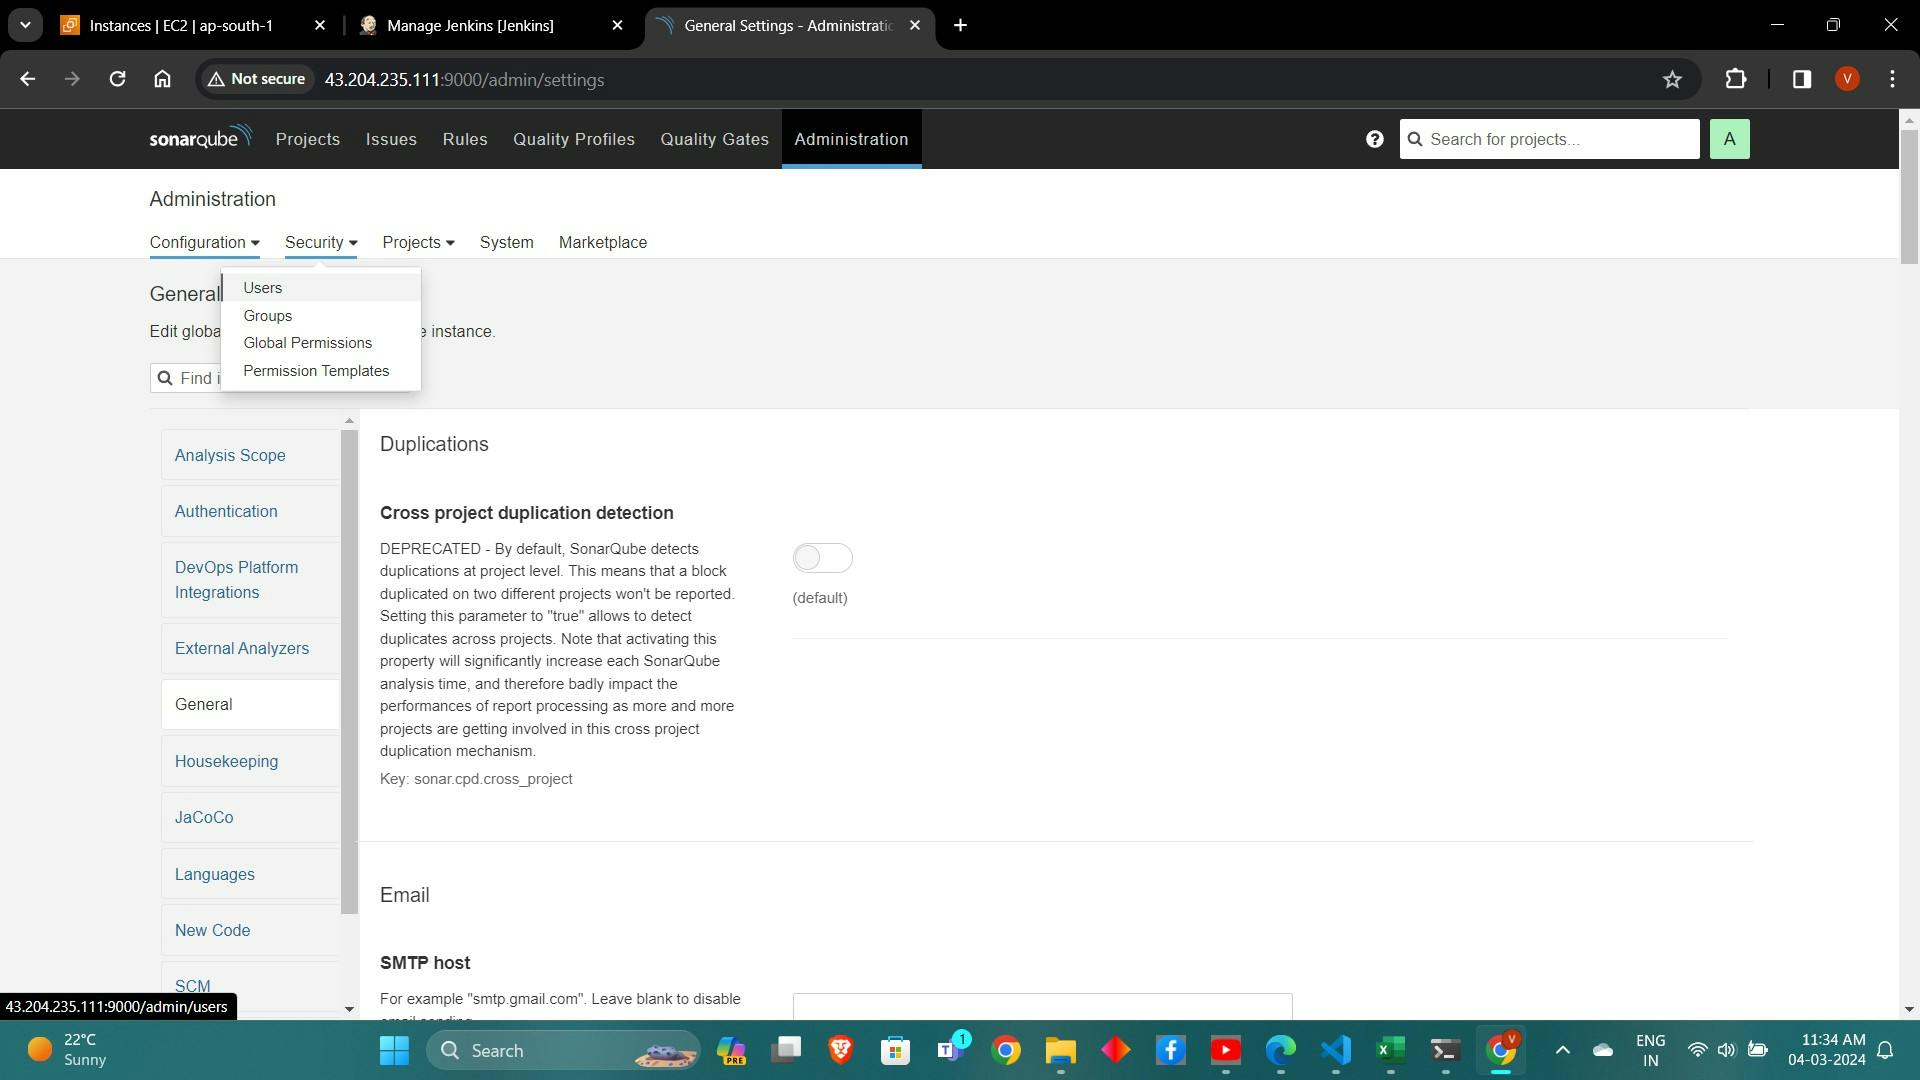
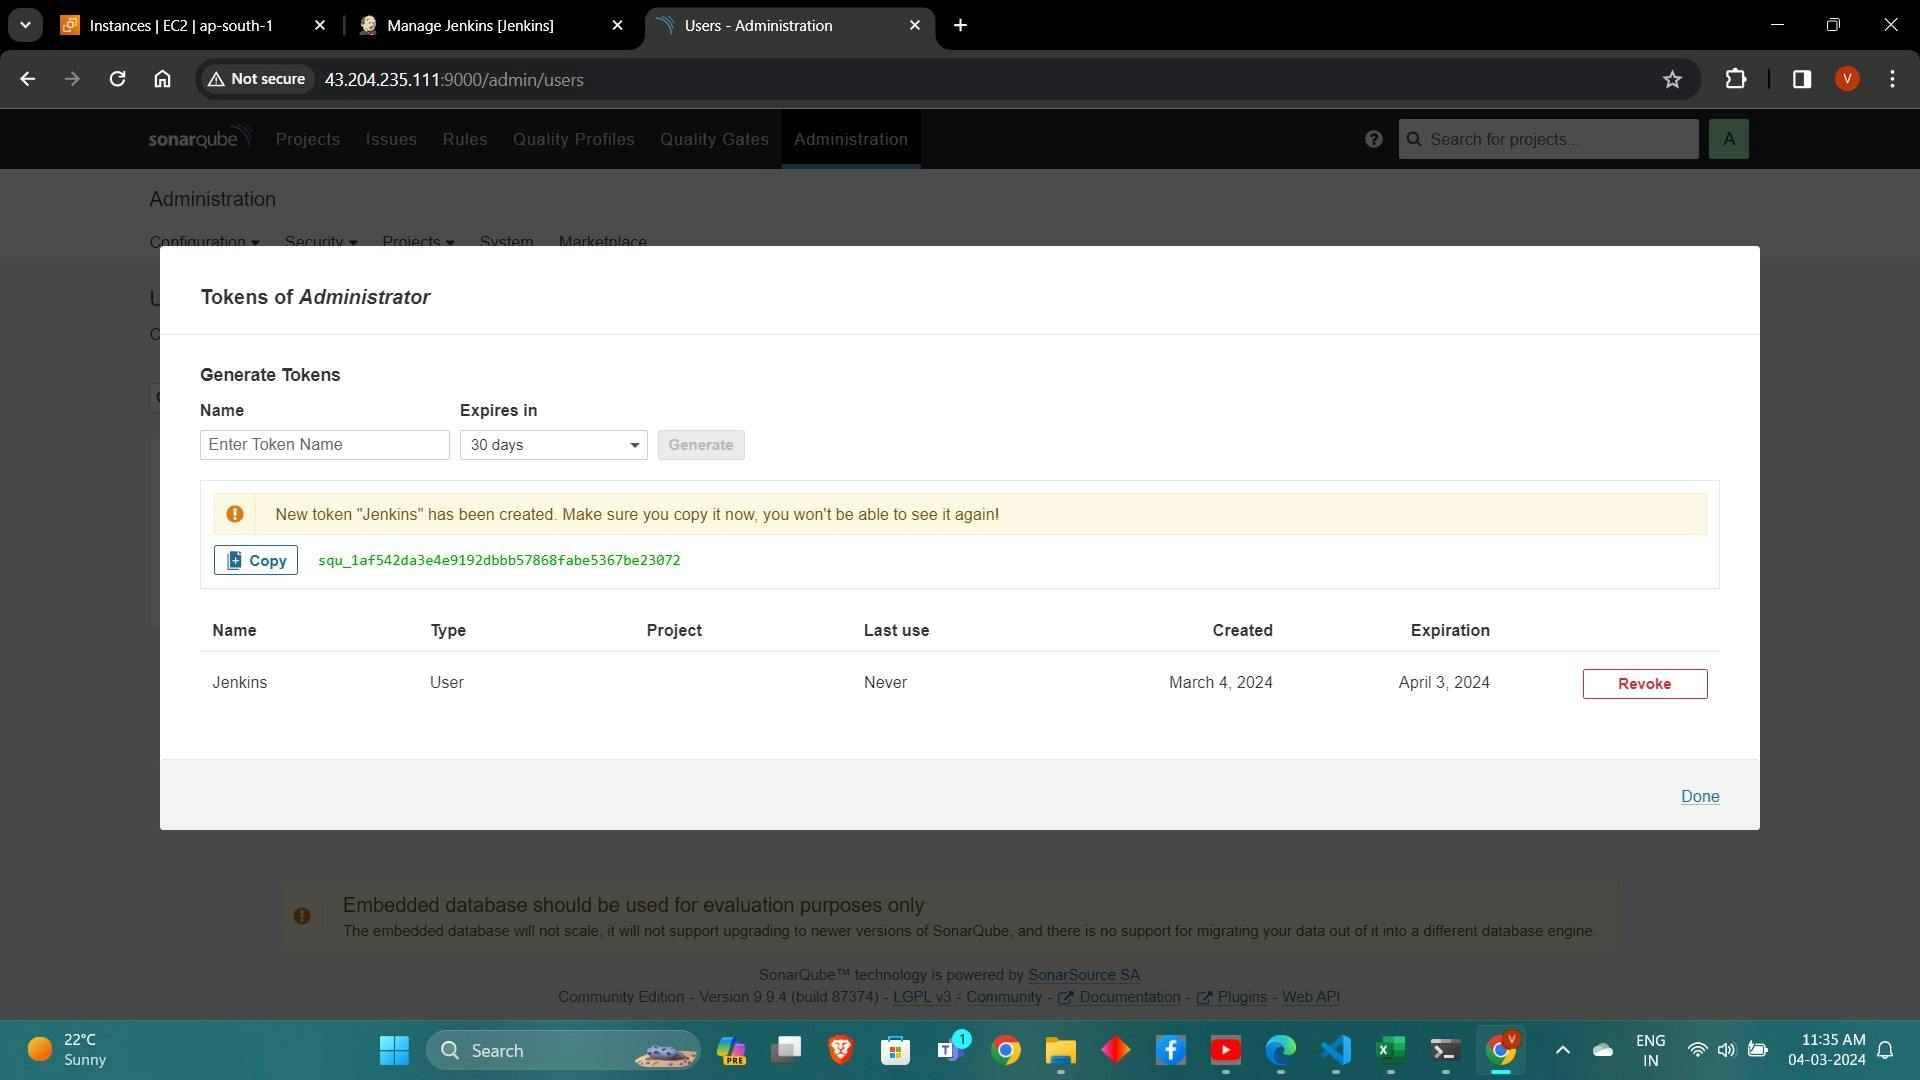
copy Token
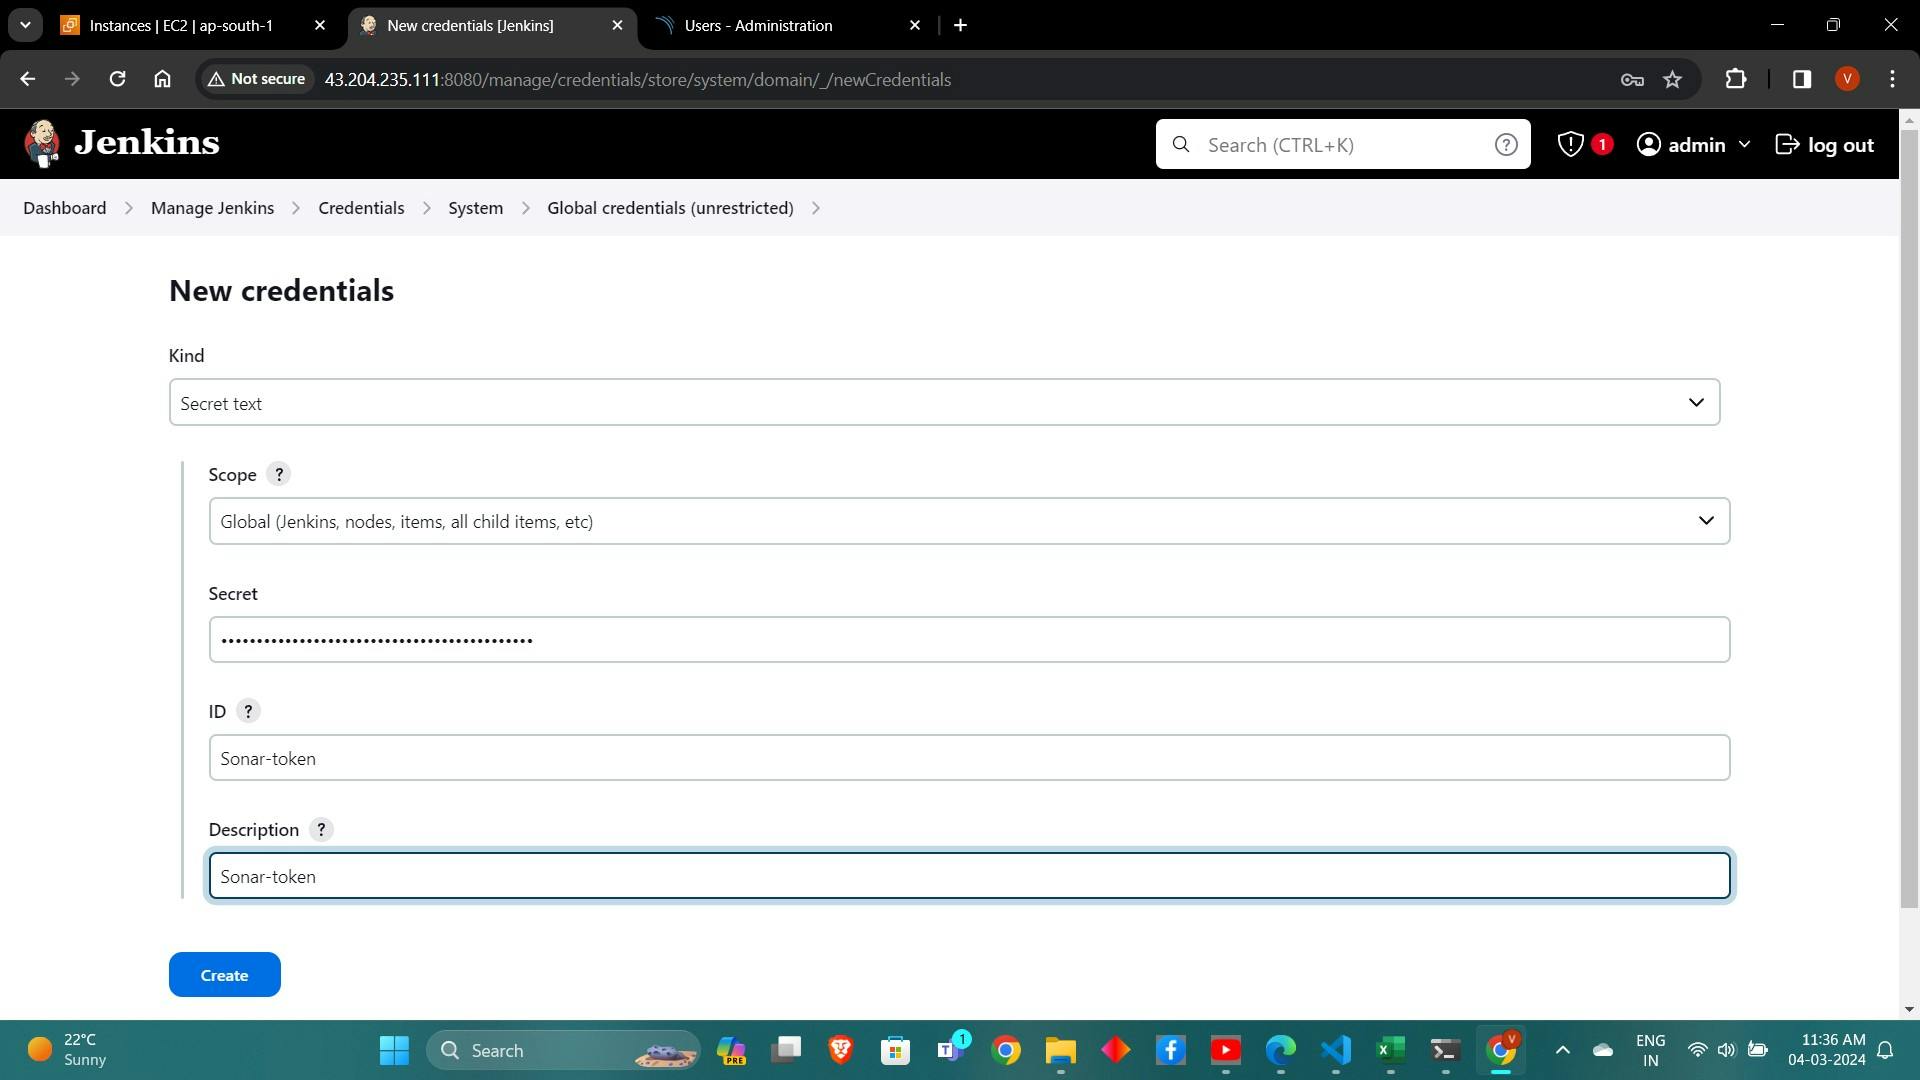
Goto Jenkins Dashboard → Manage Jenkins → Credentials → Add Secret Text. It should look like this
Now, go to Dashboard → Manage Jenkins → System and Add like the below image.
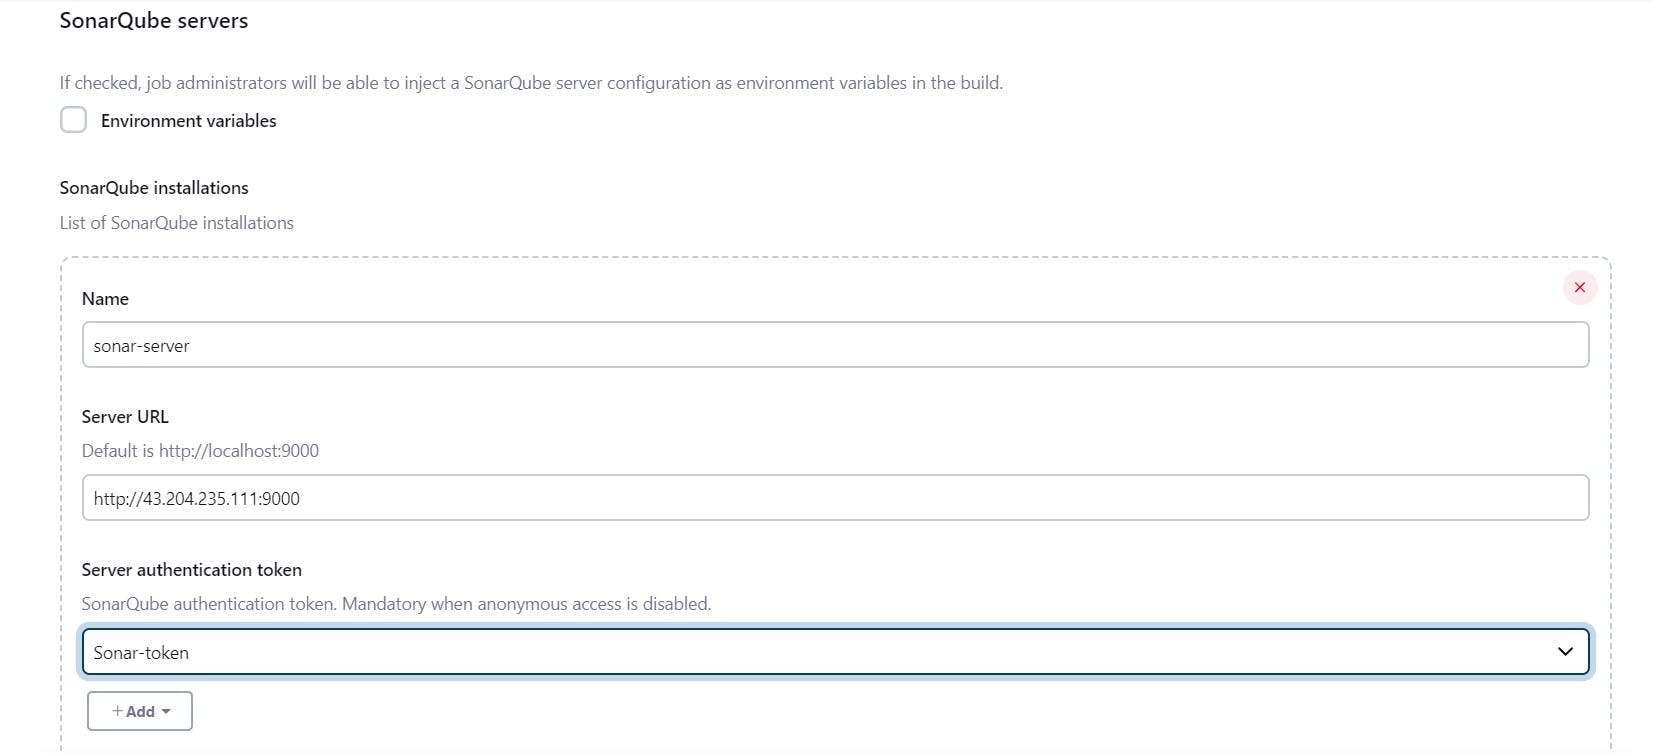
Click on Apply and Save
The Configure System option is used in Jenkins to configure different server
Global Tool Configuration is used to configure different tools that we install using Plugins
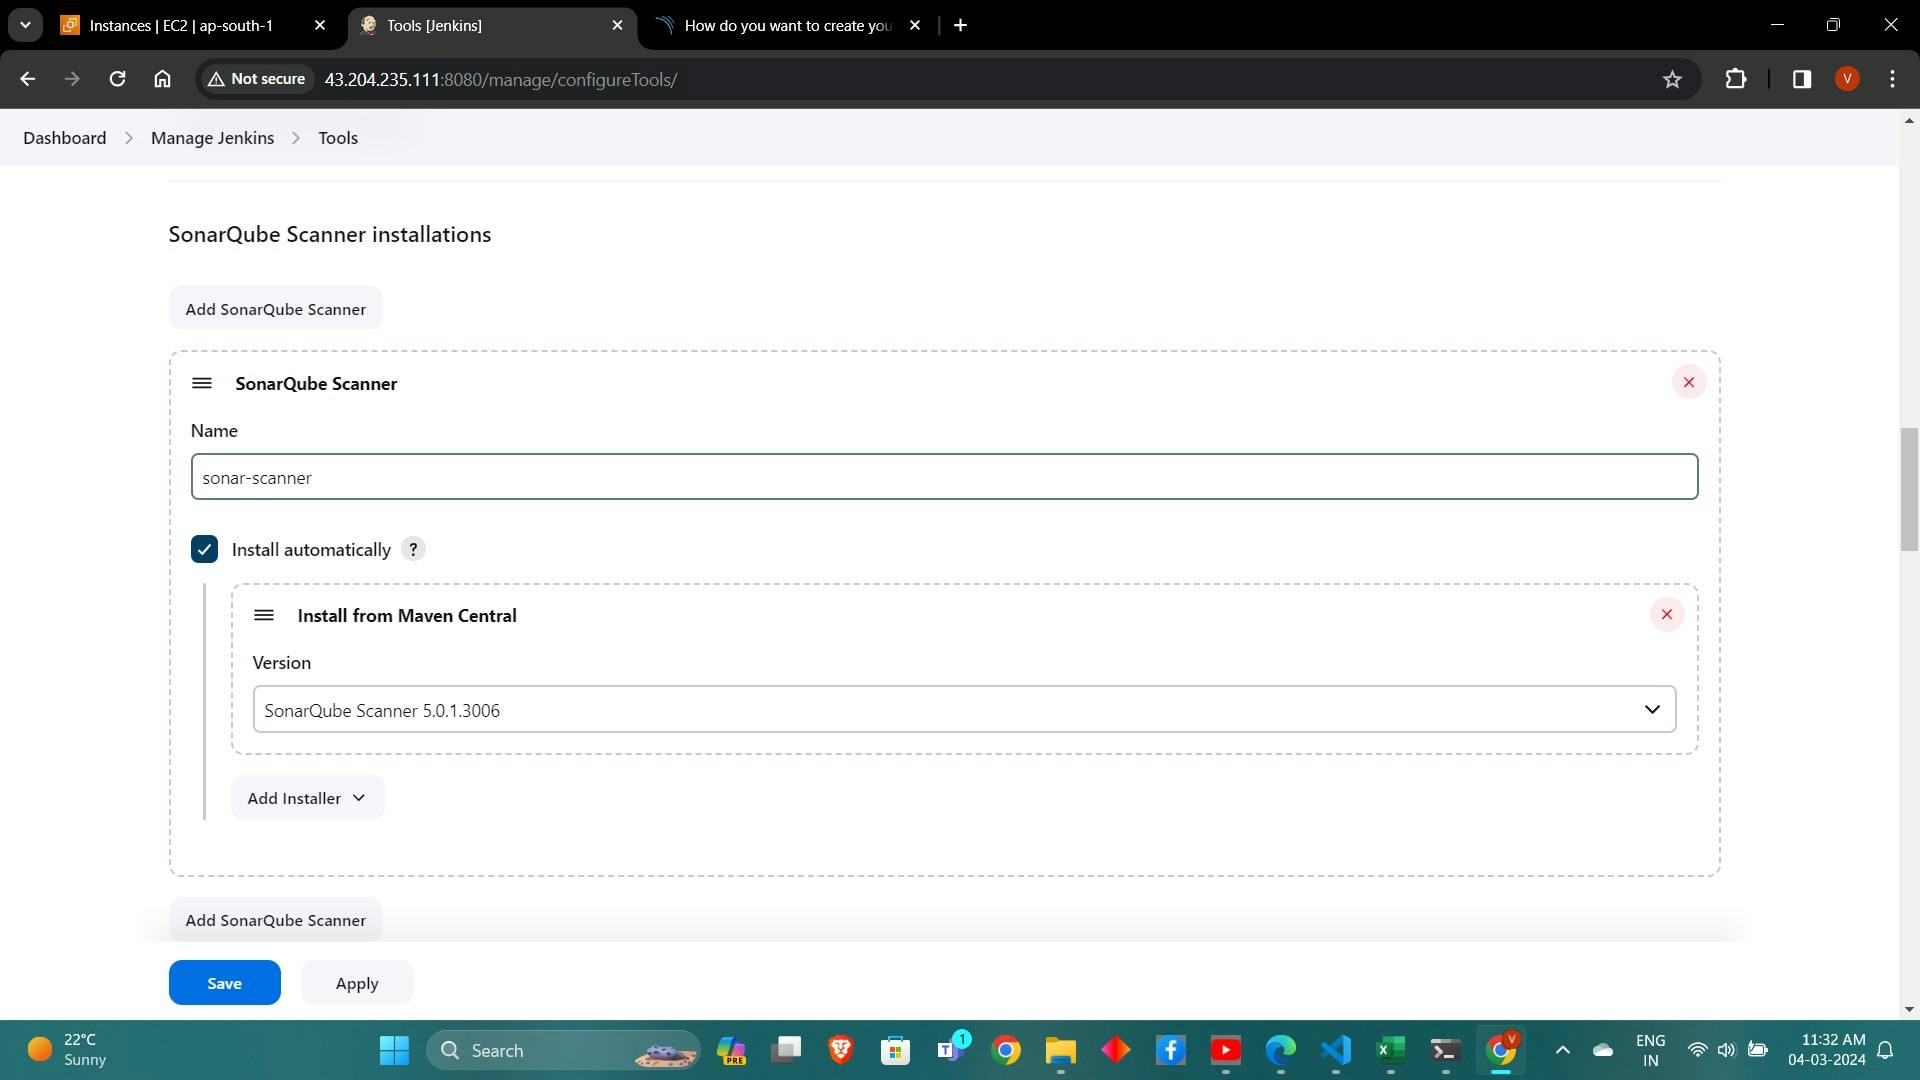
We will install a sonar scanner in the tools.
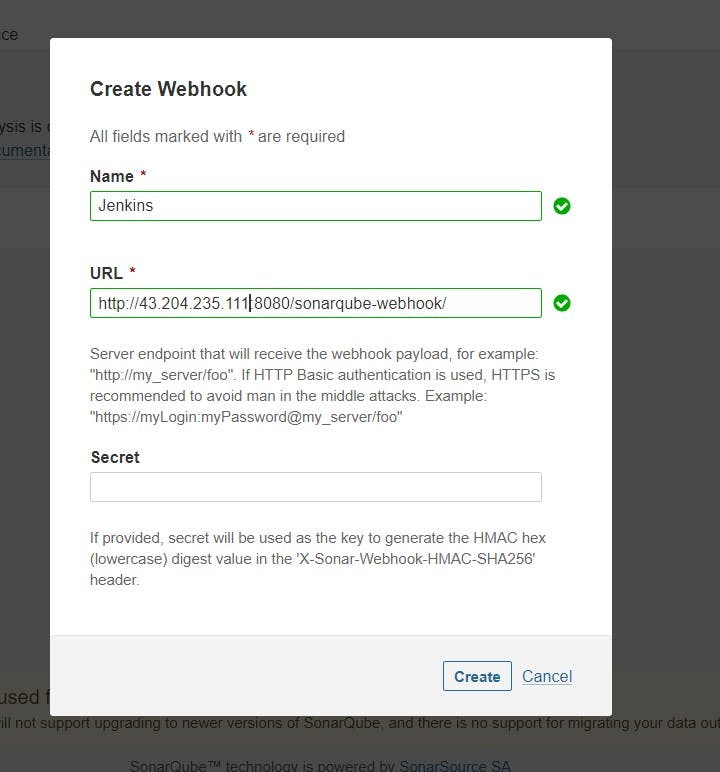
In the Sonarqube Dashboard add a quality gate also
Administration–> Configuration–>Webhooks
Let’s go to our Pipeline and add the script in our Pipeline Script.
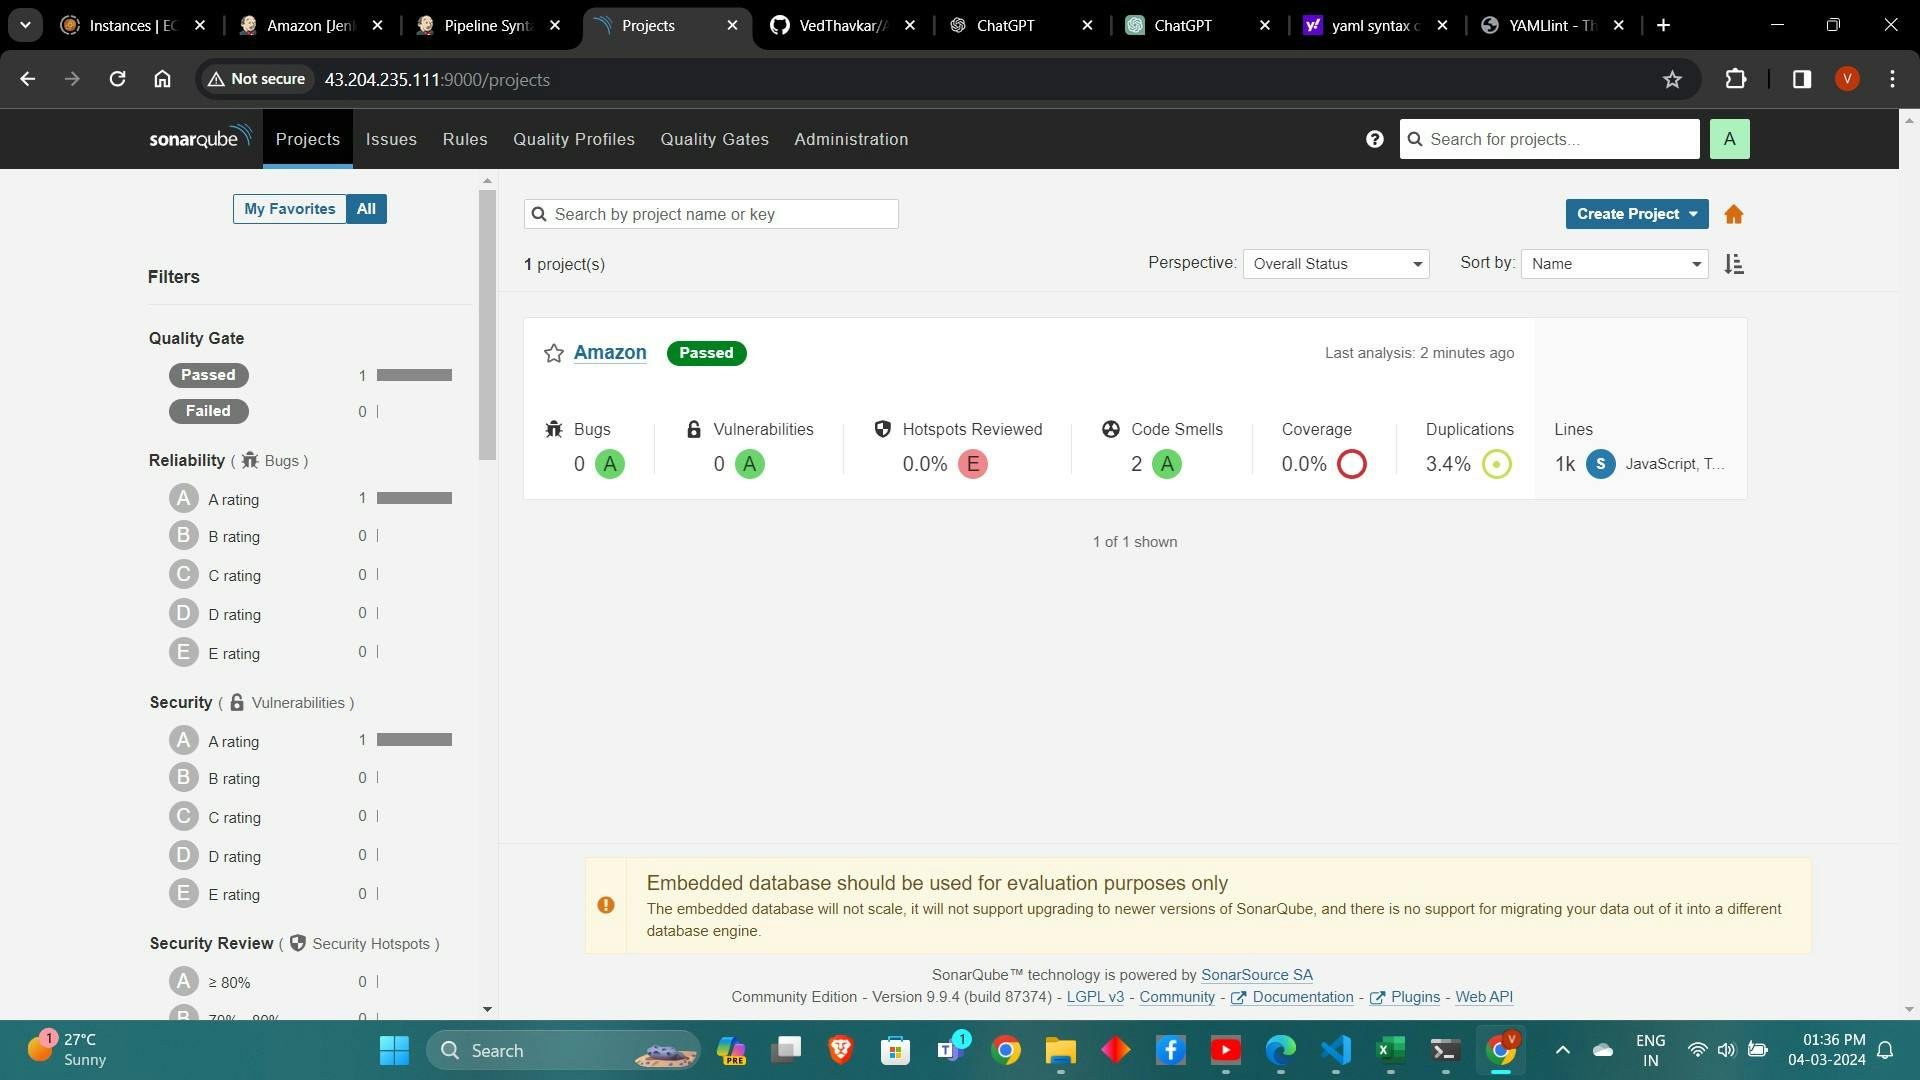
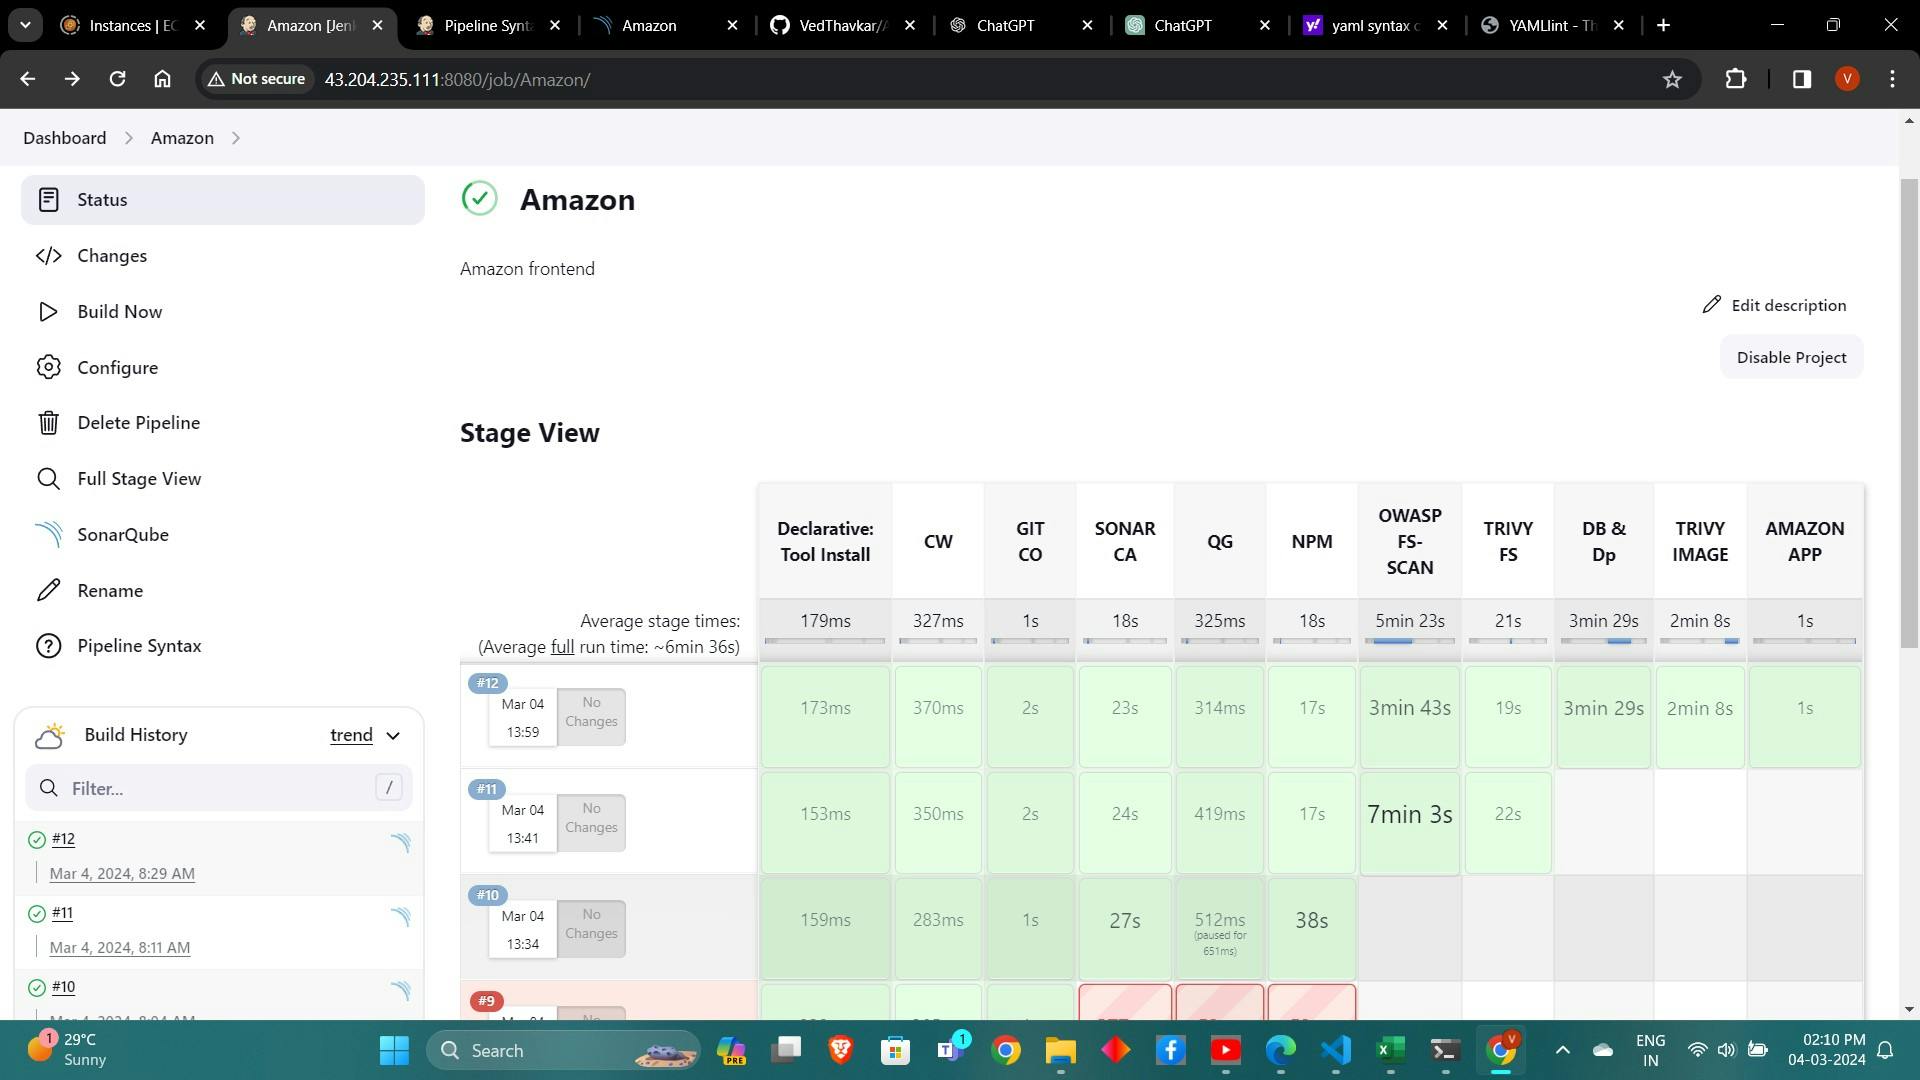
  pipeline{
      agent any
      tools{
          jdk 'jdk17'
          nodejs 'node16'
      }
      environment {
          SCANNER_HOME=tool 'sonar-scanner'
      }
      stages {
          stage('clean workspace'){
              steps{
                  cleanWs()
              }
          }
          stage('Checkout from Git'){
              steps{
                  git branch: 'main', url: 'https://github.com/Aj7Ay/Amazon-FE.git'
              }
          }
          stage("Sonarqube Analysis "){
              steps{
                  withSonarQubeEnv('sonar-server') {
                      sh ''' $SCANNER_HOME/bin/sonar-scanner -Dsonar.projectName=Amazon \
                      -Dsonar.projectKey=Amazon '''
                  }
              }
          }
          stage("quality gate"){
             steps {
                  script {
                      waitForQualityGate abortPipeline: false, credentialsId: 'Sonar-token'
                  }
              }
          }
          stage('Install Dependencies') {
              steps {
                  sh "npm install"
              }
          }
      }
  }
Click on Build now, you will see the stage view like this
To see the report, you can go to Sonarqube Server and go to Projects.
7. Implementing Security Scans with OWASP Dependency Check and Trivy:
Installing OWASP Dependency Check Plugin:
Install the OWASP Dependency Check plugin in Jenkins through the plugin manager.

Configure the plugin to scan for vulnerabilities in project dependencies.
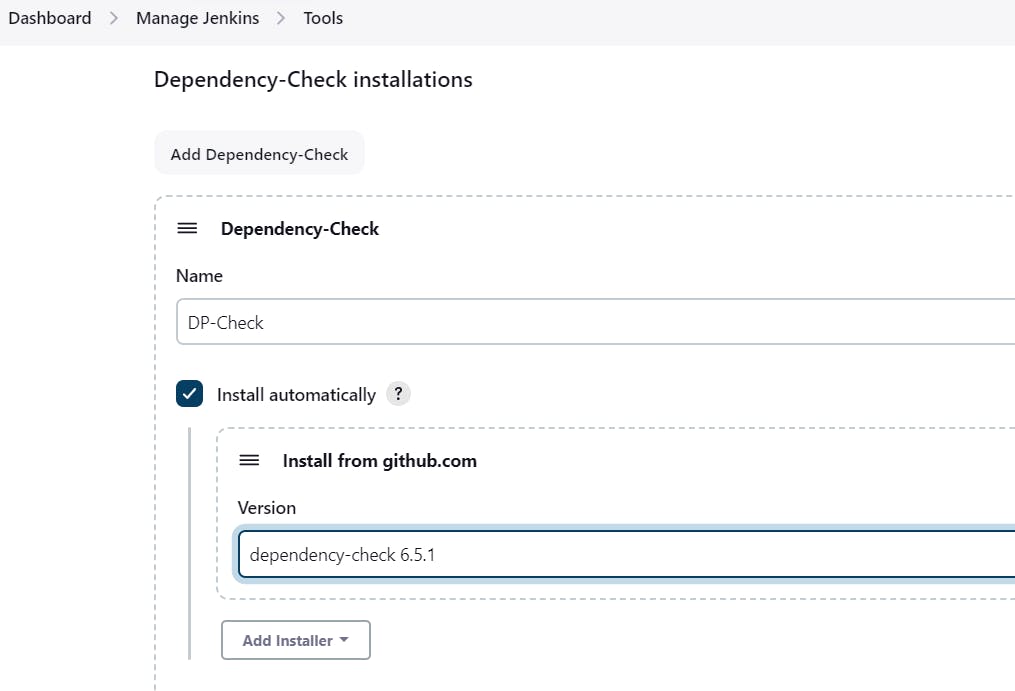
First, we configured the Plugin and next, we had to configure the Tool
Goto Dashboard → Manage Jenkins → Tools →
Performing Security Scans with Trivy:
Install Trivy on the Jenkins server or a Docker image.
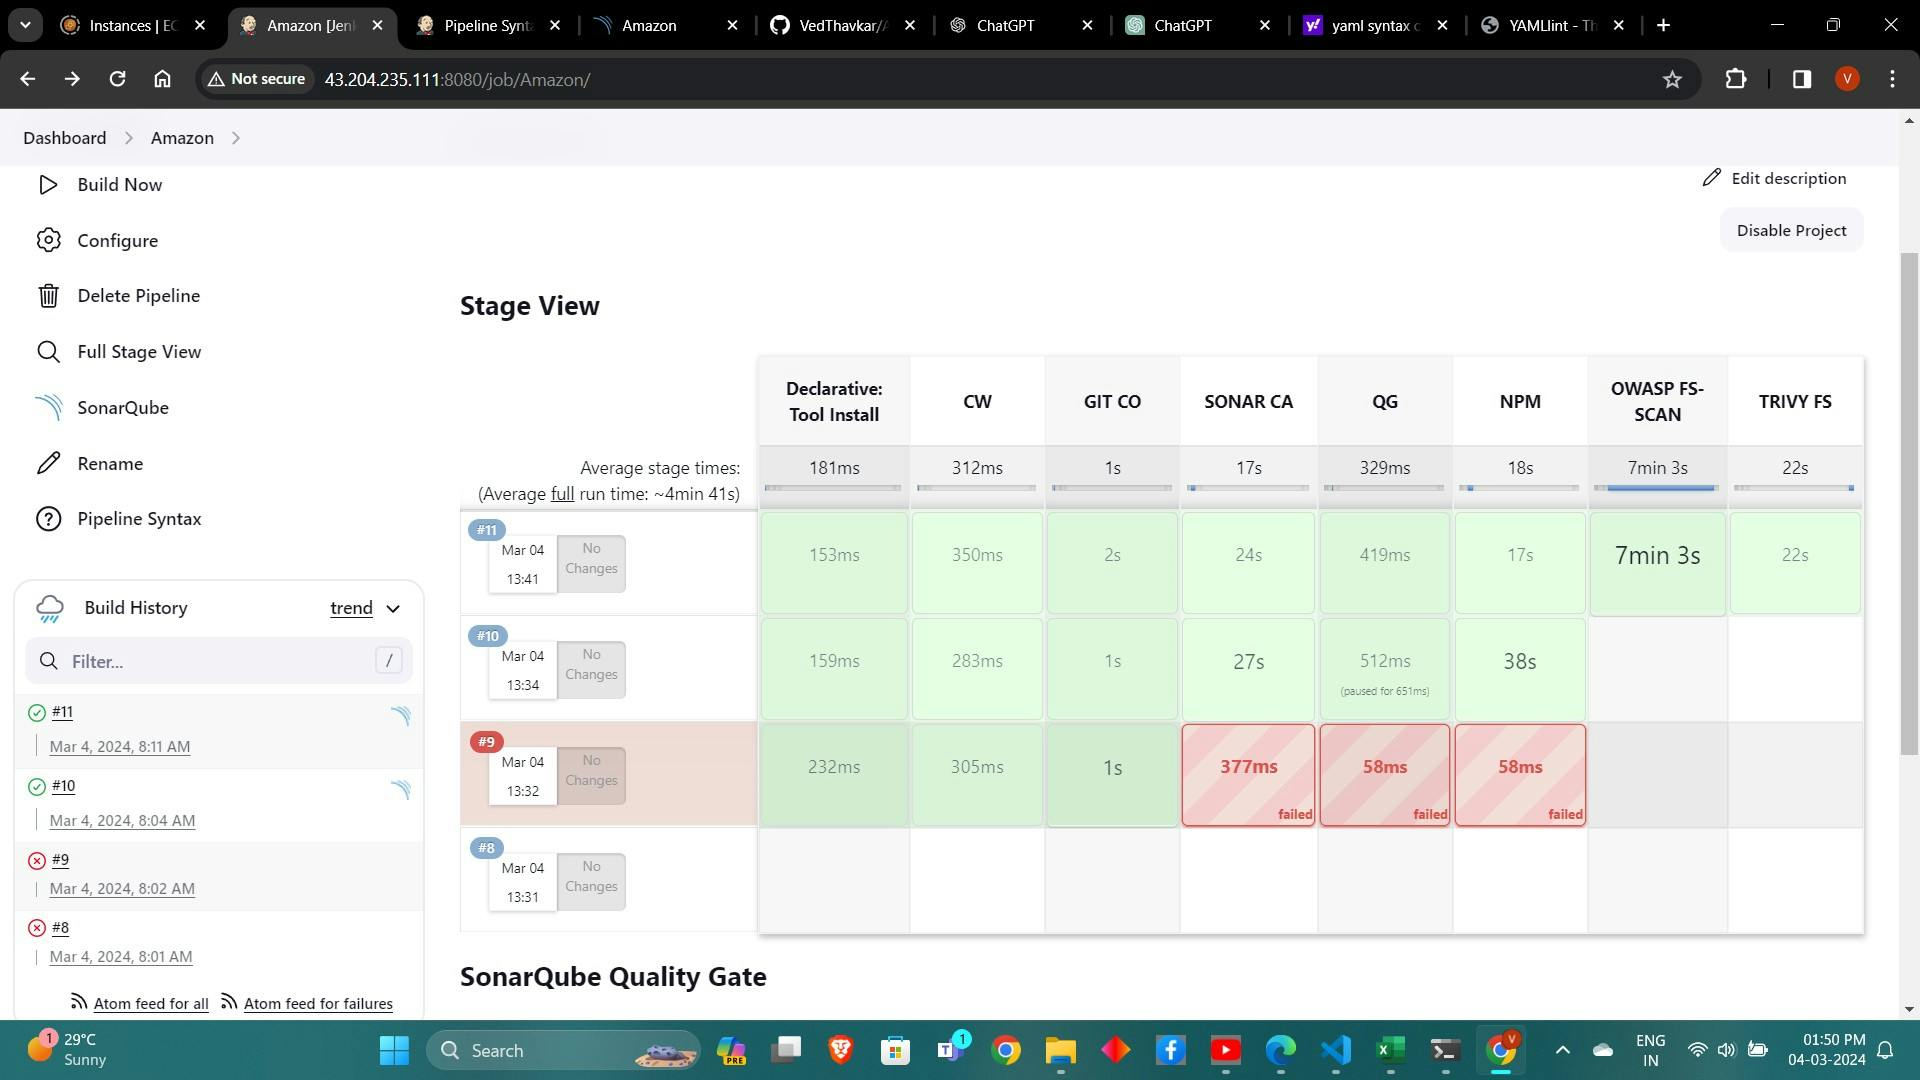
 stage('OWASP FS SCAN') {
             steps {
                 dependencyCheck additionalArguments: '--scan ./ --disableYarnAudit --disableNodeAudit', odcInstallation: 'DP-Check'
                 dependencyCheckPublisher pattern: '**/dependency-check-report.xml'
             }
         }
         stage('TRIVY FS SCAN') {
             steps {
                 sh "trivy fs . > trivyfs.txt"
             }
         }
Configure Trivy to scan Docker images for vulnerabilities during the CI/CD process.
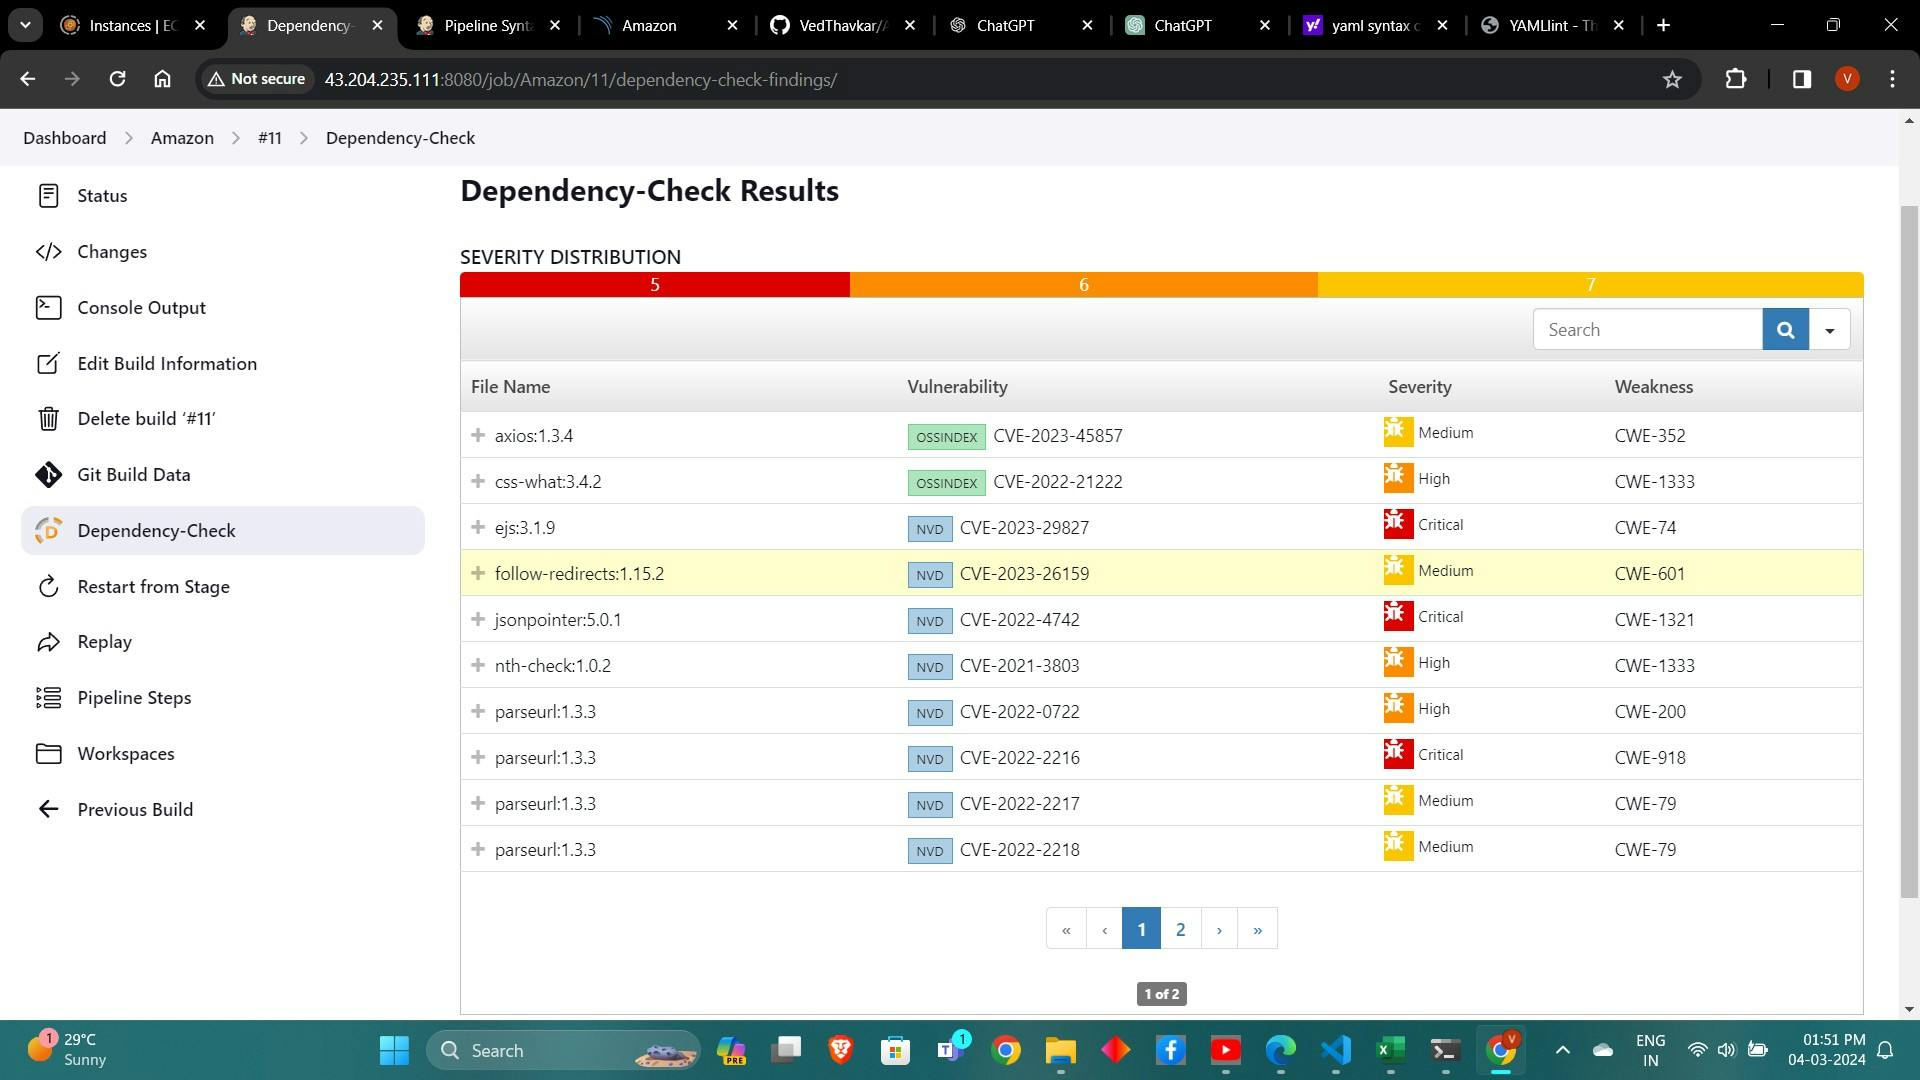
The stage view would look like this,

You will see that in status, a graph will also be generated and Vulnerabilities.
8. Building Docker Images and Pushing to DockerHub:
Installing Docker Plugins in Jenkins:
Install Docker plugins in Jenkins through the plugin manager.
As I have Installed at first time.
Configure Docker credentials in Jenkins to authenticate with DockerHub.
Now, goto Dashboard → Manage Jenkins → Tools →
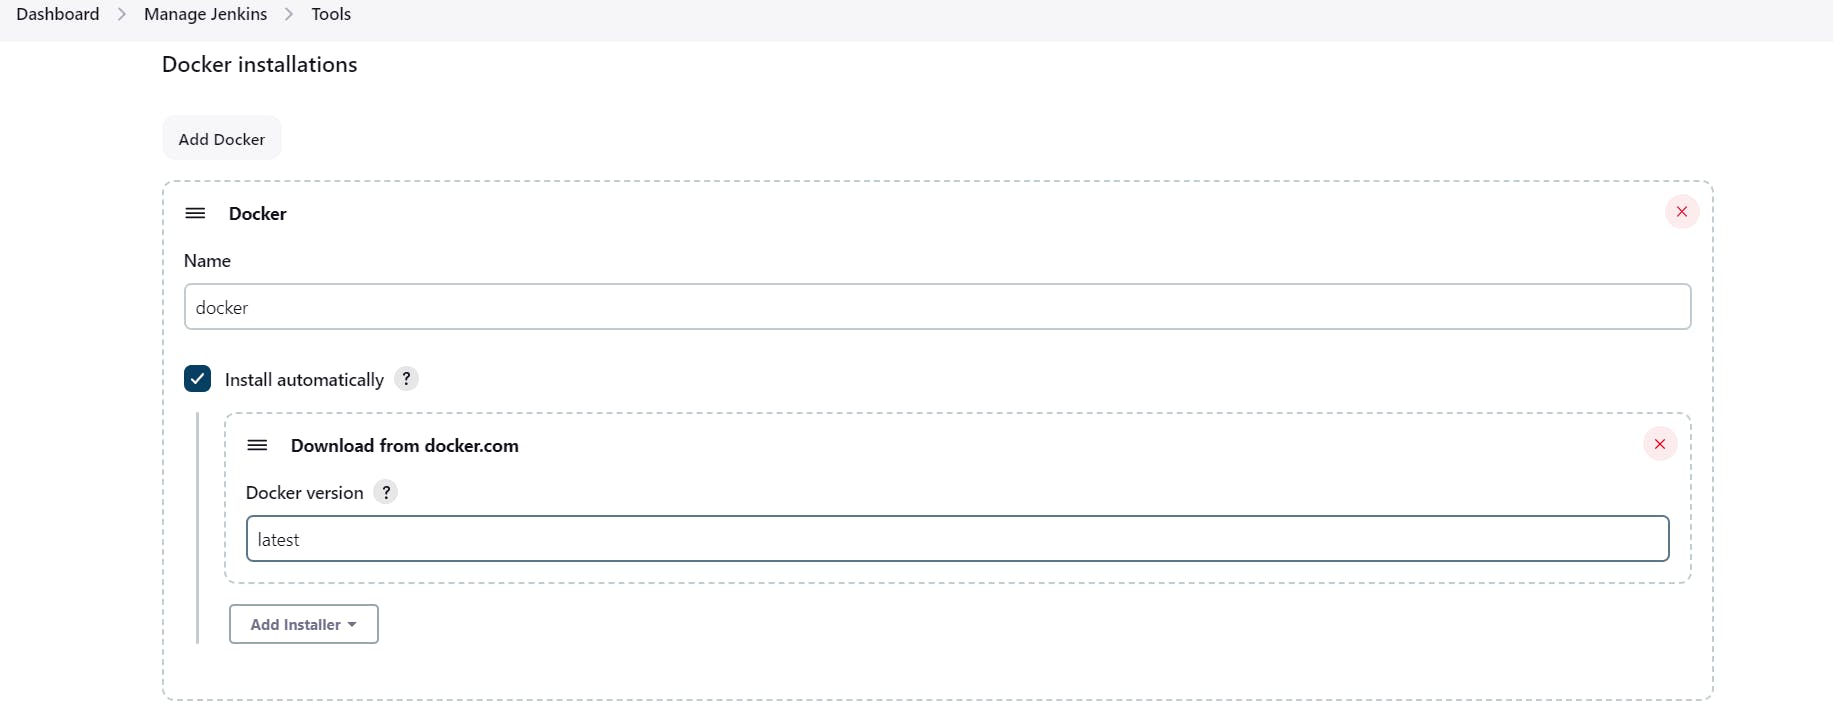
Add DockerHub Username and Password under Global Credentials
Building Docker Images and Pushing to DockerHub:
Write a Jenkins pipeline script to build Docker images from the source code.
 stage("Docker Build & Push"){
             steps{
                 script{
                    withDockerRegistry(credentialsId: 'docker', toolName: 'docker'){
                        sh "docker build -t amazon ."
                        sh "docker tag amazon sevenajay/amazon:latest "
                        sh "docker push sevenajay/amazon:latest "
                     }
                 }
             }
         }
         stage("TRIVY"){
             steps{
                 sh "trivy image sevenajay/amazon:latest > trivyimage.txt"
             }
         }
Tag the Docker images with the appropriate version and repository.
Push the Docker images to DockerHub using Docker credentials configured in Jenkins.
9. Deploying Application Containers:
Deploying Application Containers Using Docker:
Write a Jenkins pipeline script to deploy Docker containers on the provisioned EC2 instance.
 stage('Deploy to container'){
             steps{
                 sh 'docker run -d --name amazon -p 3000:3000 sevenajay/amazon:latest'
             }
         }
Use Docker commands to run Docker containers with the built Docker images.

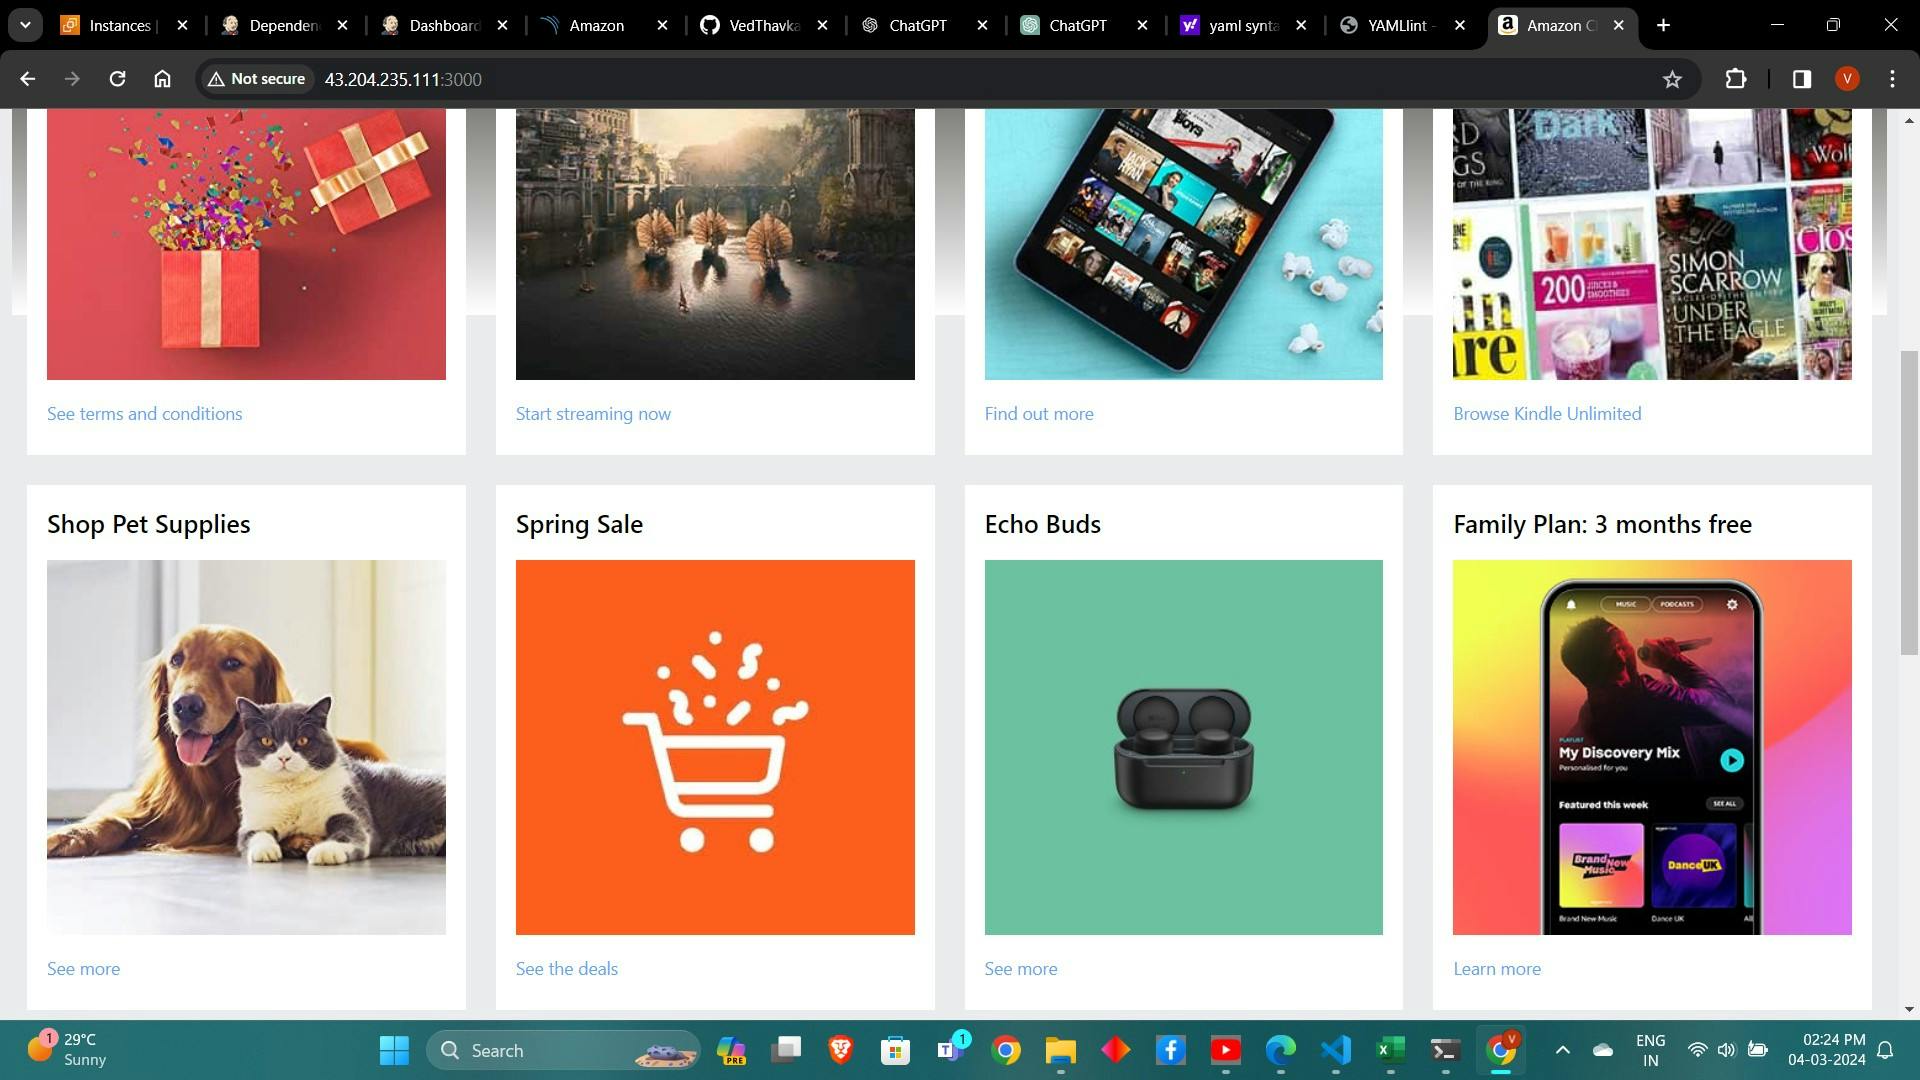
<Jenkins-public-ip:3000>
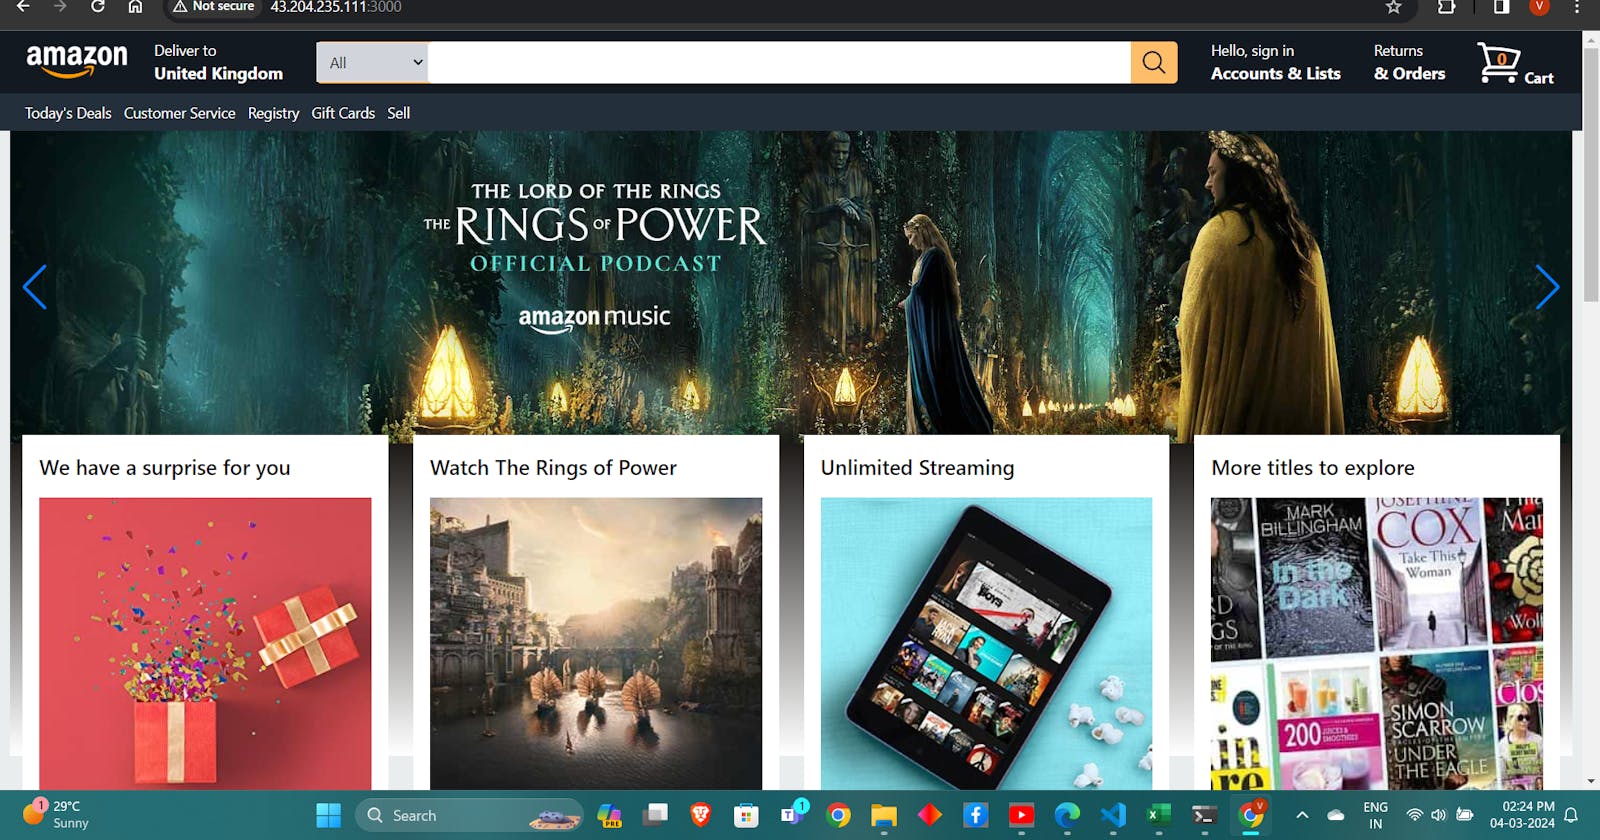
You will get this output


10. Cleanup and Tear Down: - Destroying AWS Infrastructure Using Terraform: 1. Navigate to the Terraform project directory. 2. Run terraform destroy command to tear down the provisioned AWS resources. 3. Confirm the destruction when prompted.
Conclusion: - In conclusion, securing Amazon app deployments requires a comprehensive approach that integrates security measures throughout the deployment pipeline. By following the steps outlined in this guide, developers can deploy applications on AWS securely while leveraging automation and DevSecOps principles. Remember to stay vigilant and continuously monitor and improve security practices to mitigate emerging threats effectively.