


Are you ready to embark on a nostalgic journey back to the thrilling era of 90s gaming? Let's take a step back in time and relive those exciting moments by deploying the iconic Super Mario game on Amazon’s Elastic Kubernetes Service (EKS). With Kubernetes orchestrating the deployment, get ready for a journey filled with scalability, reliability, and easy management of this beloved classic.
Prerequisites:
To begin this nostalgic adventure, ensure you have the following prerequisites in place:
An Ubuntu Instance
IAM role
Terraform installed on the instance
AWS CLI and Kubectl installed on the instance
Deployment Guide:
Step 1: Launching the Ubuntu Instance
Sign in to AWS Console: Log in to your AWS Management Console.
Navigate to EC2 Dashboard: Access the EC2 Dashboard by selecting “Services” in the top menu and then choosing “EC2” under the Compute section.
Launch Instance: Initiate the instance creation process by clicking on the “Launch Instance” button.
Choose an Amazon Machine Image (AMI): Select an appropriate Ubuntu image for your instance.
Choose Instance Type: Opt for the t2.micro instance type and proceed.
Configure Instance Details: Set the number of instances, network, subnets, IAM role, and storage as required.
Add Tags: Optionally, add any desired tags to your instance for organizational purposes.
Configure Security Group: Ensure the security group allows necessary inbound/outbound rules.
Review and Launch: Review the configuration details and launch the instance.
Select Key Pair: Choose an existing key pair or create a new one for accessing the instance.
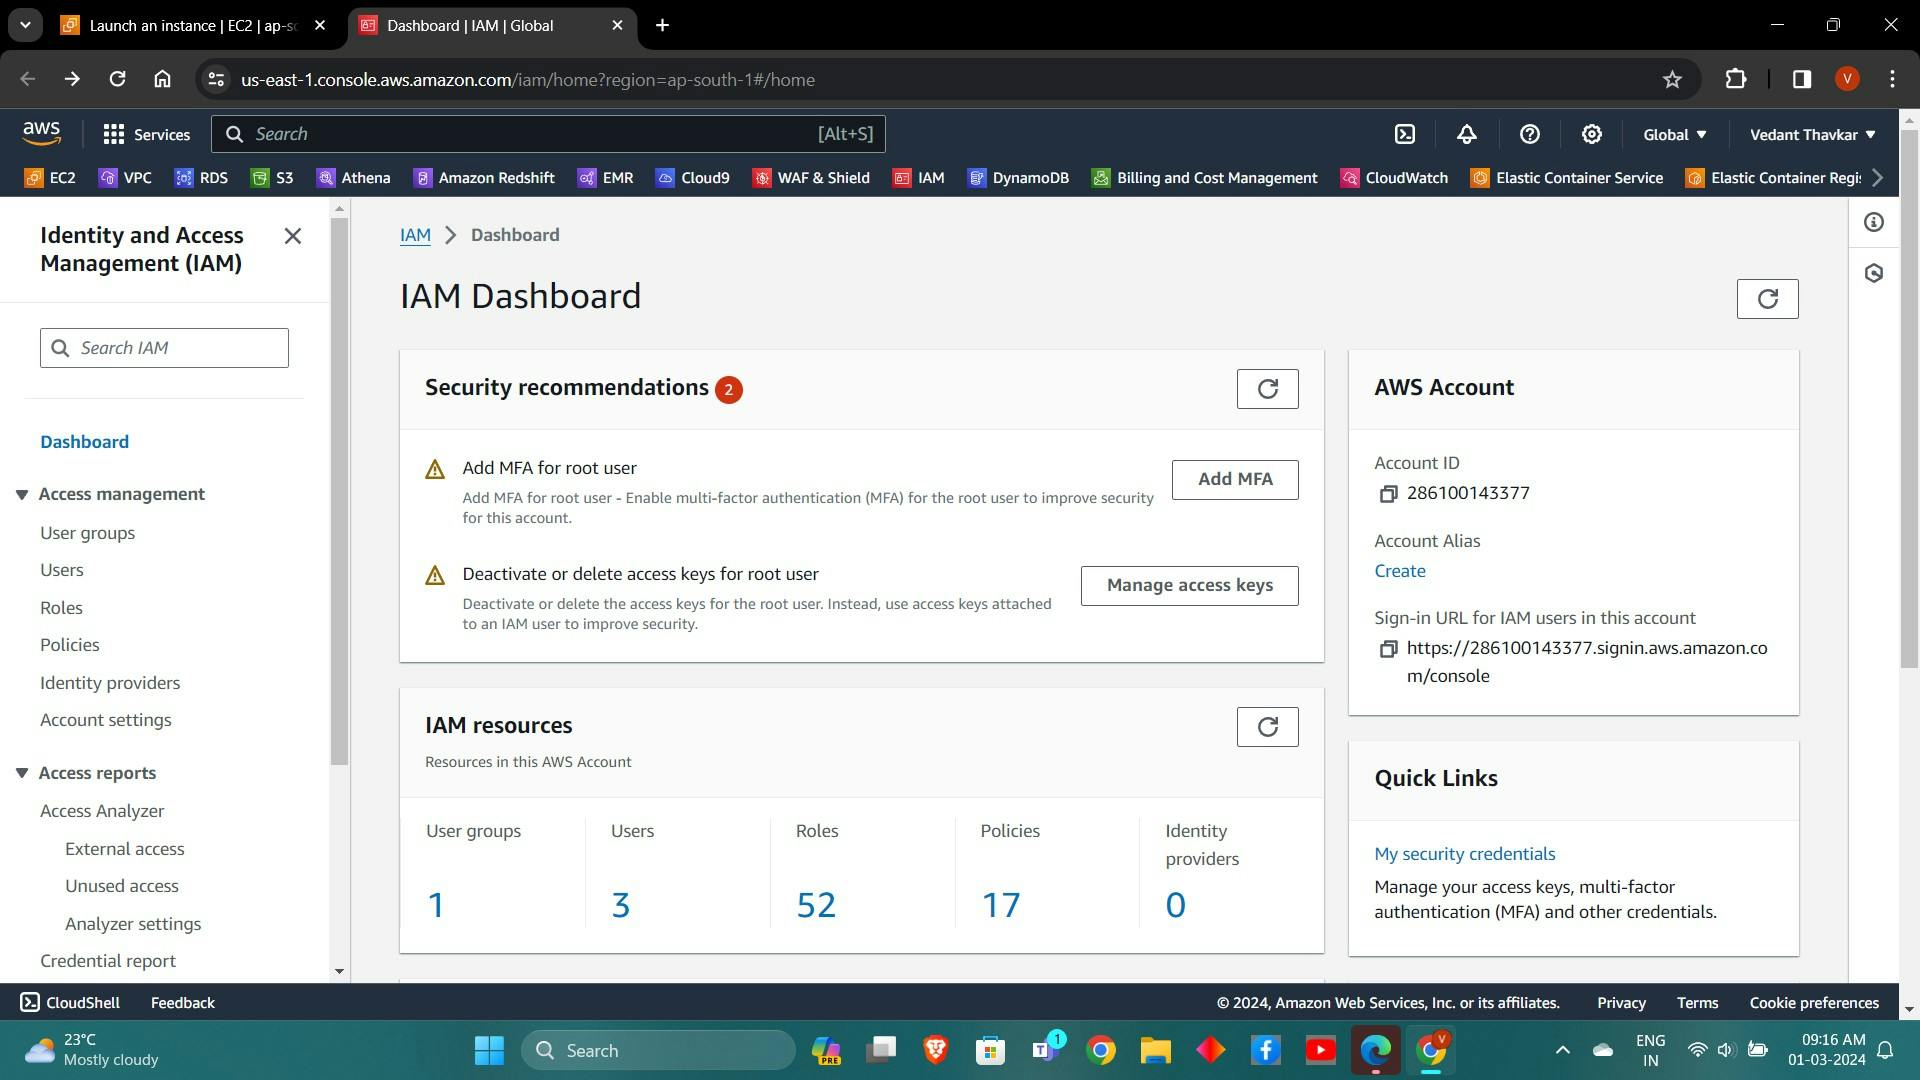
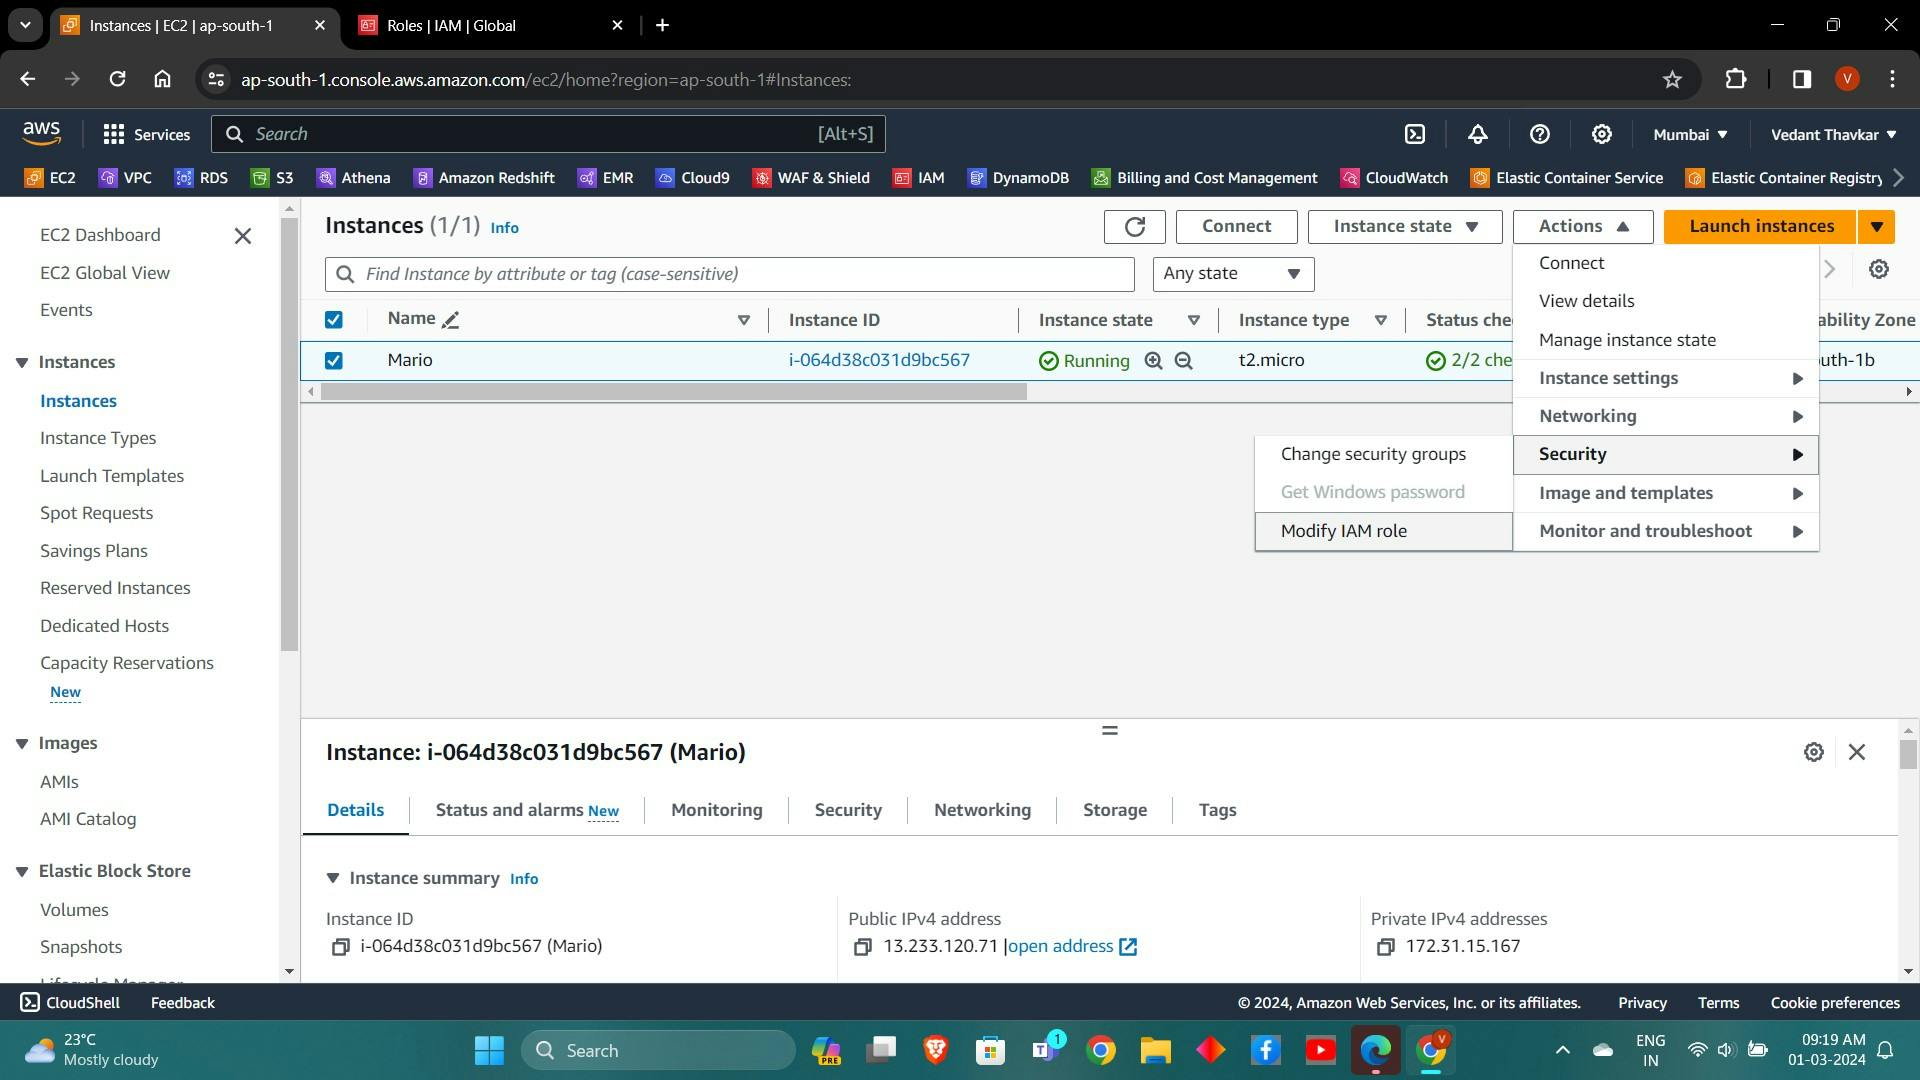
Step 2: Creating IAM Role
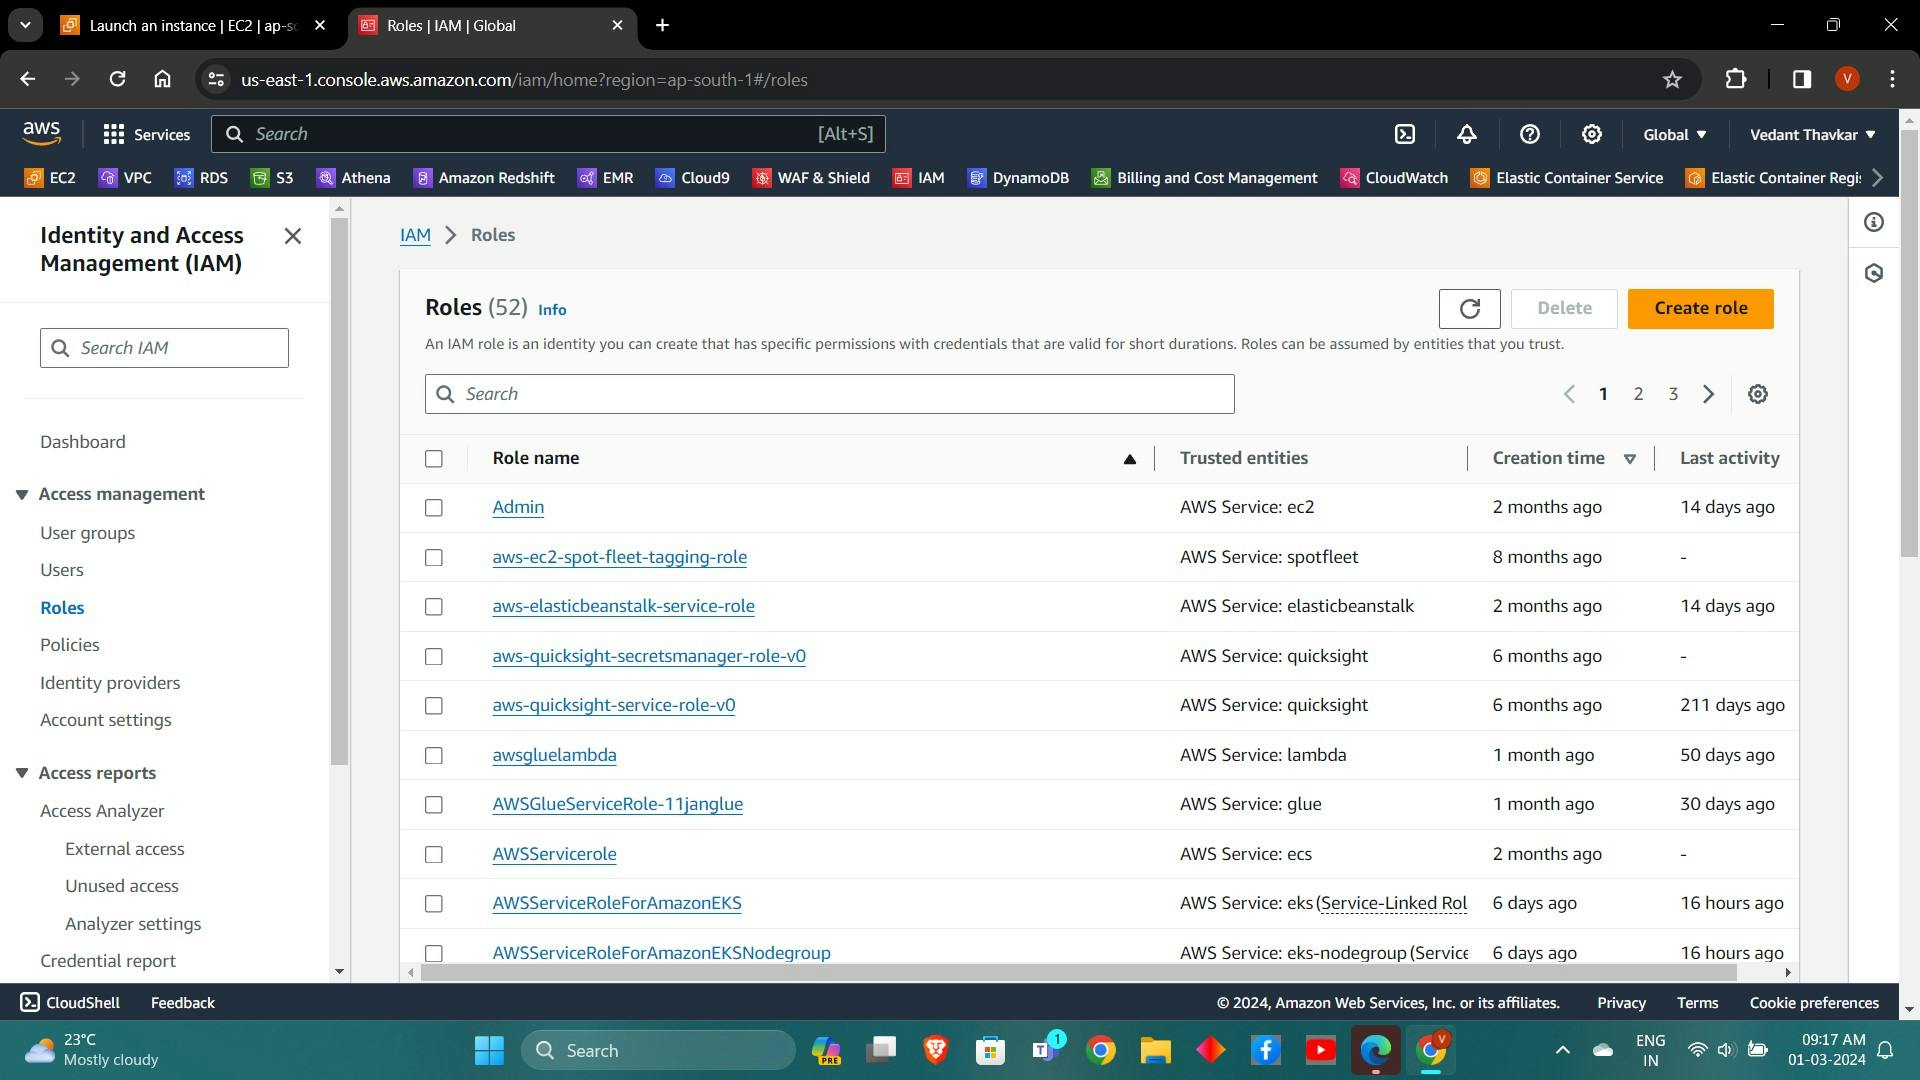
Search for IAM: Navigate to IAM in the AWS Management Console and click on "Roles".
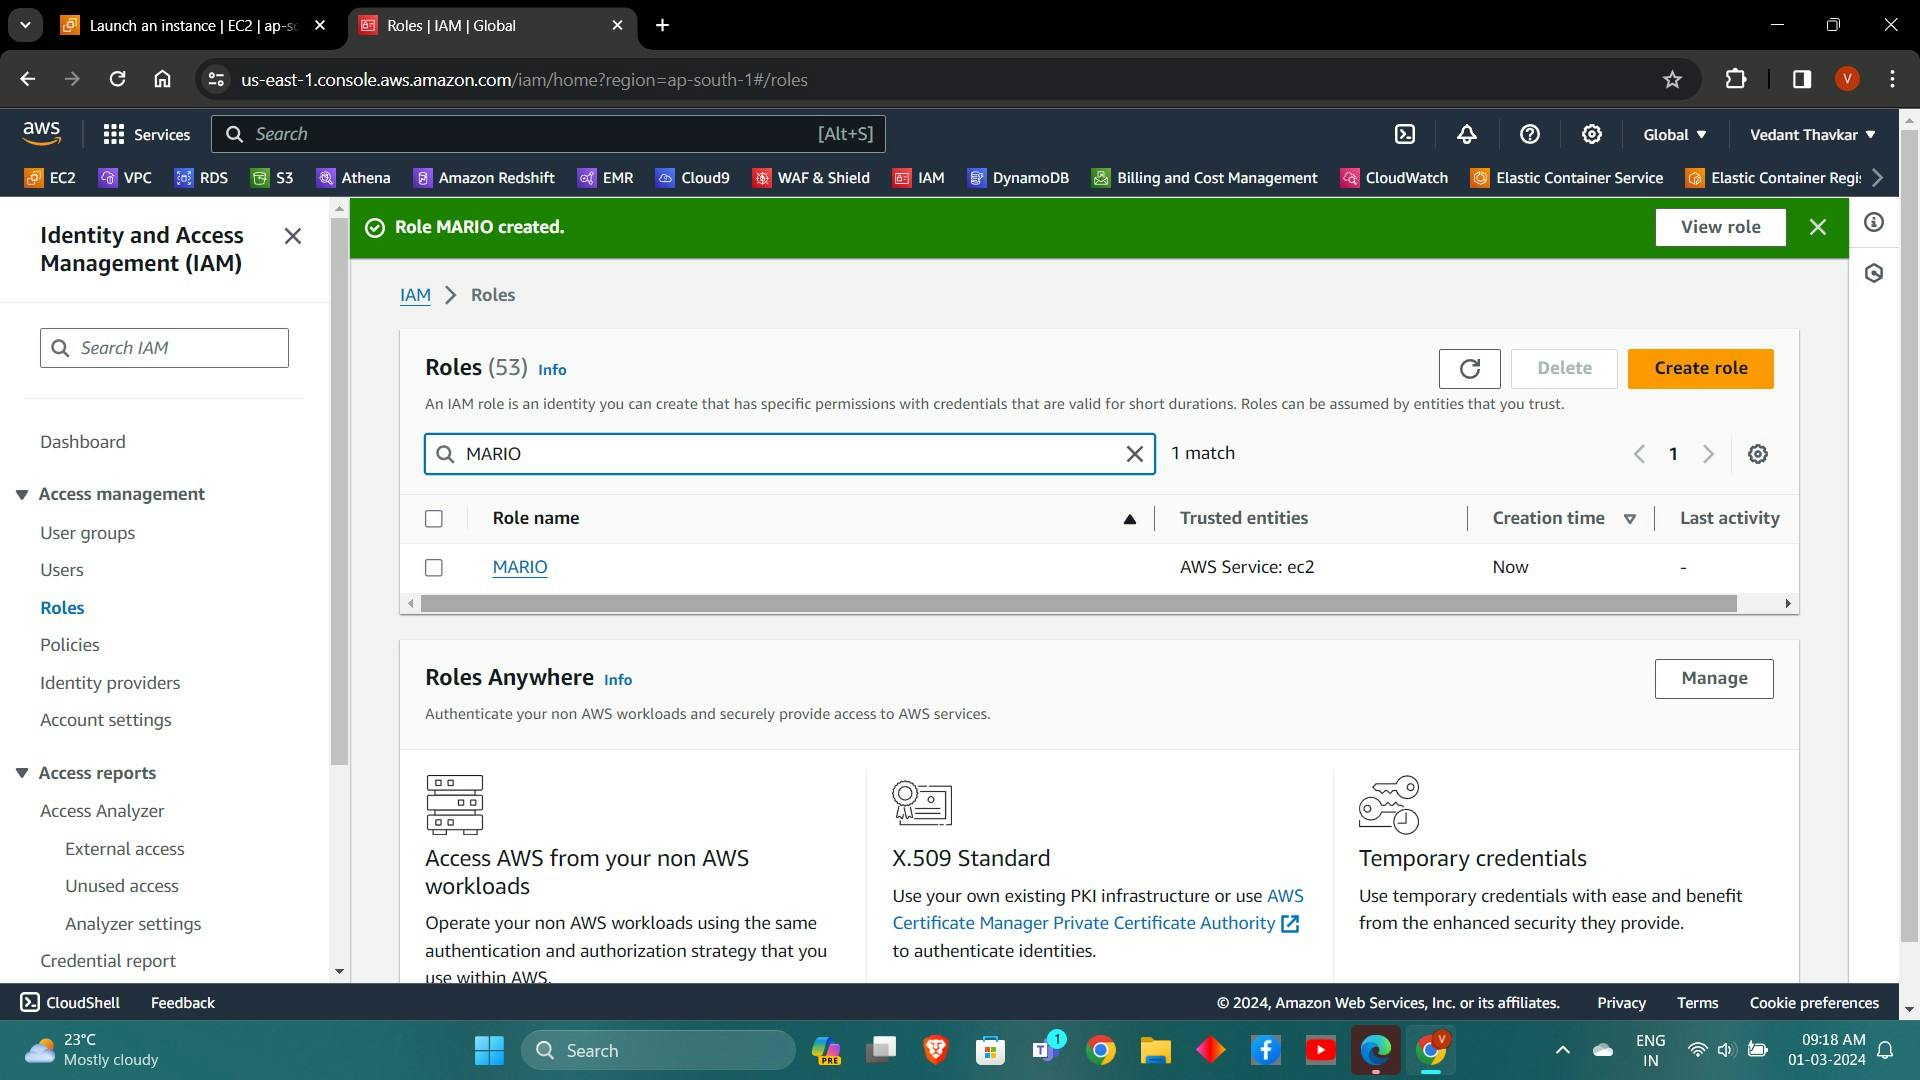
Create Role: Proceed to create a new role with the entity type as AWS service and use case as EC2.
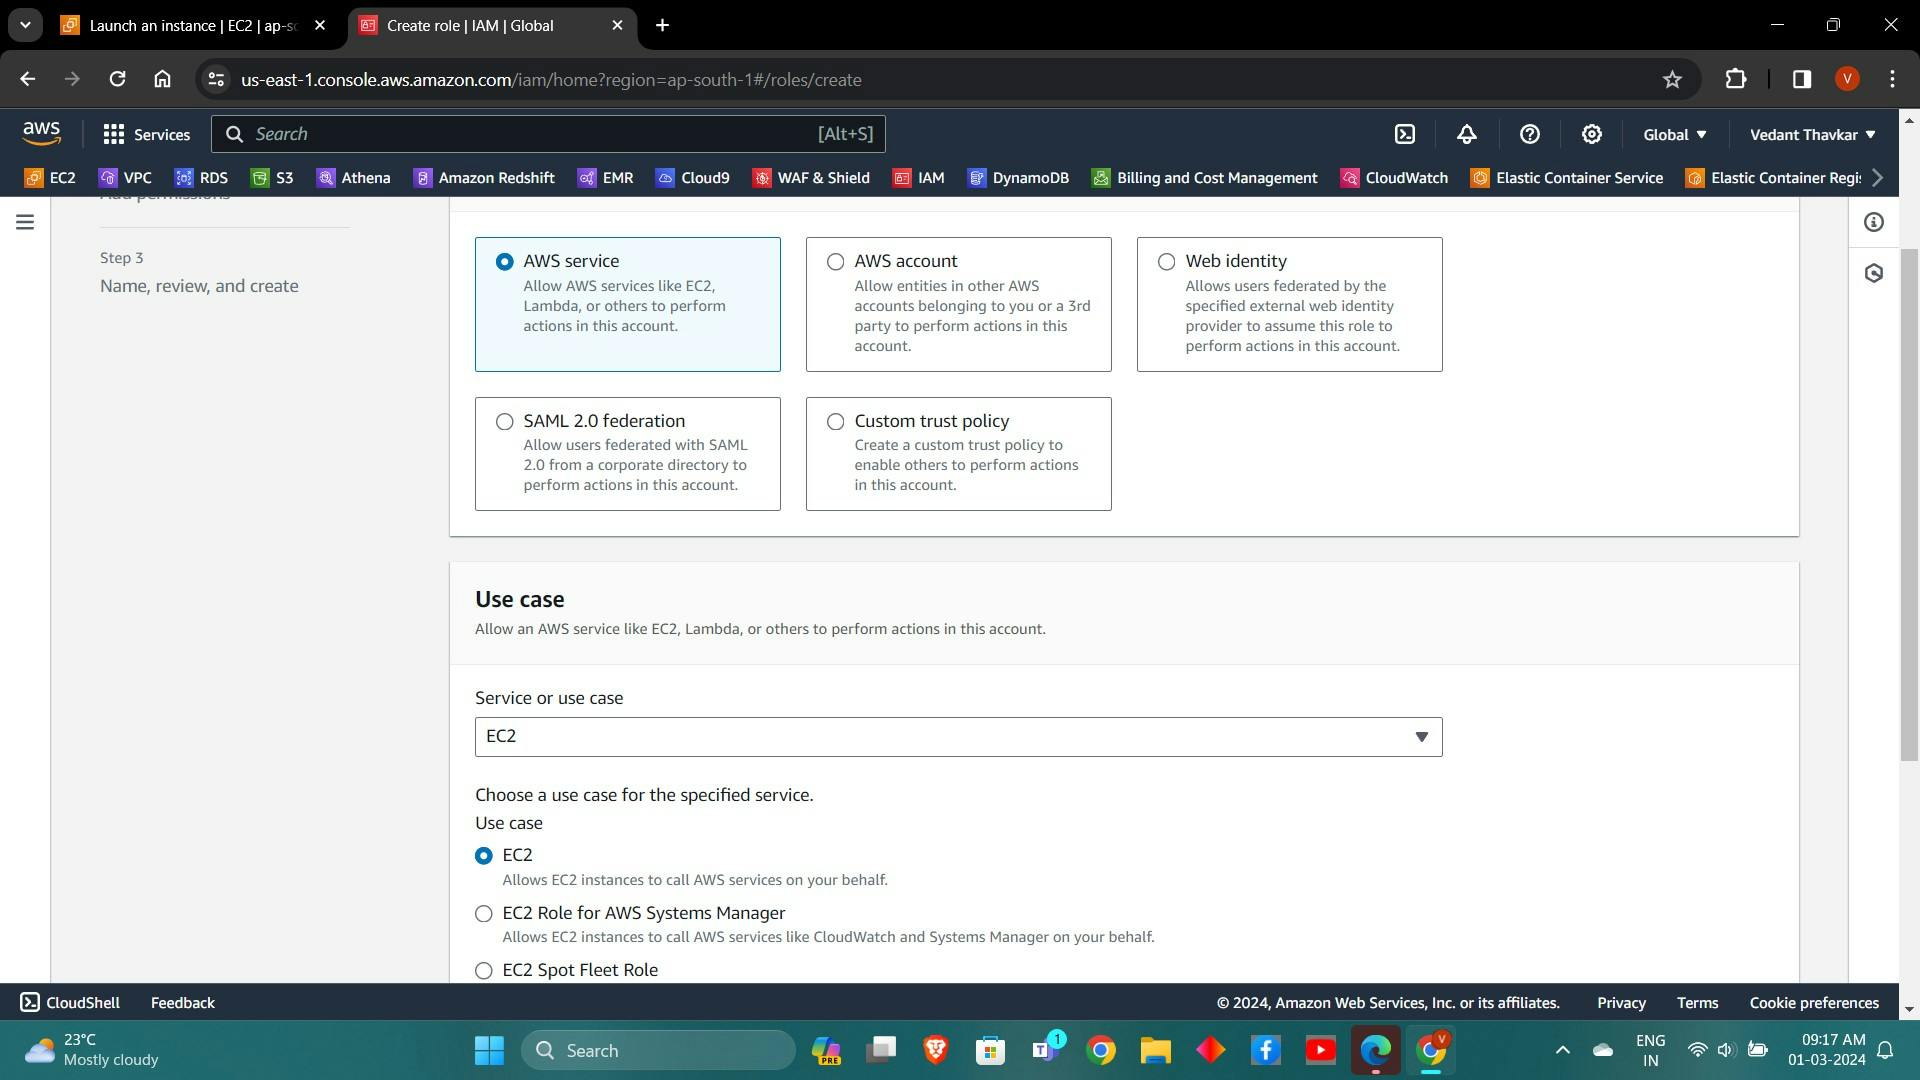
Select Permission Policy: Choose Administrator Access (for learning purposes) and create the role.

Attach Role to EC2 Instance: Assign the created role to the EC2 instance to enable provisioning.

Step 3: Provisioning the Cluster
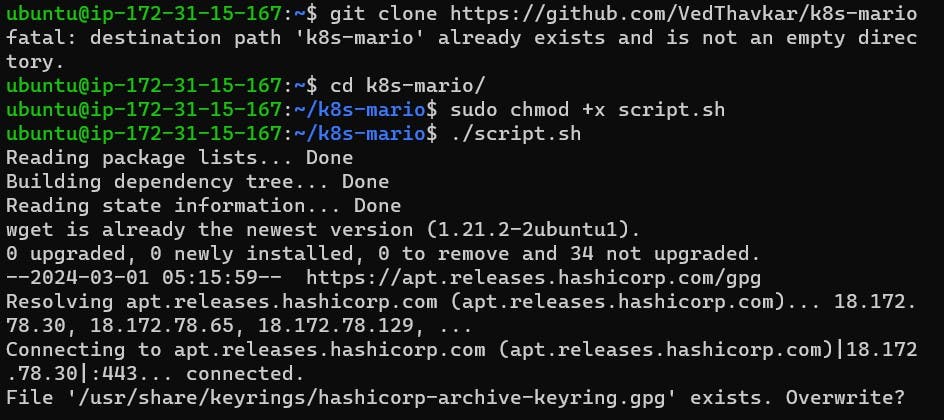
- Clone the Repository: Clone the repository containing the deployment scripts.
git clone https://github.com/VedThavkar/k8s-mario

- Change Directory: Navigate to the cloned directory.
cd k8s-mario
- Set Permissions and Run Script: Provide executable permission to the script.sh file and execute it.
sudo chmod +x script.sh
./script.sh
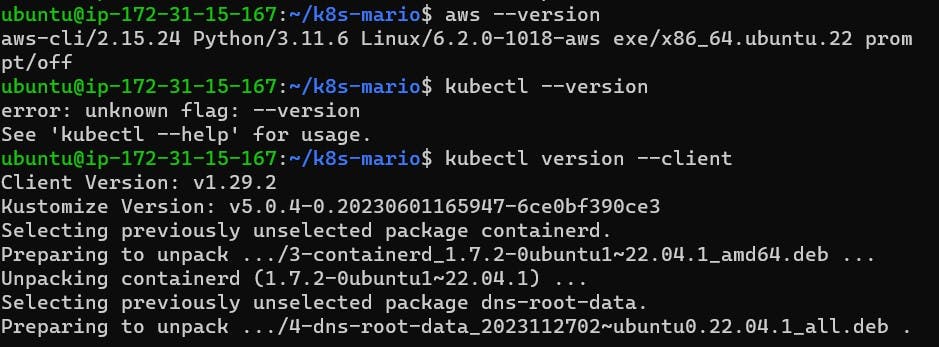
Check Versions: Ensure Docker, AWS CLI, Kubectl, and Terraform are installed by checking their versions.
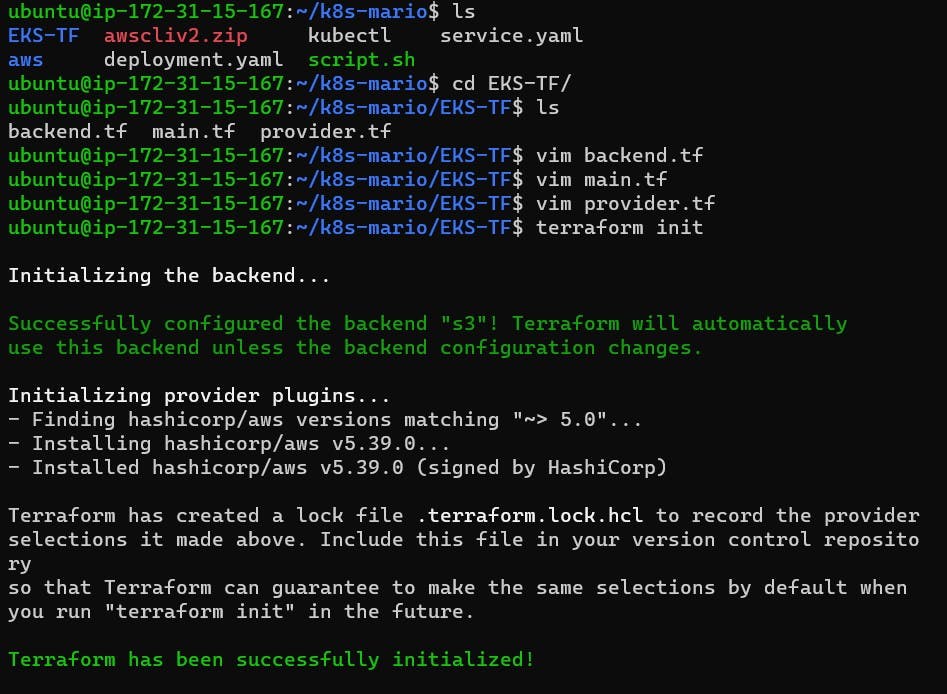
Change Directory to EKS-TF: Navigate to the EKS-TF directory and initialize Terraform.
cd EKS-TF
terraform init
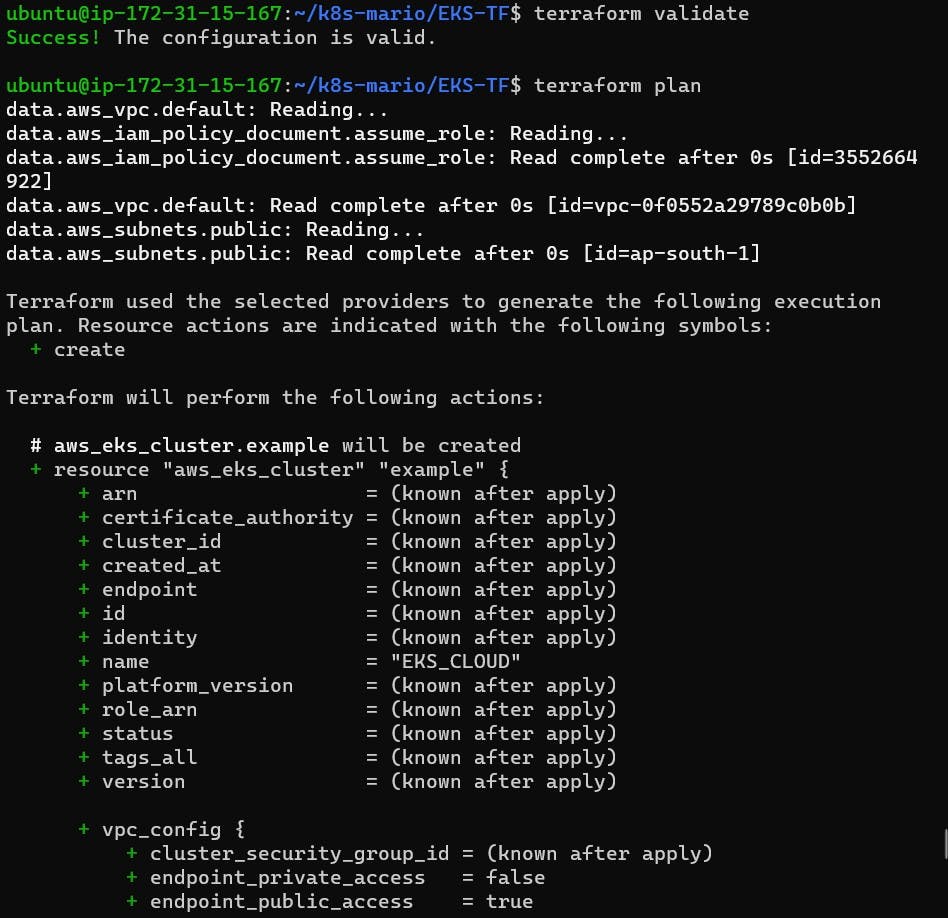
- Validate and Plan: Run Terraform validate and plan commands.
terraform validate
terraform plan
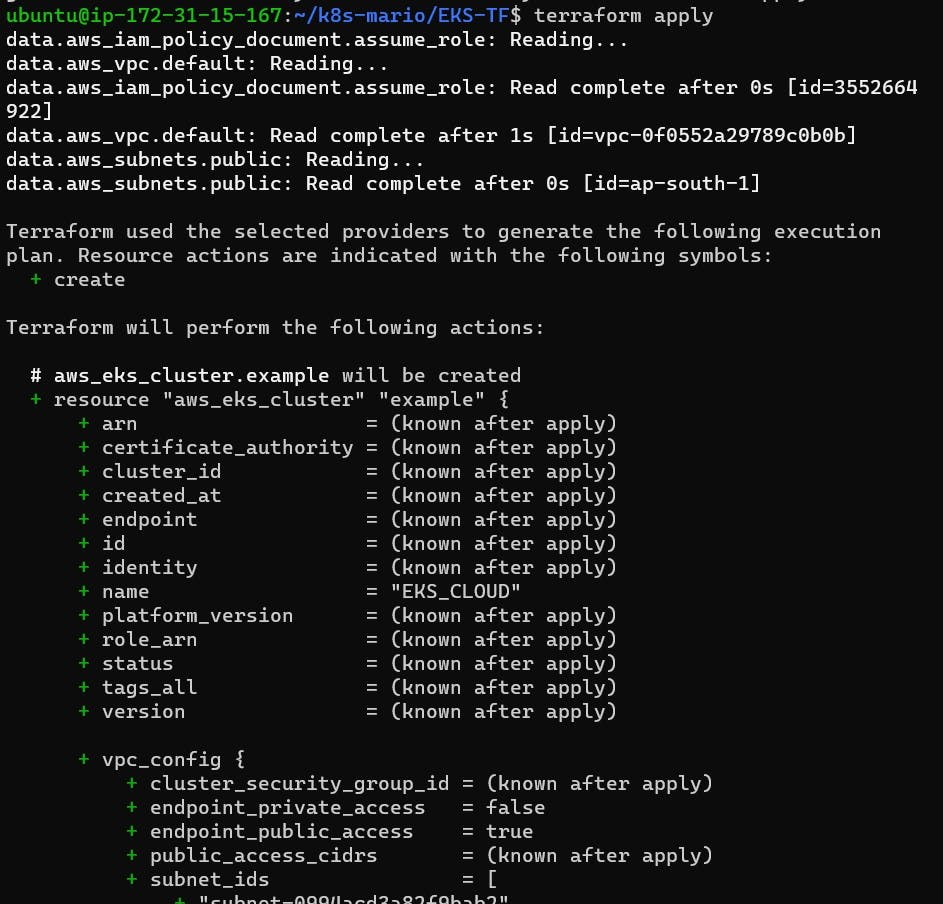
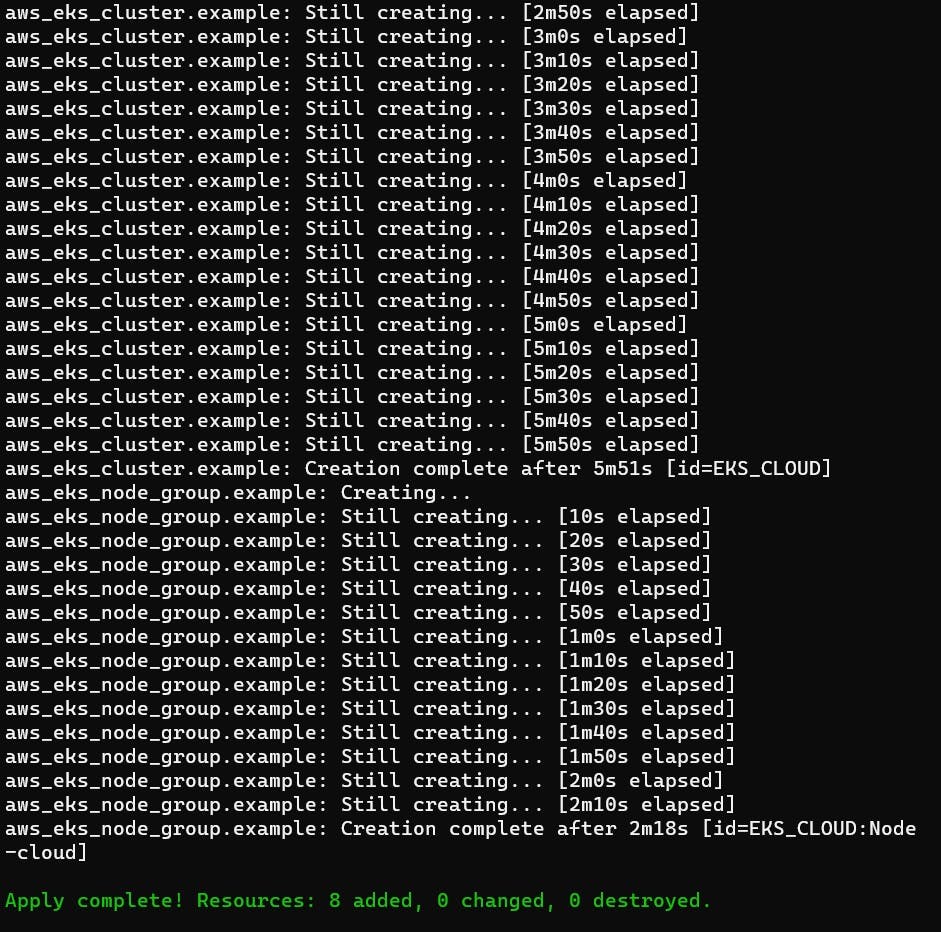
- Provision Cluster: Execute Terraform apply to provision the cluster.
terraform apply --auto-approve
- Update Kubernetes Configuration: Update the Kubernetes configuration to point to the newly created cluster.
aws eks update-kubeconfig --name EKS_CLOUD --region ap-south-1

- Apply Deployment and Service: Apply the deployment and service YAML files.
cd ..
kubectl apply -f deployment.yaml
kubectl apply -f service.yaml

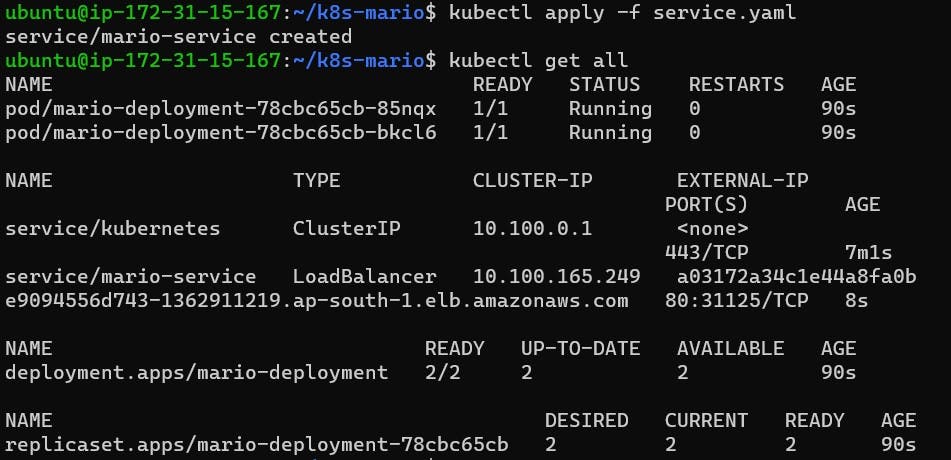
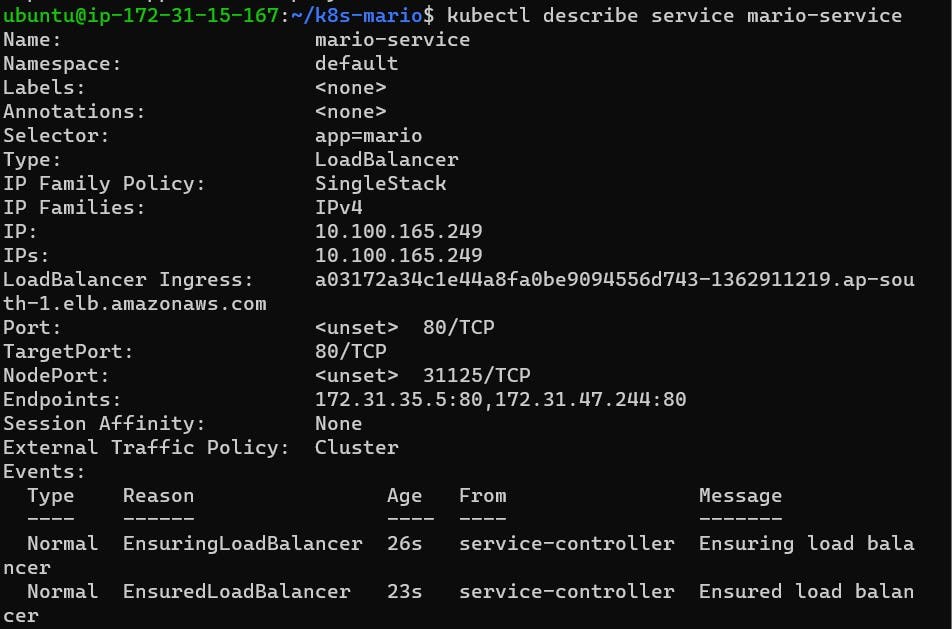
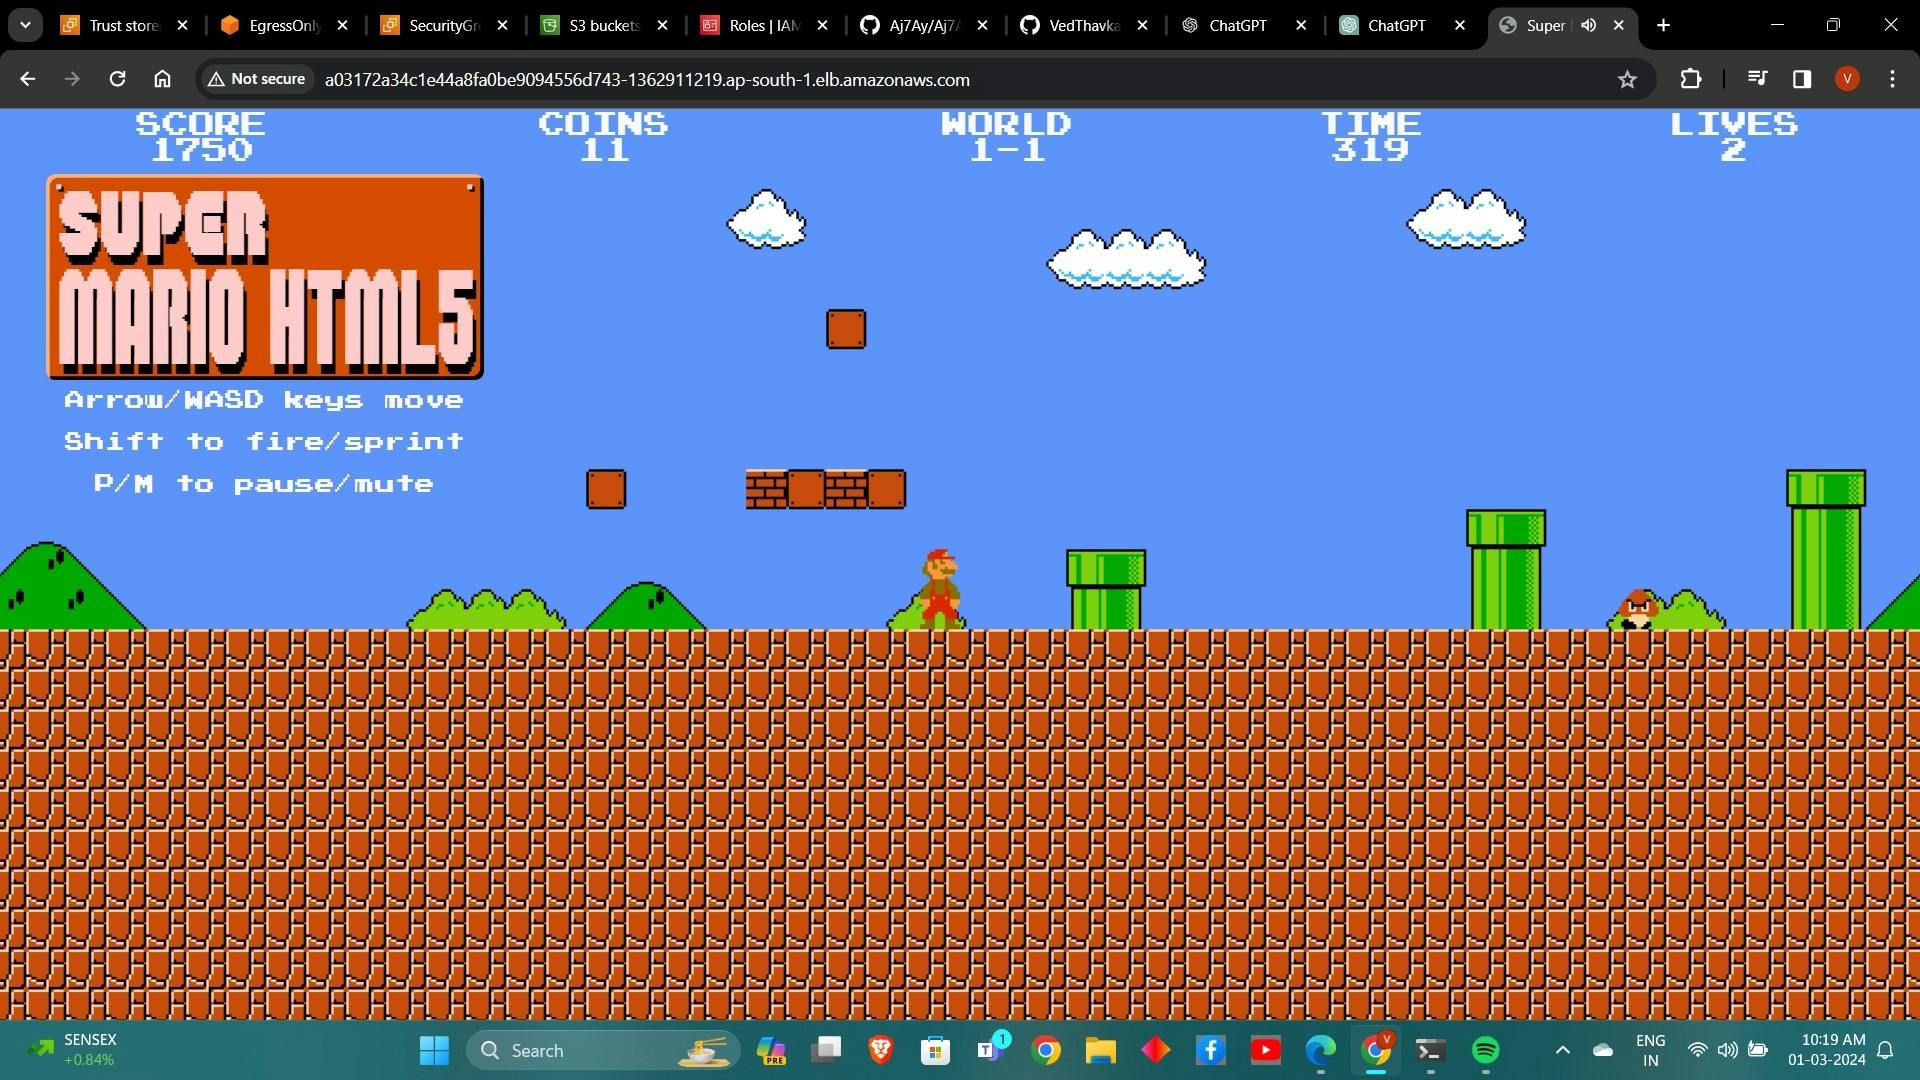
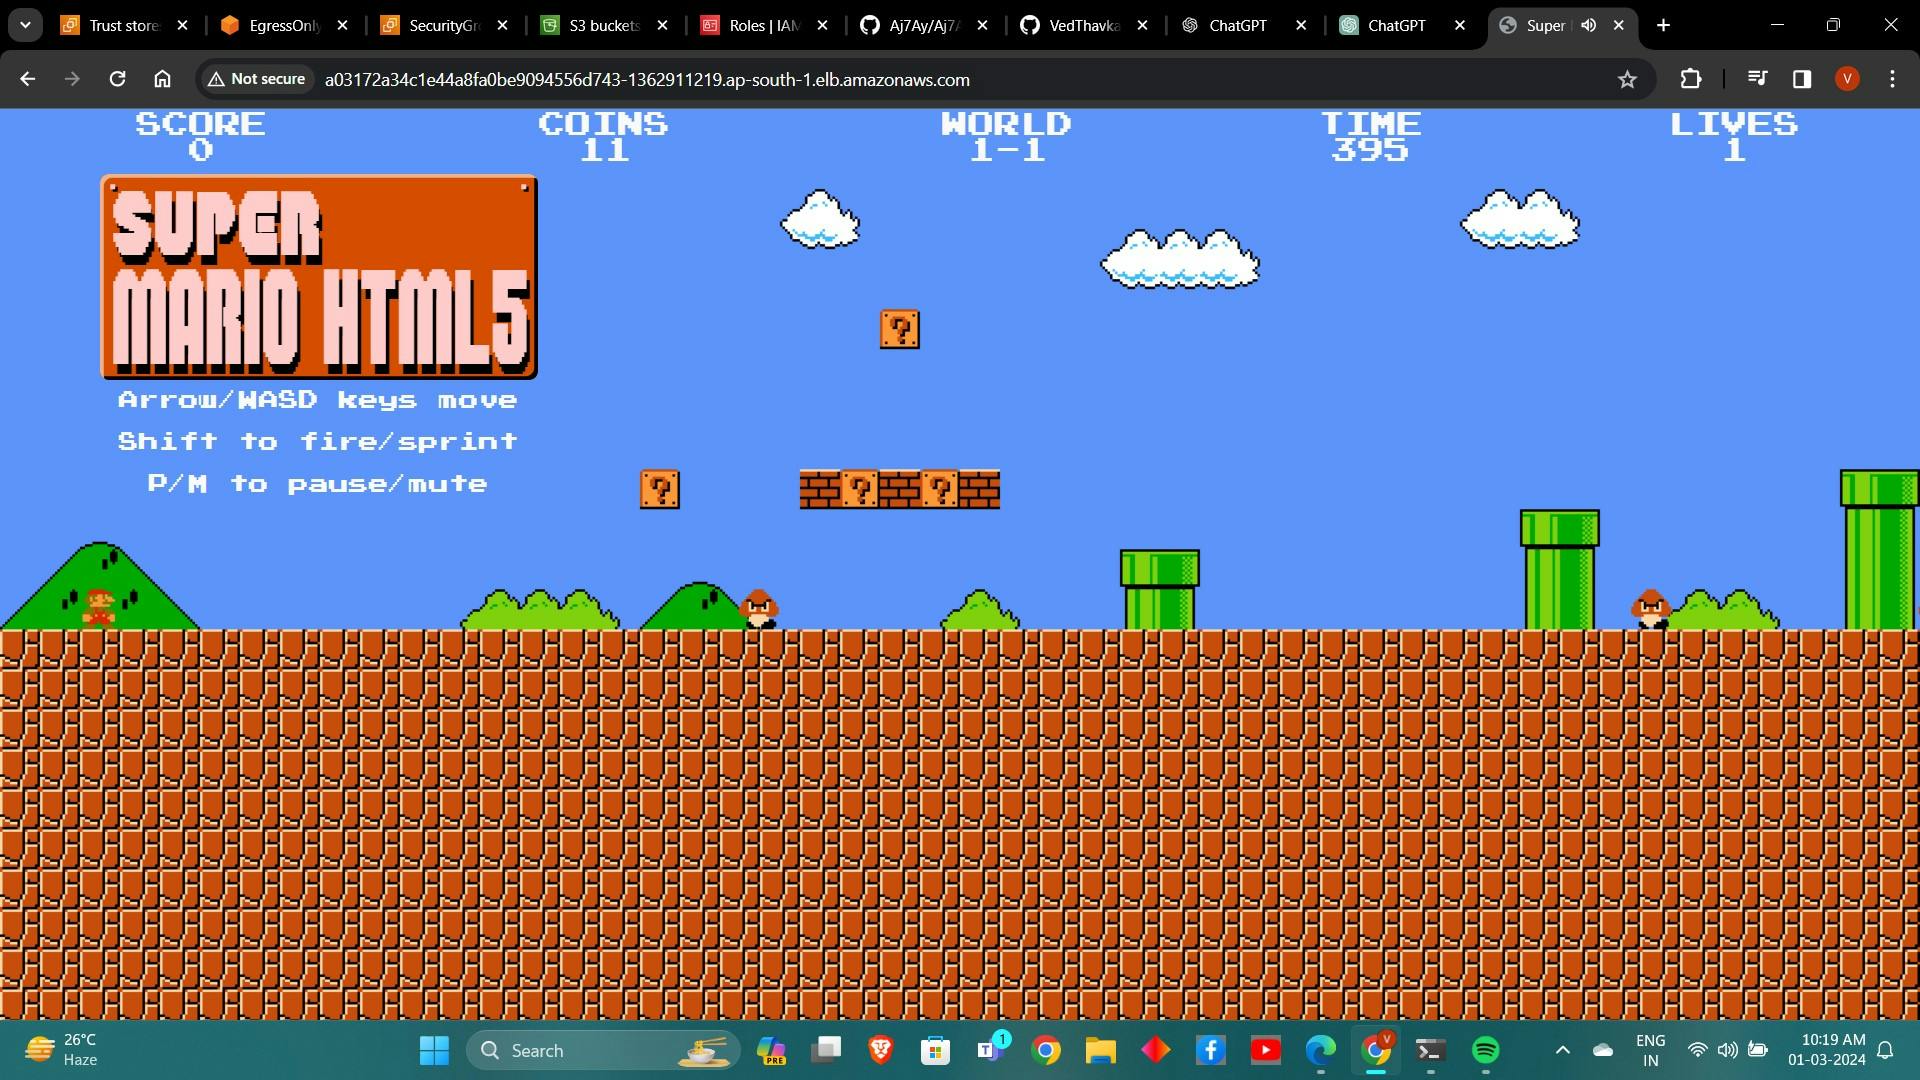
Access the Game: Describe the service and copy the LoadBalancer Ingress to access the Mario game.

Destruction:
To tear down the deployed resources:
kubectl delete service mario-service
kubectl delete deployment mario-deployment
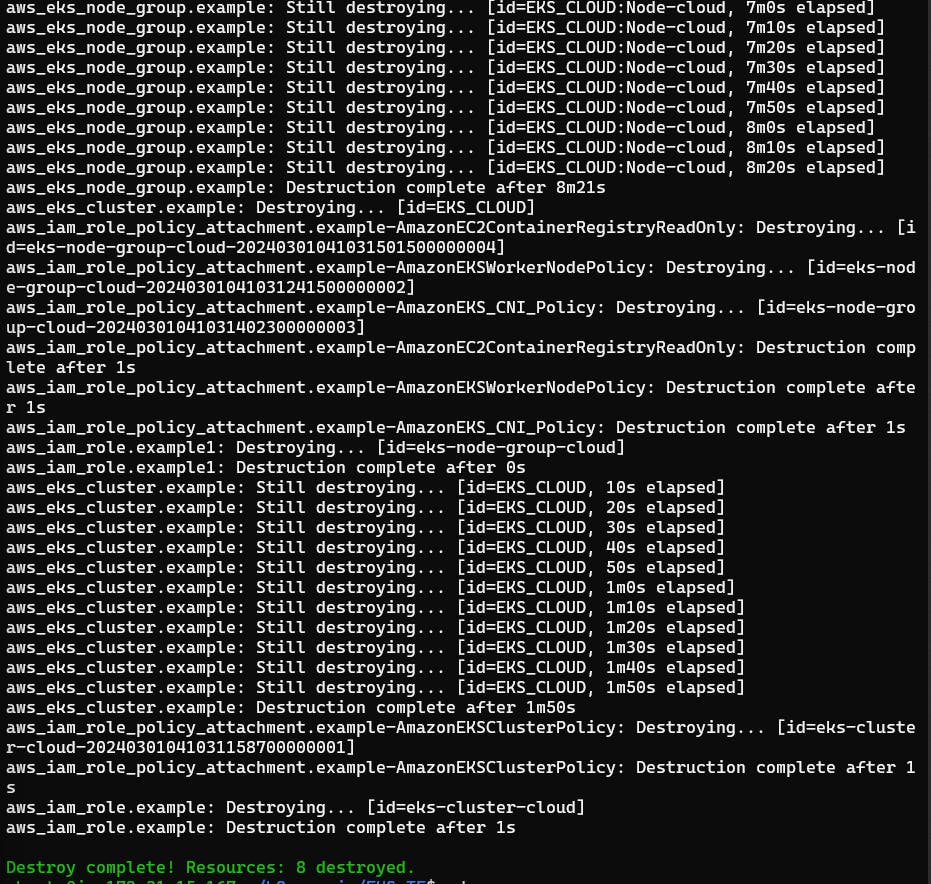
terraform destroy --auto-approve
Conclusion:
Congratulations! You've successfully deployed the classic Mario game on Amazon EKS, combining the nostalgia of 90s gaming with modern Kubernetes orchestration. We hope this journey down memory lane has reignited your love for gaming and showcased the power of Kubernetes in managing classic applications. Until next time, keep gaming and relive those fantastic memories!