

Introduction: Deploying complex applications like a React.js Zomato clone requires a systematic approach to ensure smooth deployment and efficient management. In this article, we'll walk through the detailed steps of deploying a React.js Zomato clone using Jenkins as a CI/CD tool and Docker for containerization. By following these steps, you'll streamline the deployment process and enhance the scalability and reliability of your application.
Step-by-Step Deployment Guide:
Step 1 — Launch an Ubuntu(22.04) T2 Large Instance
Navigate to AWS Console: Log in to your AWS account and access the AWS Management Console.
Launch Instance: Click on the "Launch Instance" button to initiate the process of creating a new virtual machine.
Select Ubuntu 22.04 AMI: Choose the Ubuntu 22.04 AMI (Amazon Machine Image) as the base operating system for your instance.
Choose Instance Type: Select the T2 Large instance type to ensure sufficient computing resources for your application.
Configure Instance Details: Customize instance settings such as network, subnet, security groups, and IAM roles as per your requirements.
Add Storage: Specify the desired storage size for your instance. Adjust the storage settings according to the storage requirements of your application.
Configure Security Group: Configure security group settings to allow inbound traffic on ports necessary for your application (e.g., SSH, HTTP, HTTPS).
Review and Launch: Review your instance configuration and click on the "Launch" button to create the instance.
Choose Key Pair: Select an existing key pair or create a new one to securely access your instance via SSH.
Launch Instance: Click on the "Launch Instances" button to finalize and launch the instance.

Step 2 — Install Jenkins, Docker, and Trivy
2A — Install Jenkins
Connect to Instance: Access your Ubuntu instance using SSH.
Create Installation Script: Create a shell script (
jenkins.sh) to automate the installation process of Jenkins.Update Package Lists: Run
sudo apt updateto update the package lists for available software updates.Install JDK: Install the Java Development Kit (JDK) by executing
sudo apt install temurin-17-jdk.Add Jenkins Repository: Add the Jenkins repository key and source list to the system.
Install Jenkins: Install Jenkins using
sudo apt-get install jenkins.Start Jenkins Service: Start the Jenkins service with
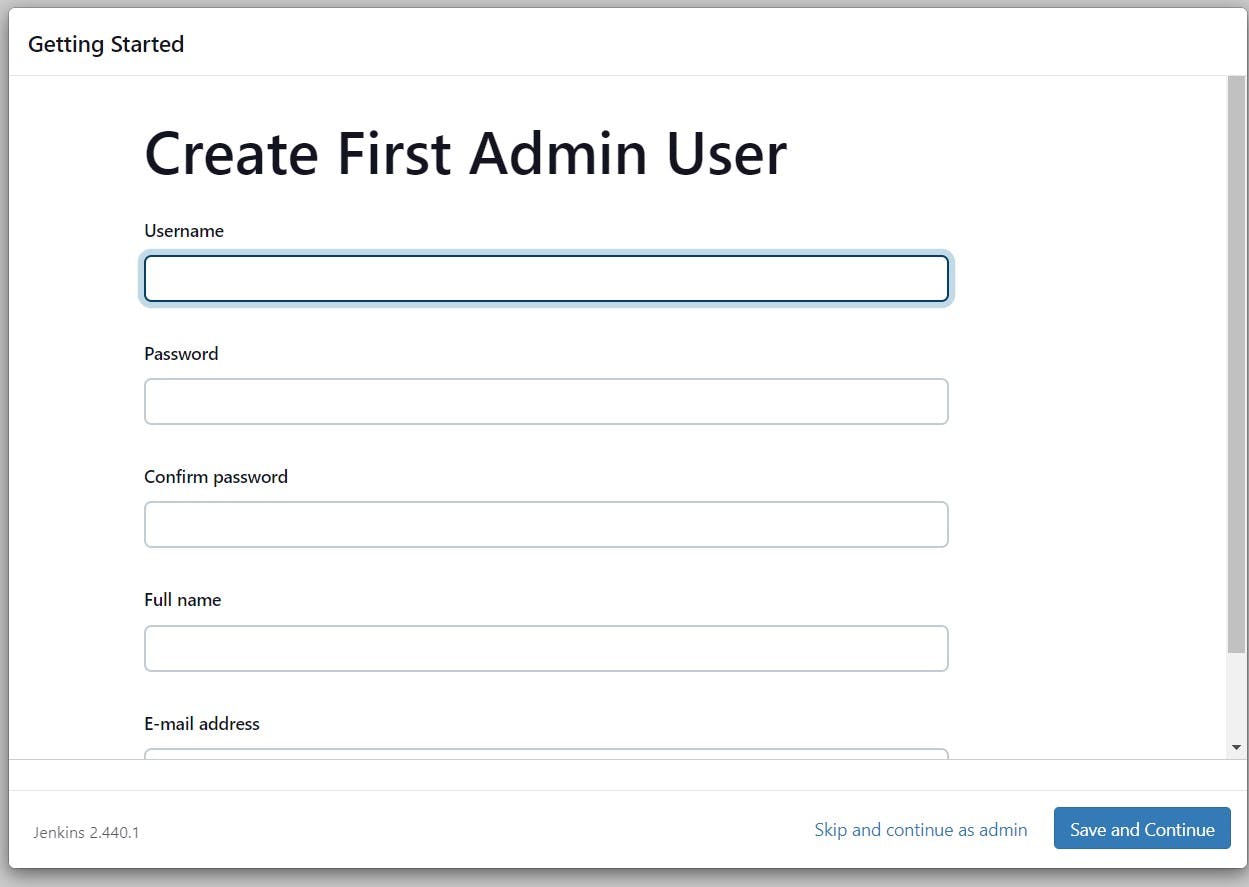
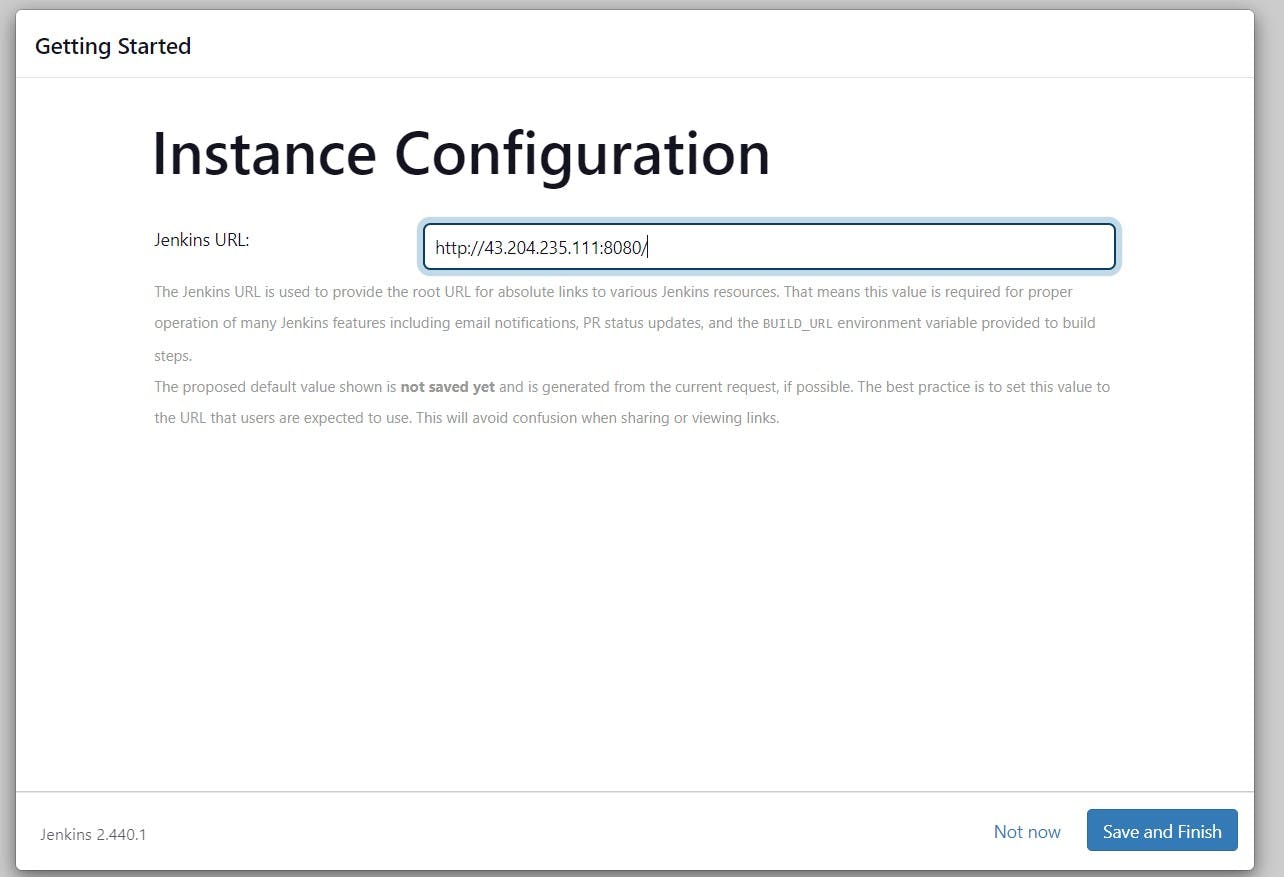
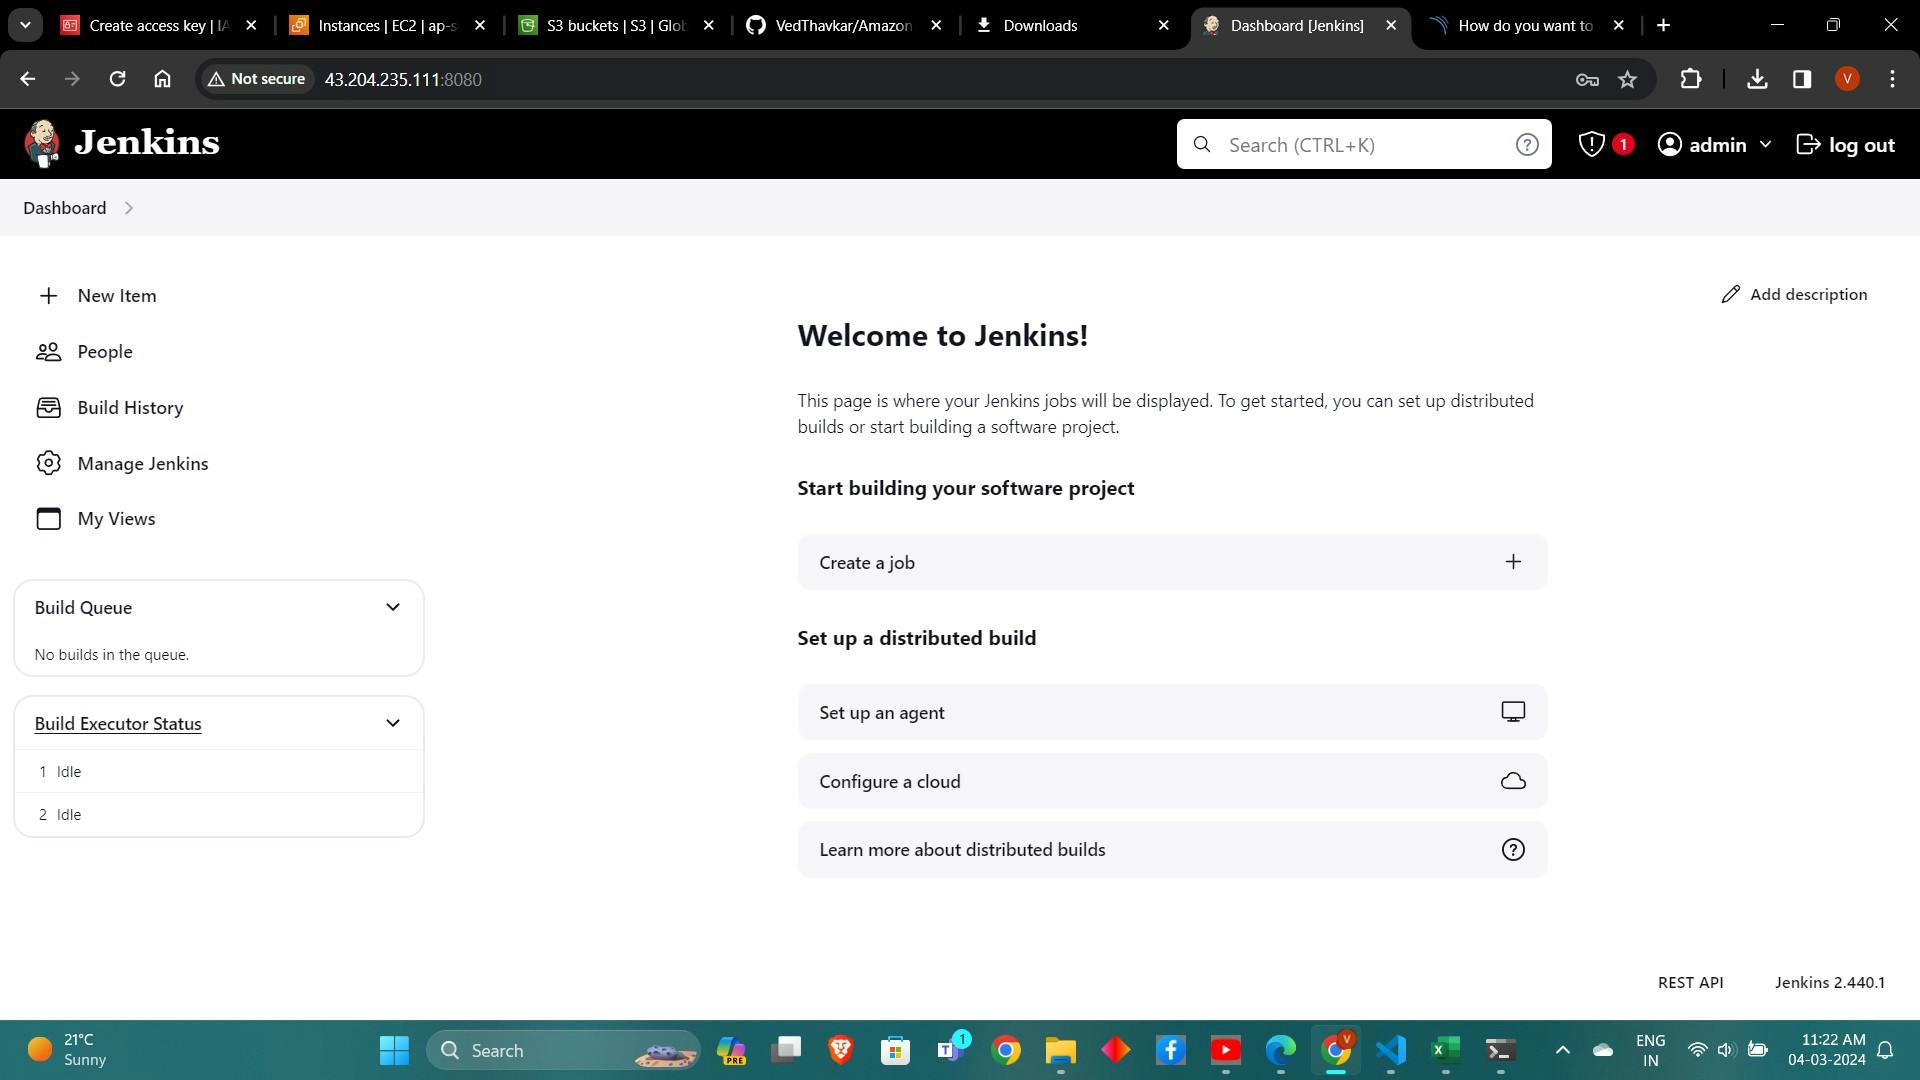
sudo systemctl start jenkins.#!/bin/bash sudo apt update -y #sudo apt upgrade -y wget -O - https://packages.adoptium.net/artifactory/api/gpg/key/public | tee /etc/apt/keyrings/adoptium.asc echo "deb [signed-by=/etc/apt/keyrings/adoptium.asc] https://packages.adoptium.net/artifactory/deb $(awk -F= '/^VERSION_CODENAME/{print$2}' /etc/os-release) main" | tee /etc/apt/sources.list.d/adoptium.list sudo apt update -y sudo apt install temurin-17-jdk -y /usr/bin/java --version curl -fsSL https://pkg.jenkins.io/debian-stable/jenkins.io-2023.key | sudo tee \ /usr/share/keyrings/jenkins-keyring.asc > /dev/null echo deb [signed-by=/usr/share/keyrings/jenkins-keyring.asc] \ https://pkg.jenkins.io/debian-stable binary/ | sudo tee \ /etc/apt/sources.list.d/jenkins.list > /dev/null sudo apt-get update -y sudo apt-get install jenkins -y sudo systemctl start jenkins sudo systemctl status jenkinssudo chmod 777 jenkins.sh ./jenkins.sh # this will installl jenkinsAccess Jenkins: Access Jenkins by navigating to
<instance-public-ip>:8080in a web browser and follow the setup instructions.<EC2 Public IP Address:8080> sudo cat /var/lib/jenkins/secrets/initialAdminPassword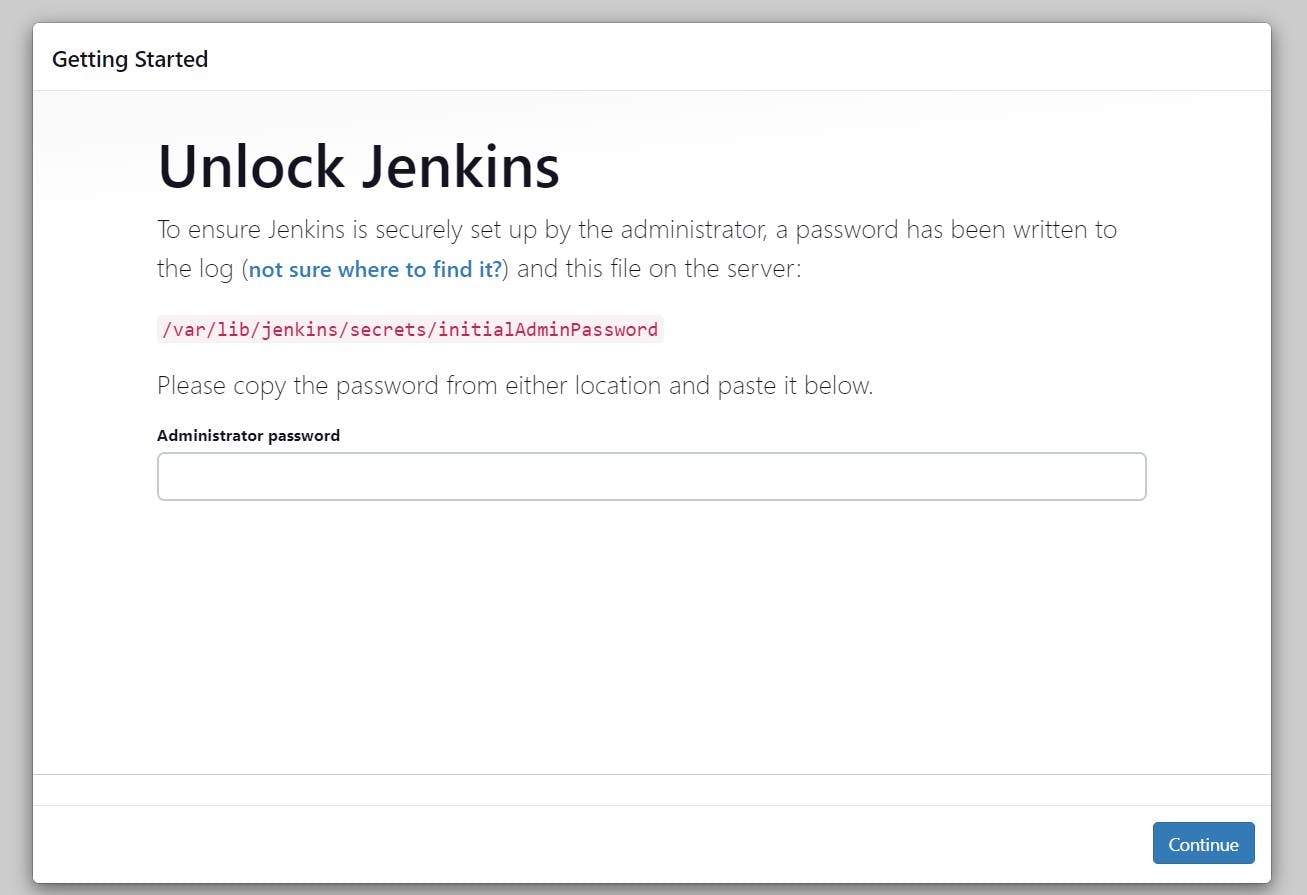
2B — Install Docker
Update Package Lists: Run
sudo apt-get updateto update the package lists.Install Docker: Install Docker using
sudo apt-get installdocker.io.Add User to Docker Group: Add the current user to the Docker group for managing Docker containers without sudo privileges.
Start Docker Service: Start the Docker service with
sudo systemctl start docker.sudo apt-get update sudo apt-get install docker.io -y sudo usermod -aG docker $USER #my case is ubuntu newgrp docker sudo chmod 777 /var/run/docker.sockCreate Sonarqube Container: Use Docker to create a Sonarqube container with
docker run -d --name sonar -p 9000:9000 sonarqube:lts-community.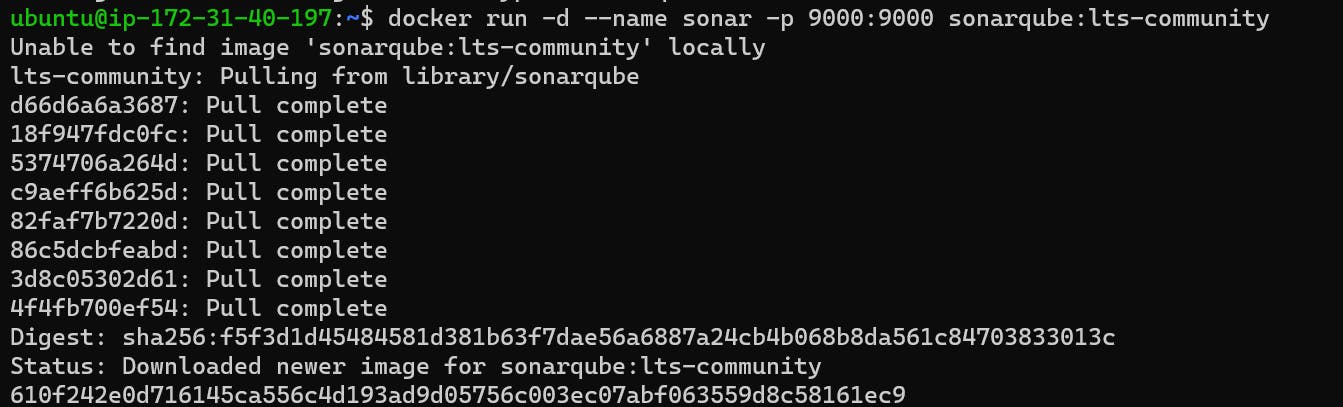

2C — Install Trivy
Create Installation Script: Create a shell script (
trivy.sh) to install Trivy.Add Trivy Repository: Add the Trivy repository key and source list to the system.
Update Package Lists: Run
sudo apt-get updateto update the package lists.Install Trivy: Install Trivy using
sudo apt-get install trivy.sudo apt-get install wget apt-transport-https gnupg lsb-release -y wget -qO - https://aquasecurity.github.io/trivy-repo/deb/public.key | gpg --dearmor | sudo tee /usr/share/keyrings/trivy.gpg > /dev/null echo "deb [signed-by=/usr/share/keyrings/trivy.gpg] https://aquasecurity.github.io/trivy-repo/deb $(lsb_release -sc) main" | sudo tee -a /etc/apt/sources.list.d/trivy.list sudo apt-get update sudo apt-get install trivy -y
Step 3 — Install Plugins like JDK, Sonarqube Scanner, Nodejs, and OWASP Dependency Check
3A — Install Plugin
Access Jenkins Dashboard: Log in to Jenkins and navigate to "Manage Jenkins" > "Manage Plugins" > "Available" tab.
Select Plugins: Select and install necessary plugins like Eclipse Temurin Installer, SonarQube Scanner, and NodeJs Plugin.

3B — Configure Java and Nodejs in Global Tool Configuration
Access Global Tool Configuration: Navigate to "Manage Jenkins" > "Global Tool Configuration".
Install JDK and Node.js: Install JDK 17 and Node.js 16 by adding them as global tools.

Apply and Save Changes: Apply the configuration changes.

3C — Create a Job
Create Pipeline Job: Create a new pipeline job for the Zomato project in Jenkins.
Configure Job: Configure the job settings, including pipeline script and source code repository.
Save Job Configuration: Save the job configuration.
Step 4 — Configure Sonar Server in Manage Jenkins
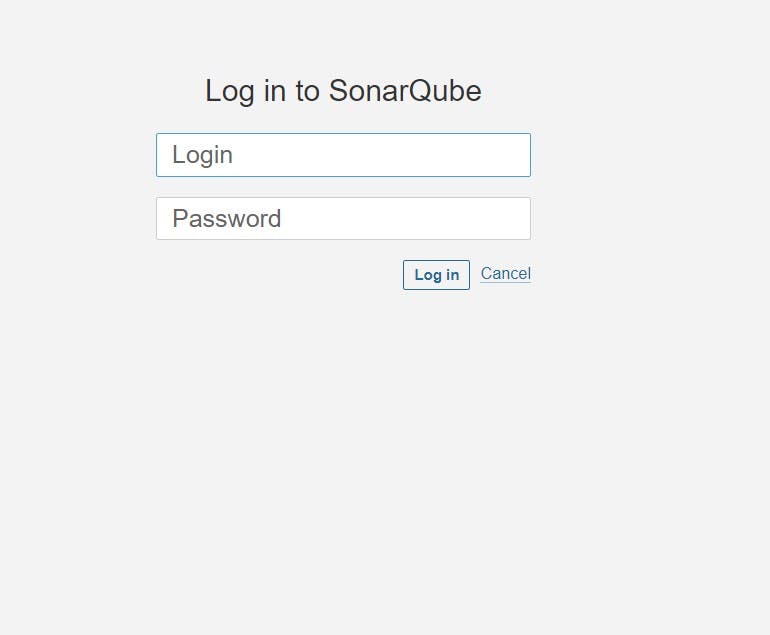
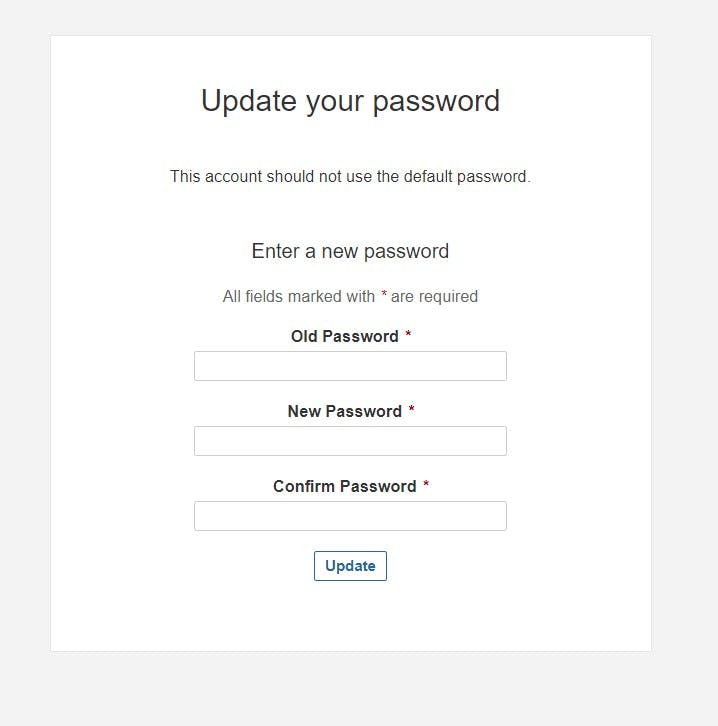
Obtain SonarQube IP Address: Access the SonarQube dashboard and note down its public IP address.

Generate Token: Generate a token in SonarQube for authentication purposes.

Add Token to Jenkins Credentials: Add the generated token as a secret text credential in Jenkins.

Configure Sonar Server: Configure the SonarQube server in Jenkins by providing its IP address and authentication token.
Now, go to Dashboard → Manage Jenkins → System and Add like the below image.

The Configure System option is used in Jenkins to configure different server
Global Tool Configuration is used to configure different tools that we install using Plugins
We will install a sonar scanner in the tools.

In the Sonarqube Dashboard add a quality gate also
Administration–> Configuration–>Webhooks
Click on Create


Click on Create
Add detailsA
 #in url section of quality gate
 <http://jenkins-public-ip:8080>/sonarqube-webhook/
pipeline{ agent any tools{ jdk 'jdk17' nodejs 'node16' } environment { SCANNER_HOME=tool 'sonar-scanner' } stages { stage('clean workspace'){ steps{ cleanWs() } } stage('Checkout from Git'){ steps{ git branch: 'main', url: 'https://github.com/Aj7Ay/Zomato-Clone.git' } } stage("Sonarqube Analysis "){ steps{ withSonarQubeEnv('sonar-server') { sh ''' $SCANNER_HOME/bin/sonar-scanner -Dsonar.projectName=zomato \ -Dsonar.projectKey=zomato ''' } } } stage("quality gate"){ steps { script { waitForQualityGate abortPipeline: false, credentialsId: 'Sonar-token' } } } stage('Install Dependencies') { steps { sh "npm install" } } Click on Build now, you will see the stage view like this } }Click on Build now, you will see the stage view like this

To see the report, you can go to Sonarqube Server and go to Projects.

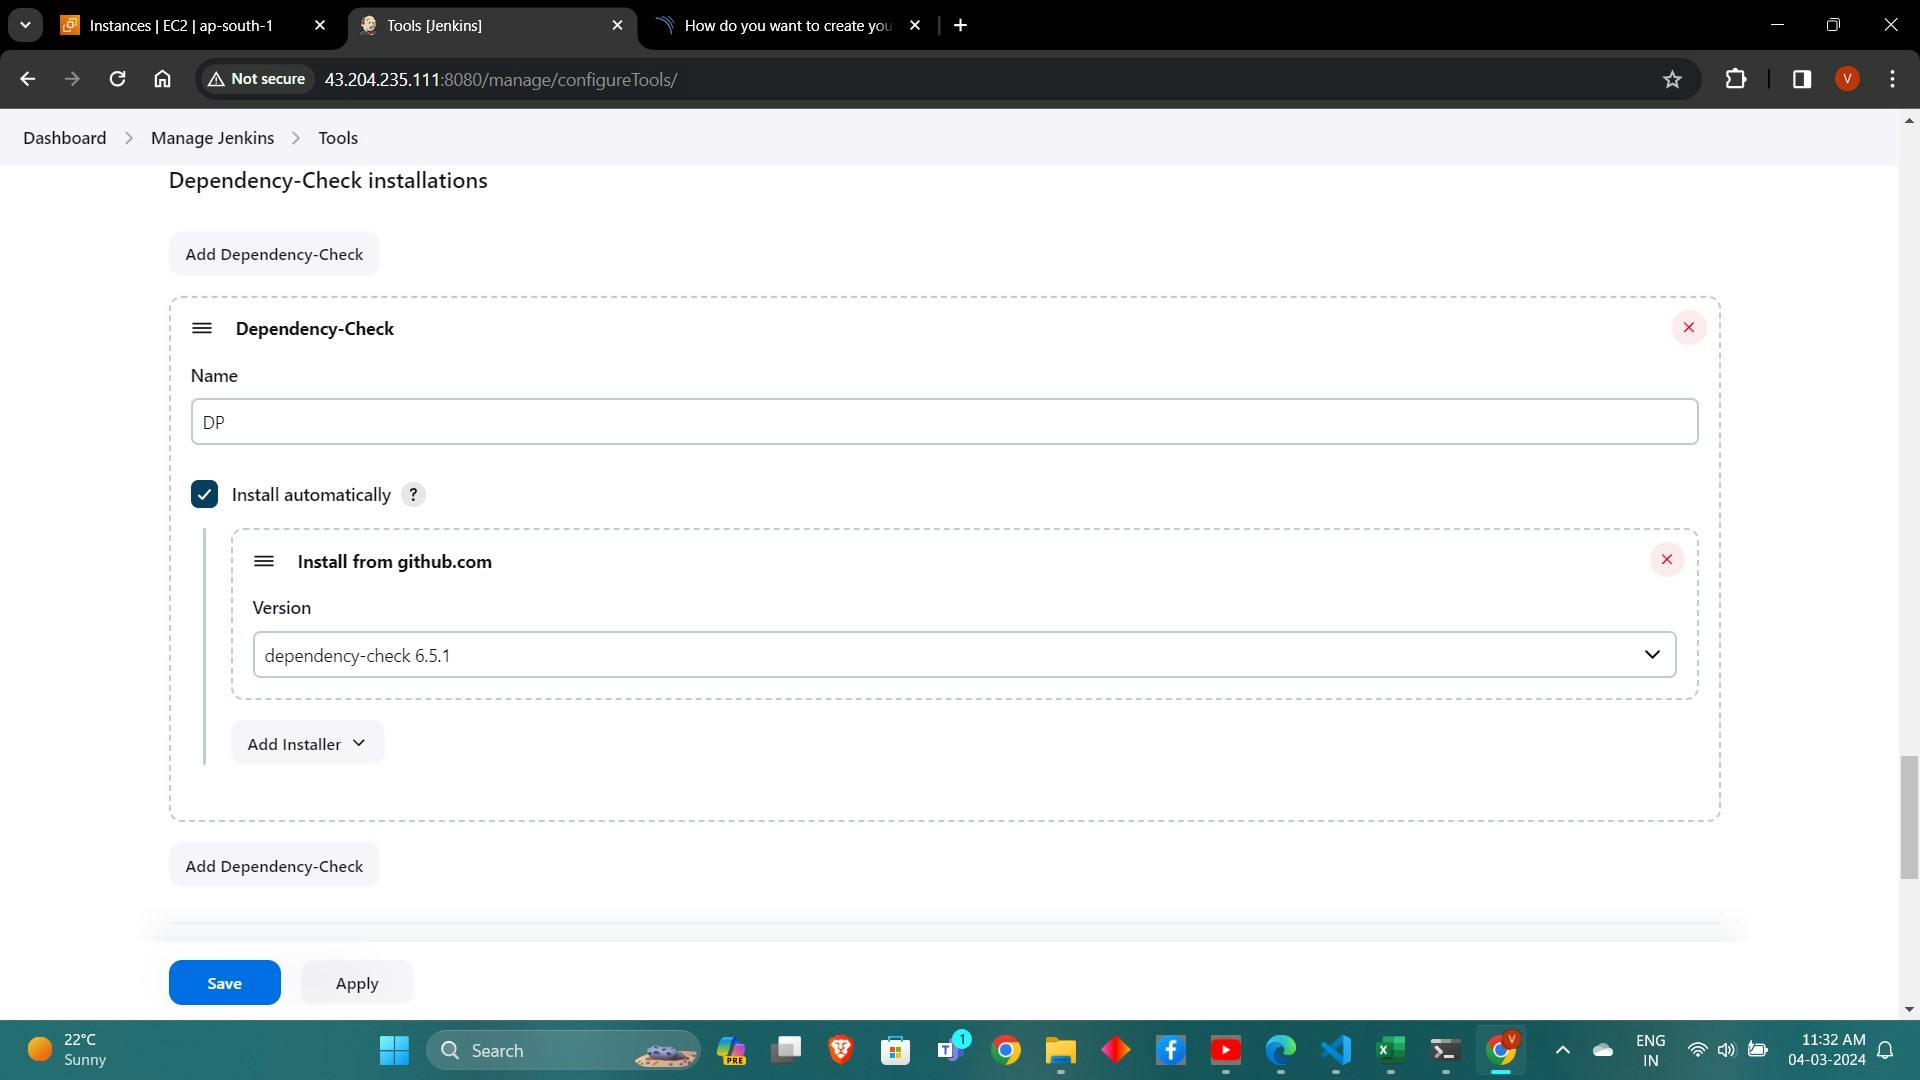
Step 5 — Install OWASP Dependency Check Plugins
Access Jenkins Plugins: Navigate to "Manage Jenkins" > "Manage Plugins" > "Available" tab.

Install Dependency Check Plugin: Install the OWASP Dependency-Check plugin without restarting Jenkins.
Click on Apply and Save here.
Now go configure → Pipeline and add this stage to your pipeline and build.
```bash
stage('OWASP FS SCAN') { steps { dependencyCheck additionalArguments: '--scan ./ --disableYarnAudit --disableNodeAudit', odcInstallation: 'DP-Check' dependencyCheckPublisher pattern: '**/dependency-check-report.xml' } } stage('TRIVY FS SCAN') { steps { sh "trivy fs . > trivyfs.txt" } }
The stage view would look like this,

You will see that in status, a graph will also be generated and Vulnerabilities.

**Step 6 — Docker Image Build and Push**
1. **Install Docker Plugins**: Install Docker-related plugins in Jenkins.
2. **Configure DockerHub Credentials**: Add DockerHub credentials in Jenkins for Docker image push.
3. **Define Docker Build Stage**: Define stages in the Jenkins pipeline script for building Docker images and pushing them to DockerHub.

Now, goto Dashboard → Manage Jenkins → Tools →

Add DockerHub Username and Password under Global Credentials
Add this stage to Pipeline Script
```bash
stage("Docker Build & Push"){
steps{
script{
withDockerRegistry(credentialsId: 'docker', toolName: 'docker'){
sh "docker build -t zomato ."
sh "docker tag zomato sevenajay/zomato:latest "
sh "docker push sevenajay/zomato:latest "
}
}
}
}
stage("TRIVY"){
steps{
sh "trivy image sevenajay/zomato:latest > trivy.txt"
}
}
You will see the output below, with a dependency trend.

Step 7 — Deploy the Image using Docker
Define Deployment Stage: Add a stage in the Jenkins pipeline to deploy the Docker image to a container.
 stage('Deploy to container'){
      steps{
             sh 'docker run -d --name zomato -p 3000:3000 sevenajay/zomato:latest'
           }
       }
Run Container: Use Docker commands within the pipeline to run the container with the deployed application.
stage view

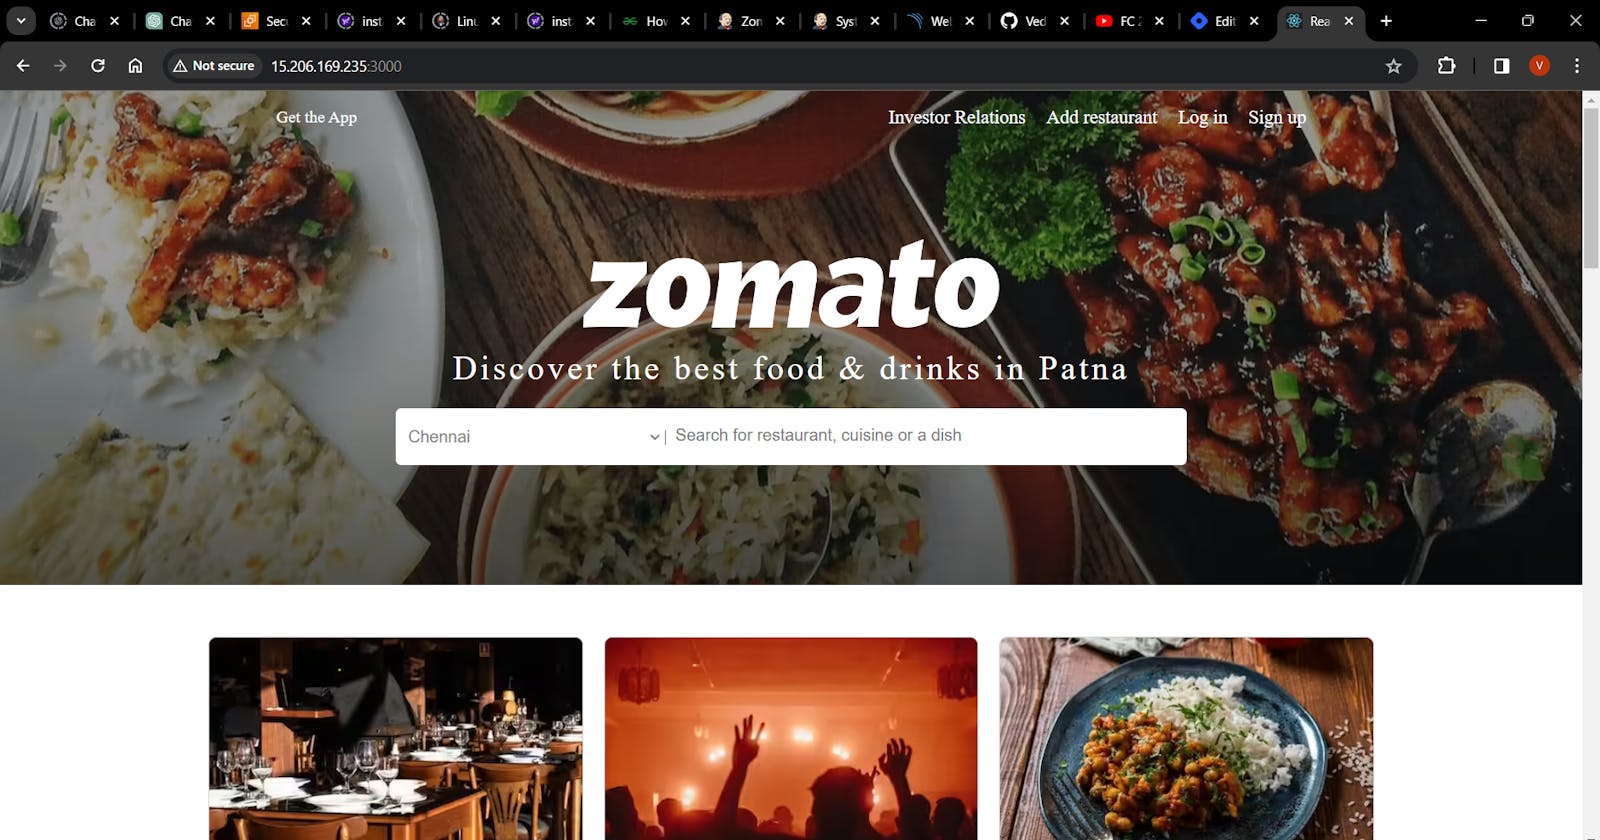
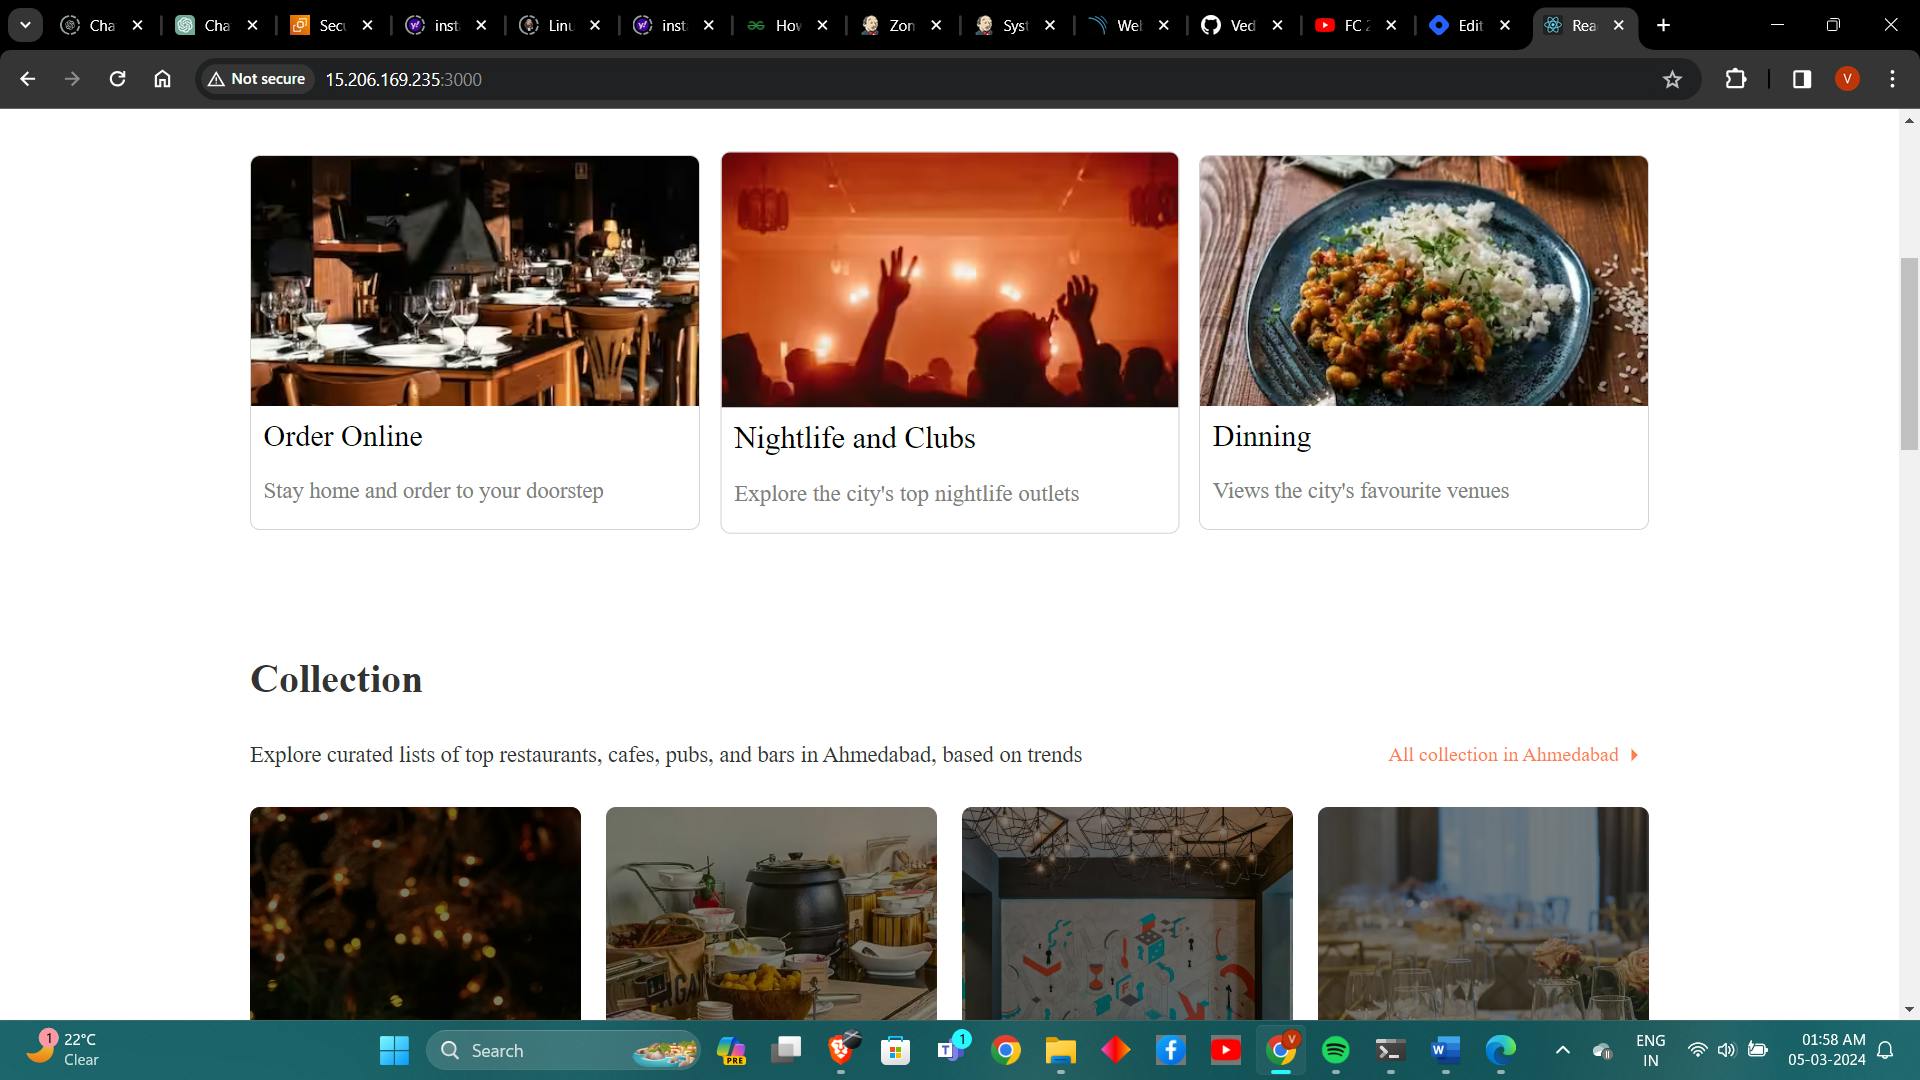
<Jenkins-public-ip:3000>You will get this output

Step 8 — Terminate the AWS EC2 Instances
Complete Pipeline Execution: Once the deployment is successful, complete the pipeline execution.
Terminate EC2 Instances: Access the AWS EC2 console and terminate the instances created during the deployment process to avoid unnecessary charges and resource consumption.
Conclusion: By following the detailed steps outlined in this article, you can efficiently deploy a React.js Zomato clone using Jenkins and Docker. This streamlined deployment process enhances the scalability, reliability, and security of your application, empowering you to deliver a seamless user experience. Embrace the power of automation and containerization to accelerate your deployment workflow and stay ahead in today's dynamic software development landscape.